An unexpected journey began for me late last year, it reminded me that life is an ever evolving adventure and you don’t always know what is around the corner.
As some of you will know up until recently I worked part time in a small Framing and Fine Art supplies shop in Canberra. It’s owner decided on a sea-change in late 2022 and moved his business to the south coast. This at the time was rather sudden and definitely unexpected. What was next for me?
A daunting yet strangely exciting thing to contemplate, but I was determined to give myself a little time to consider this question.
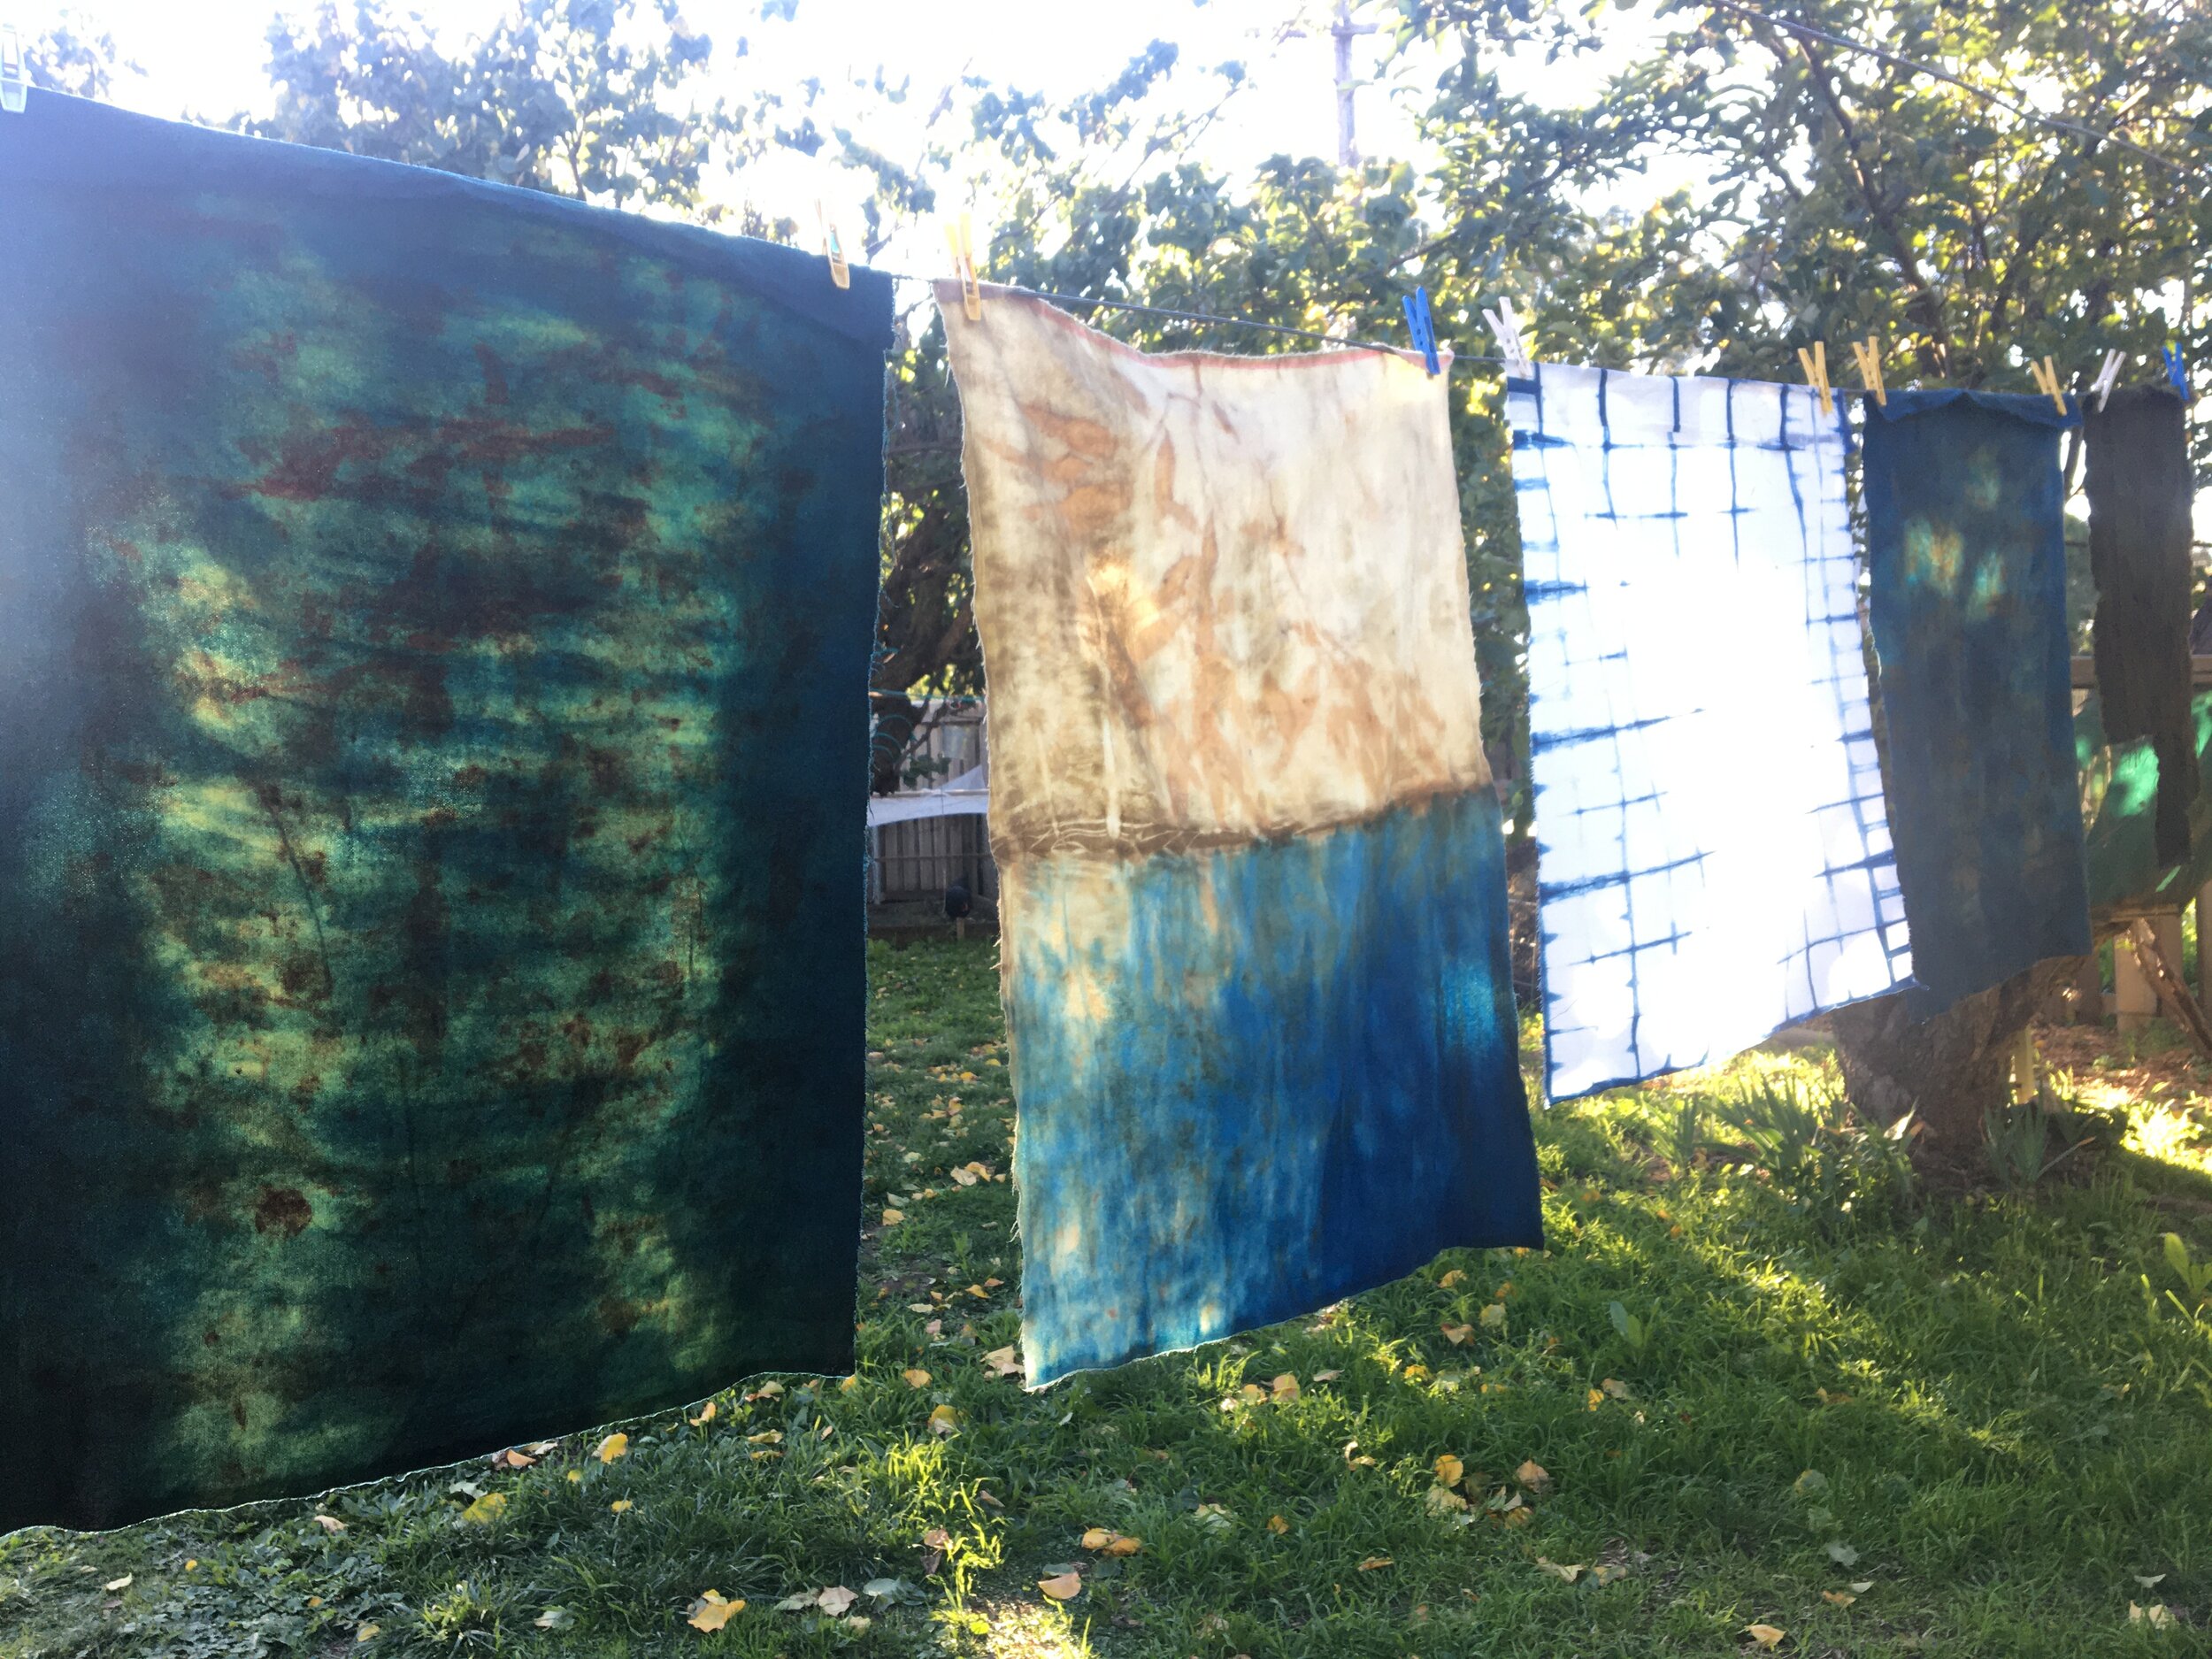
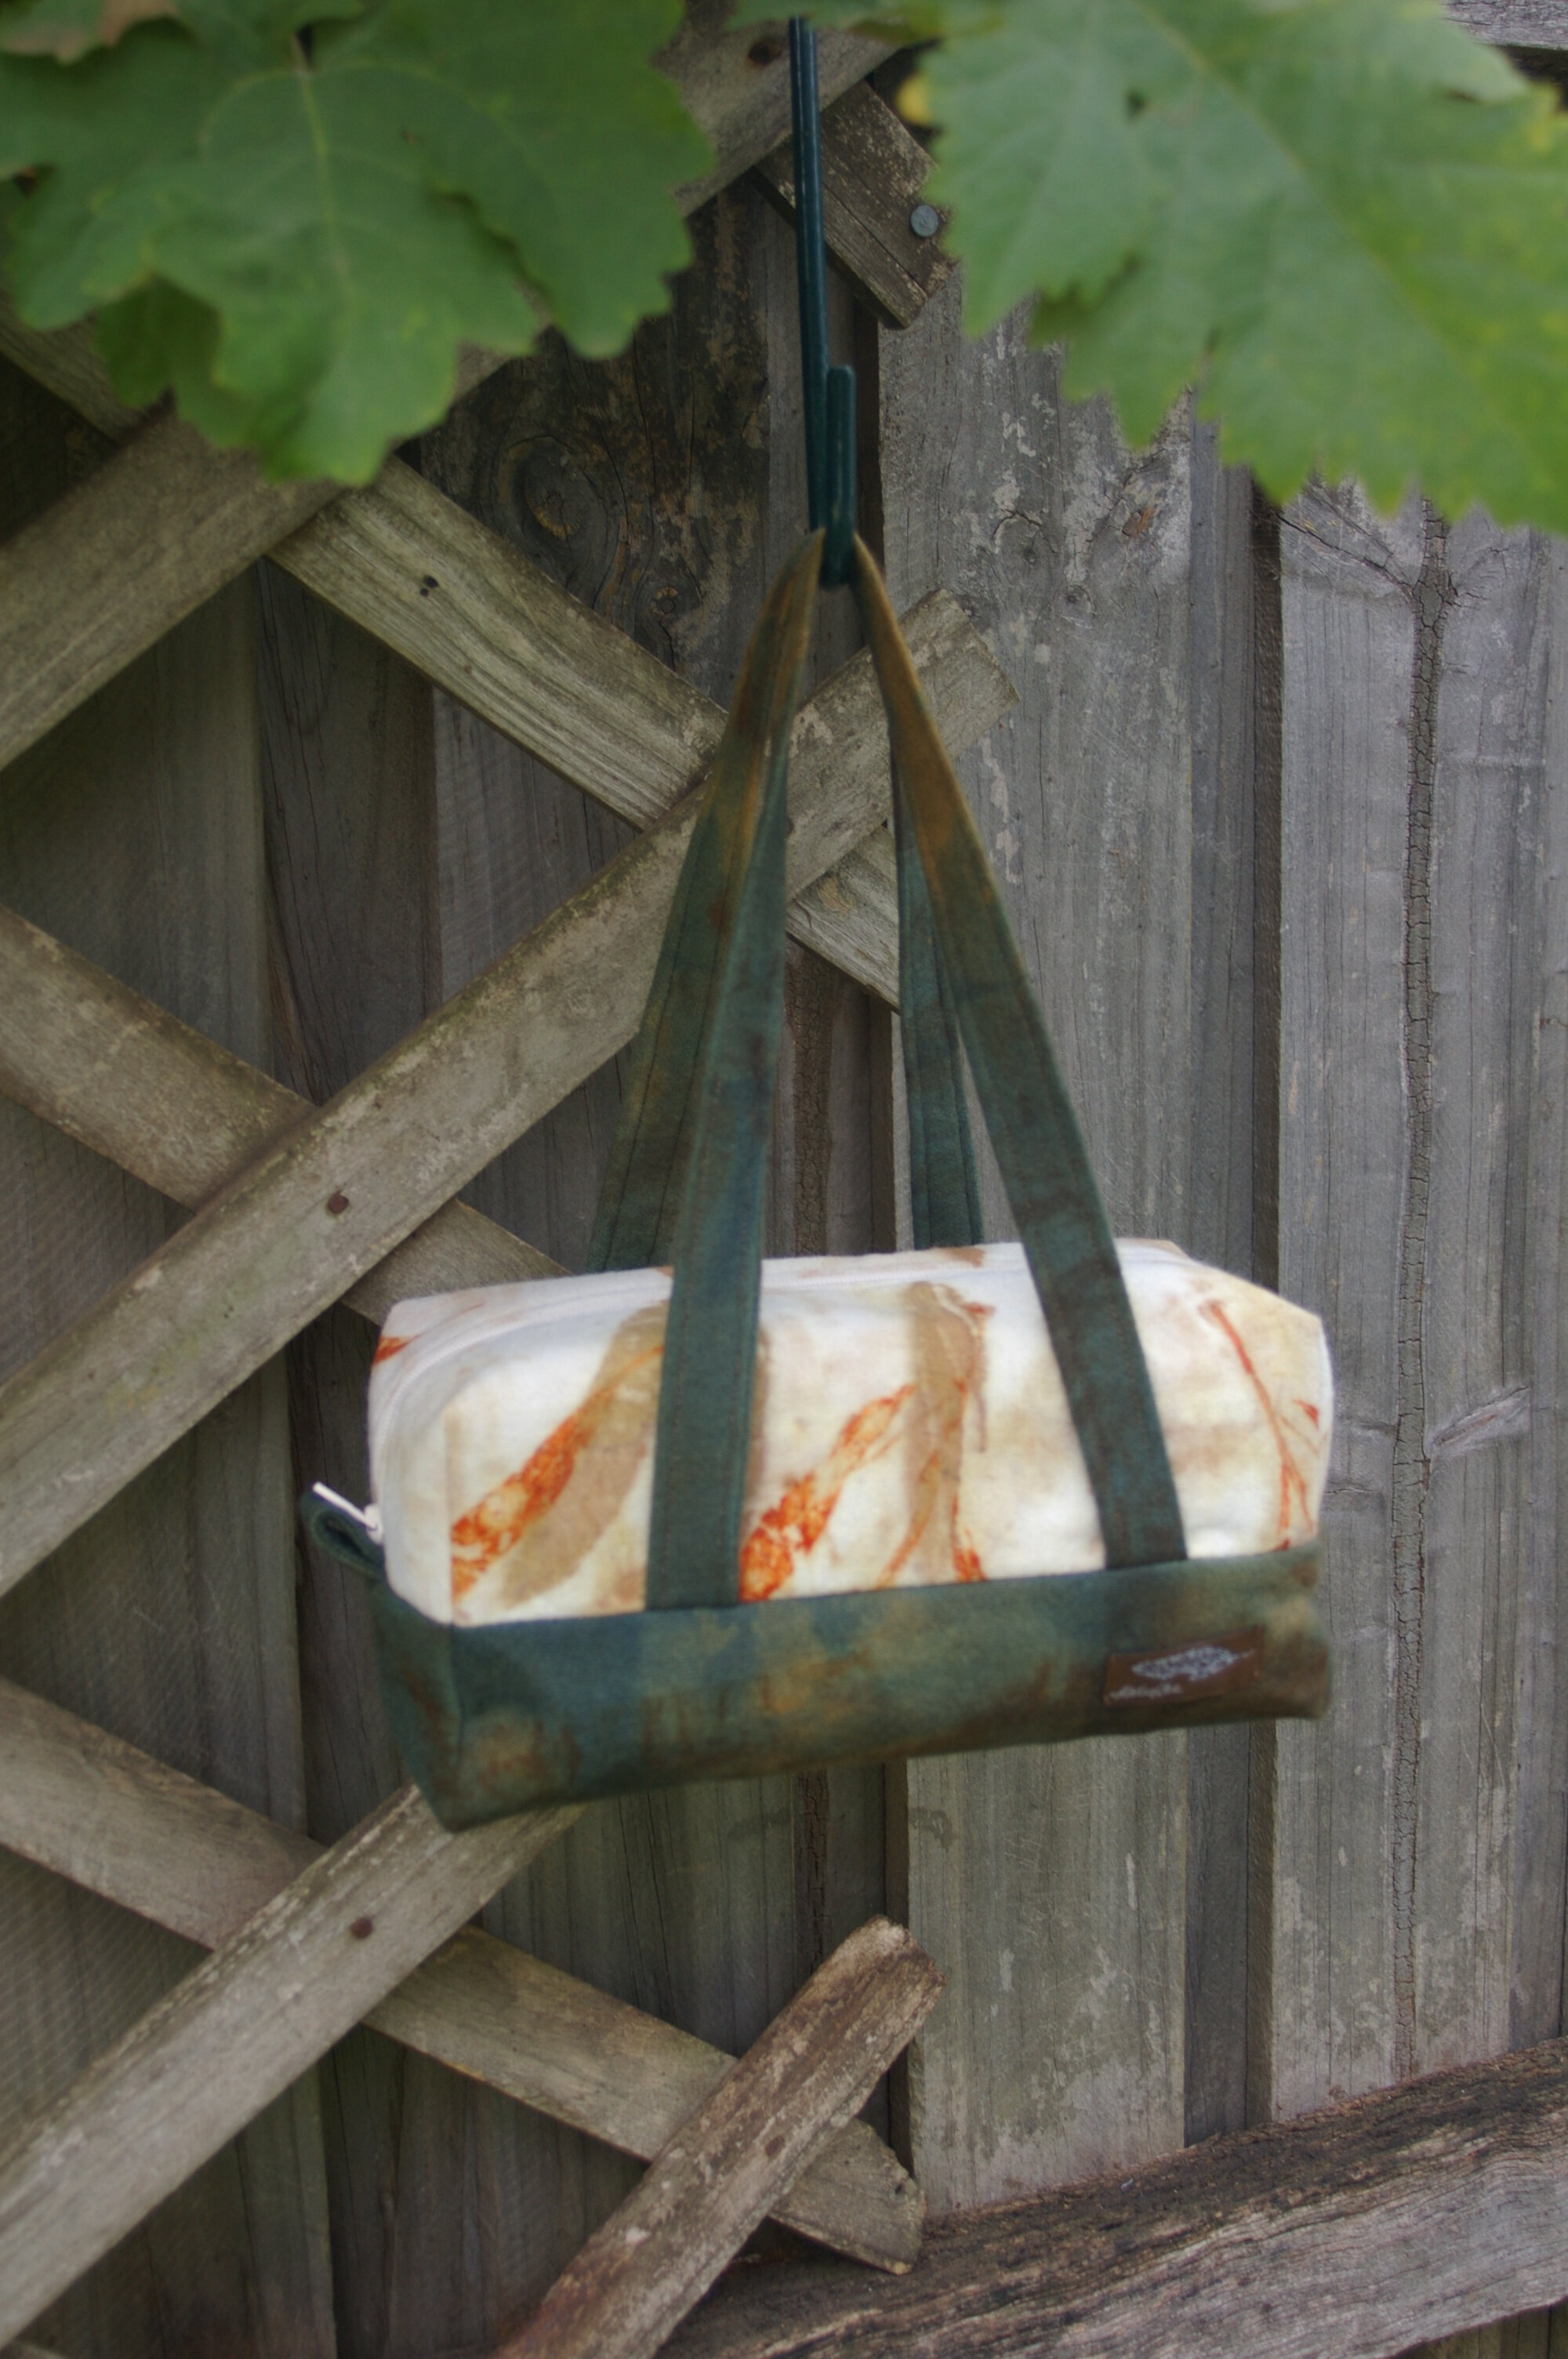
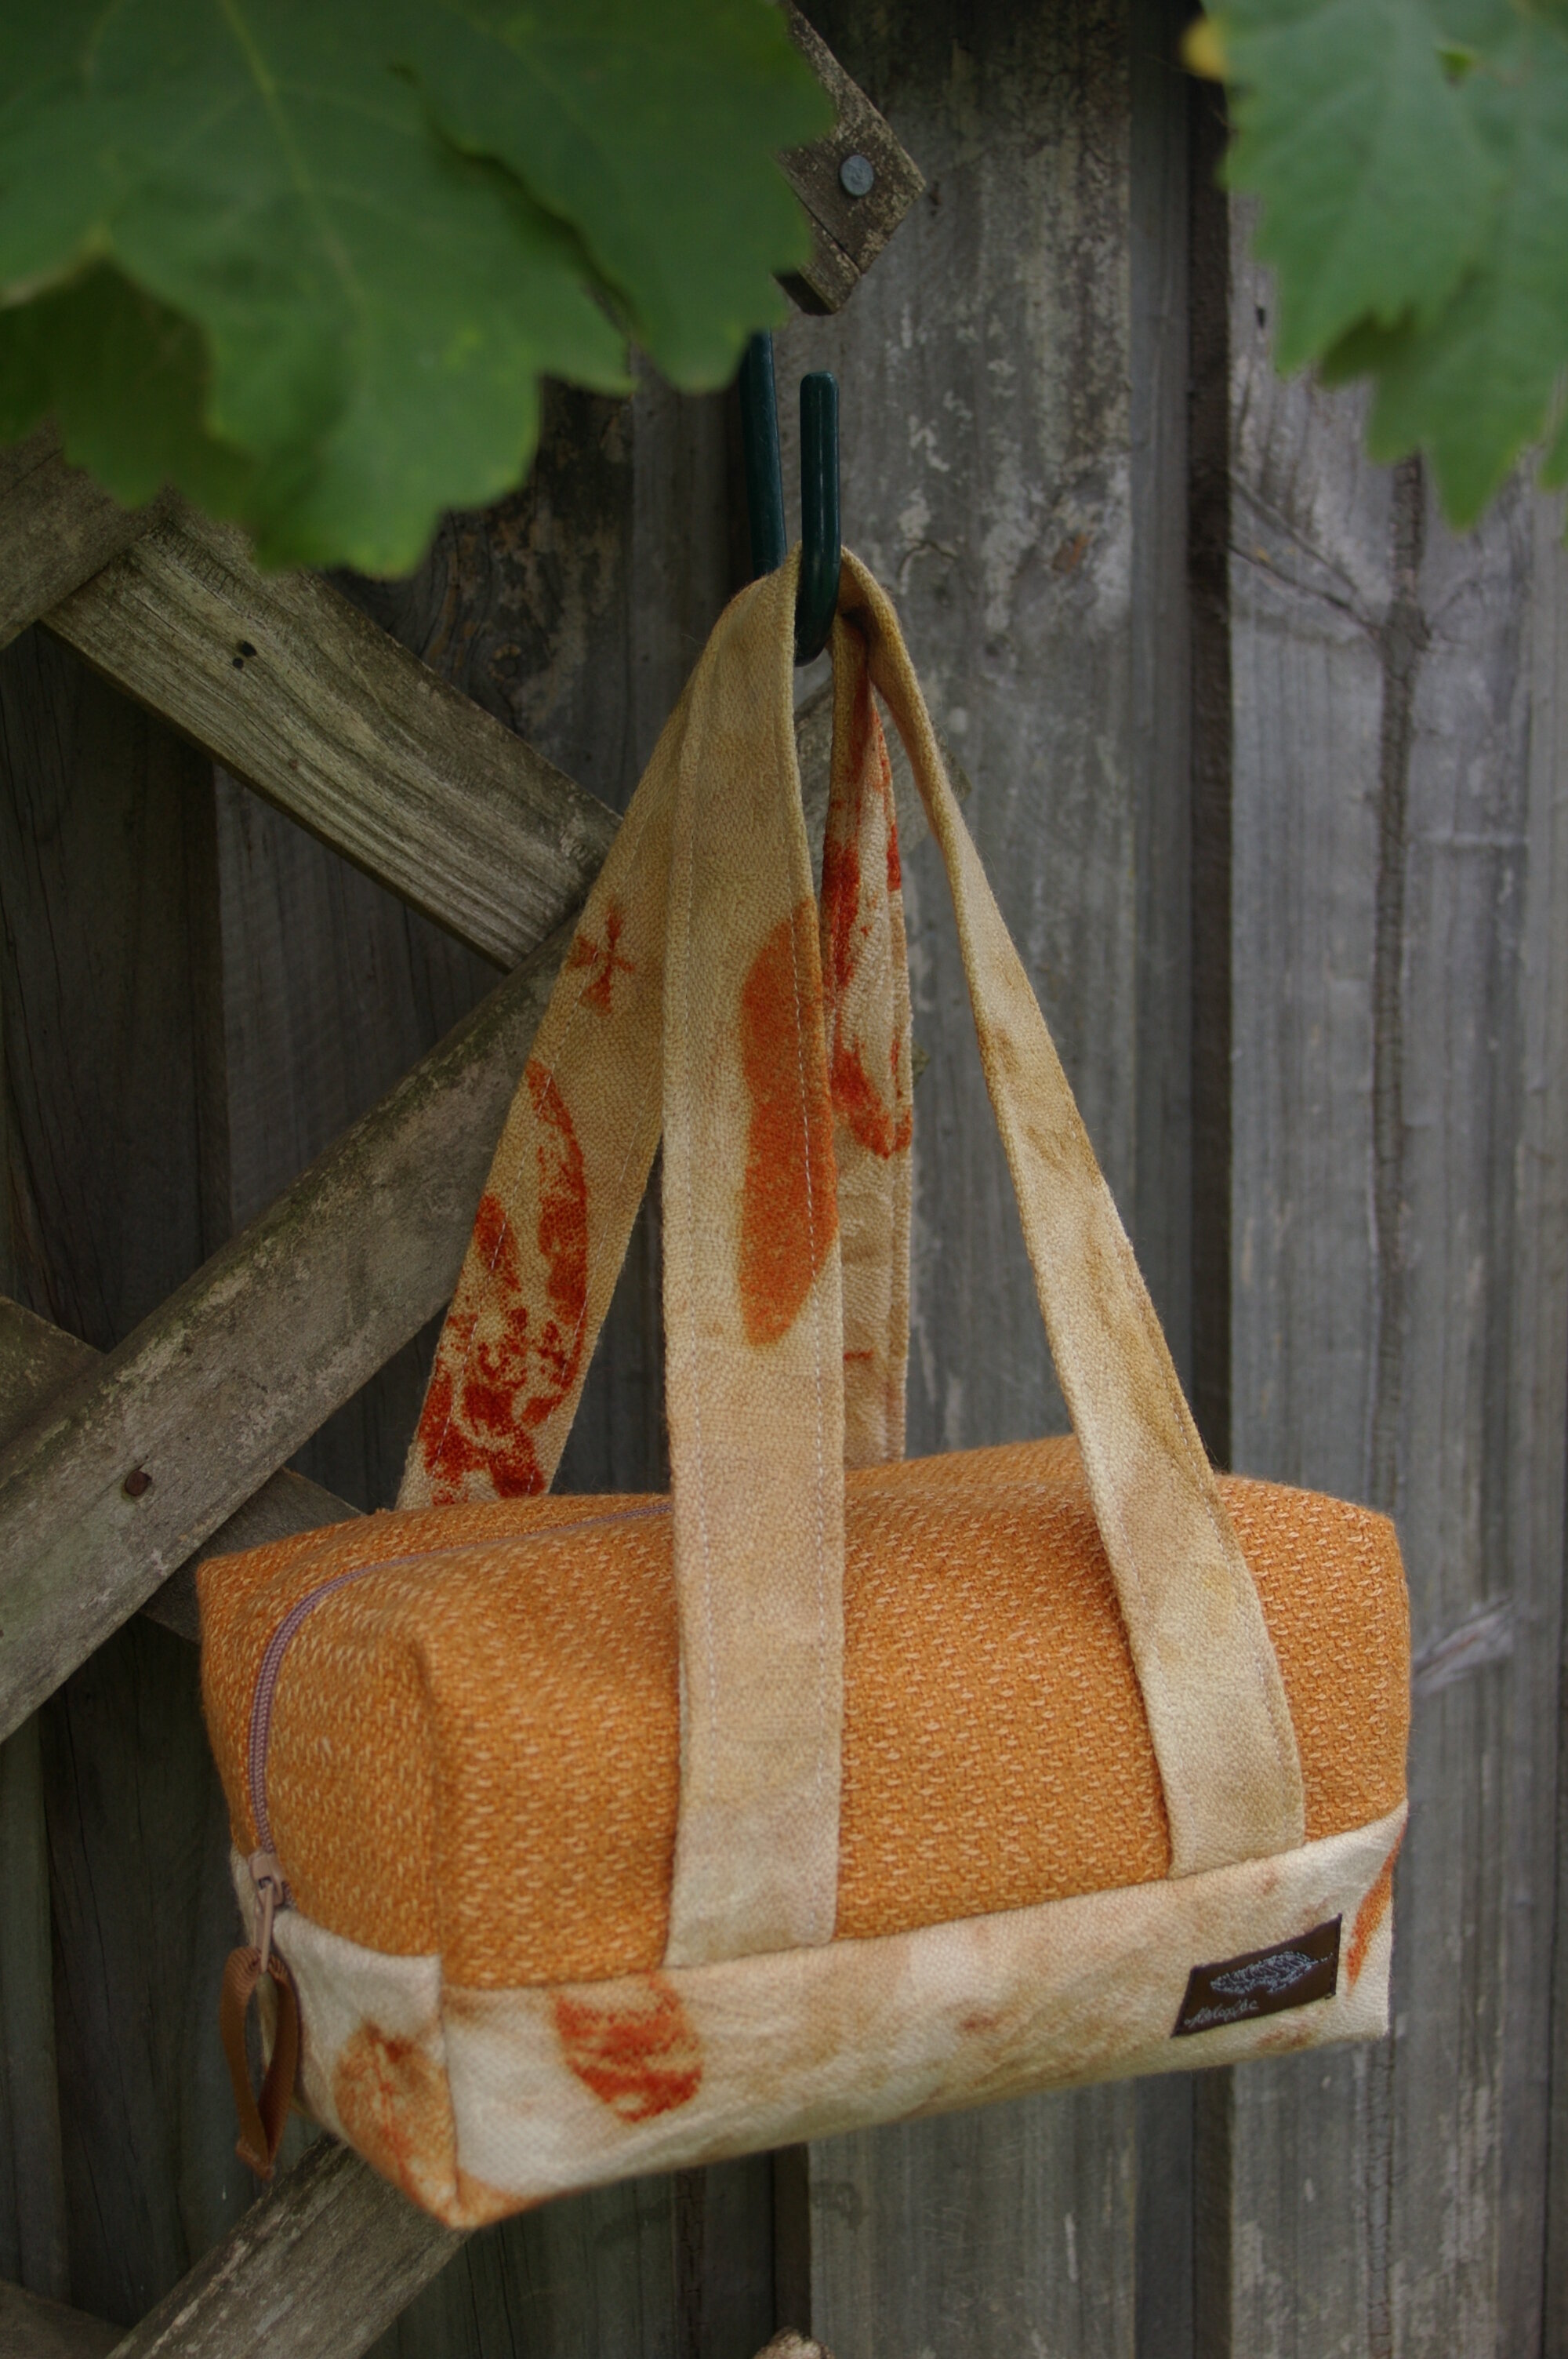
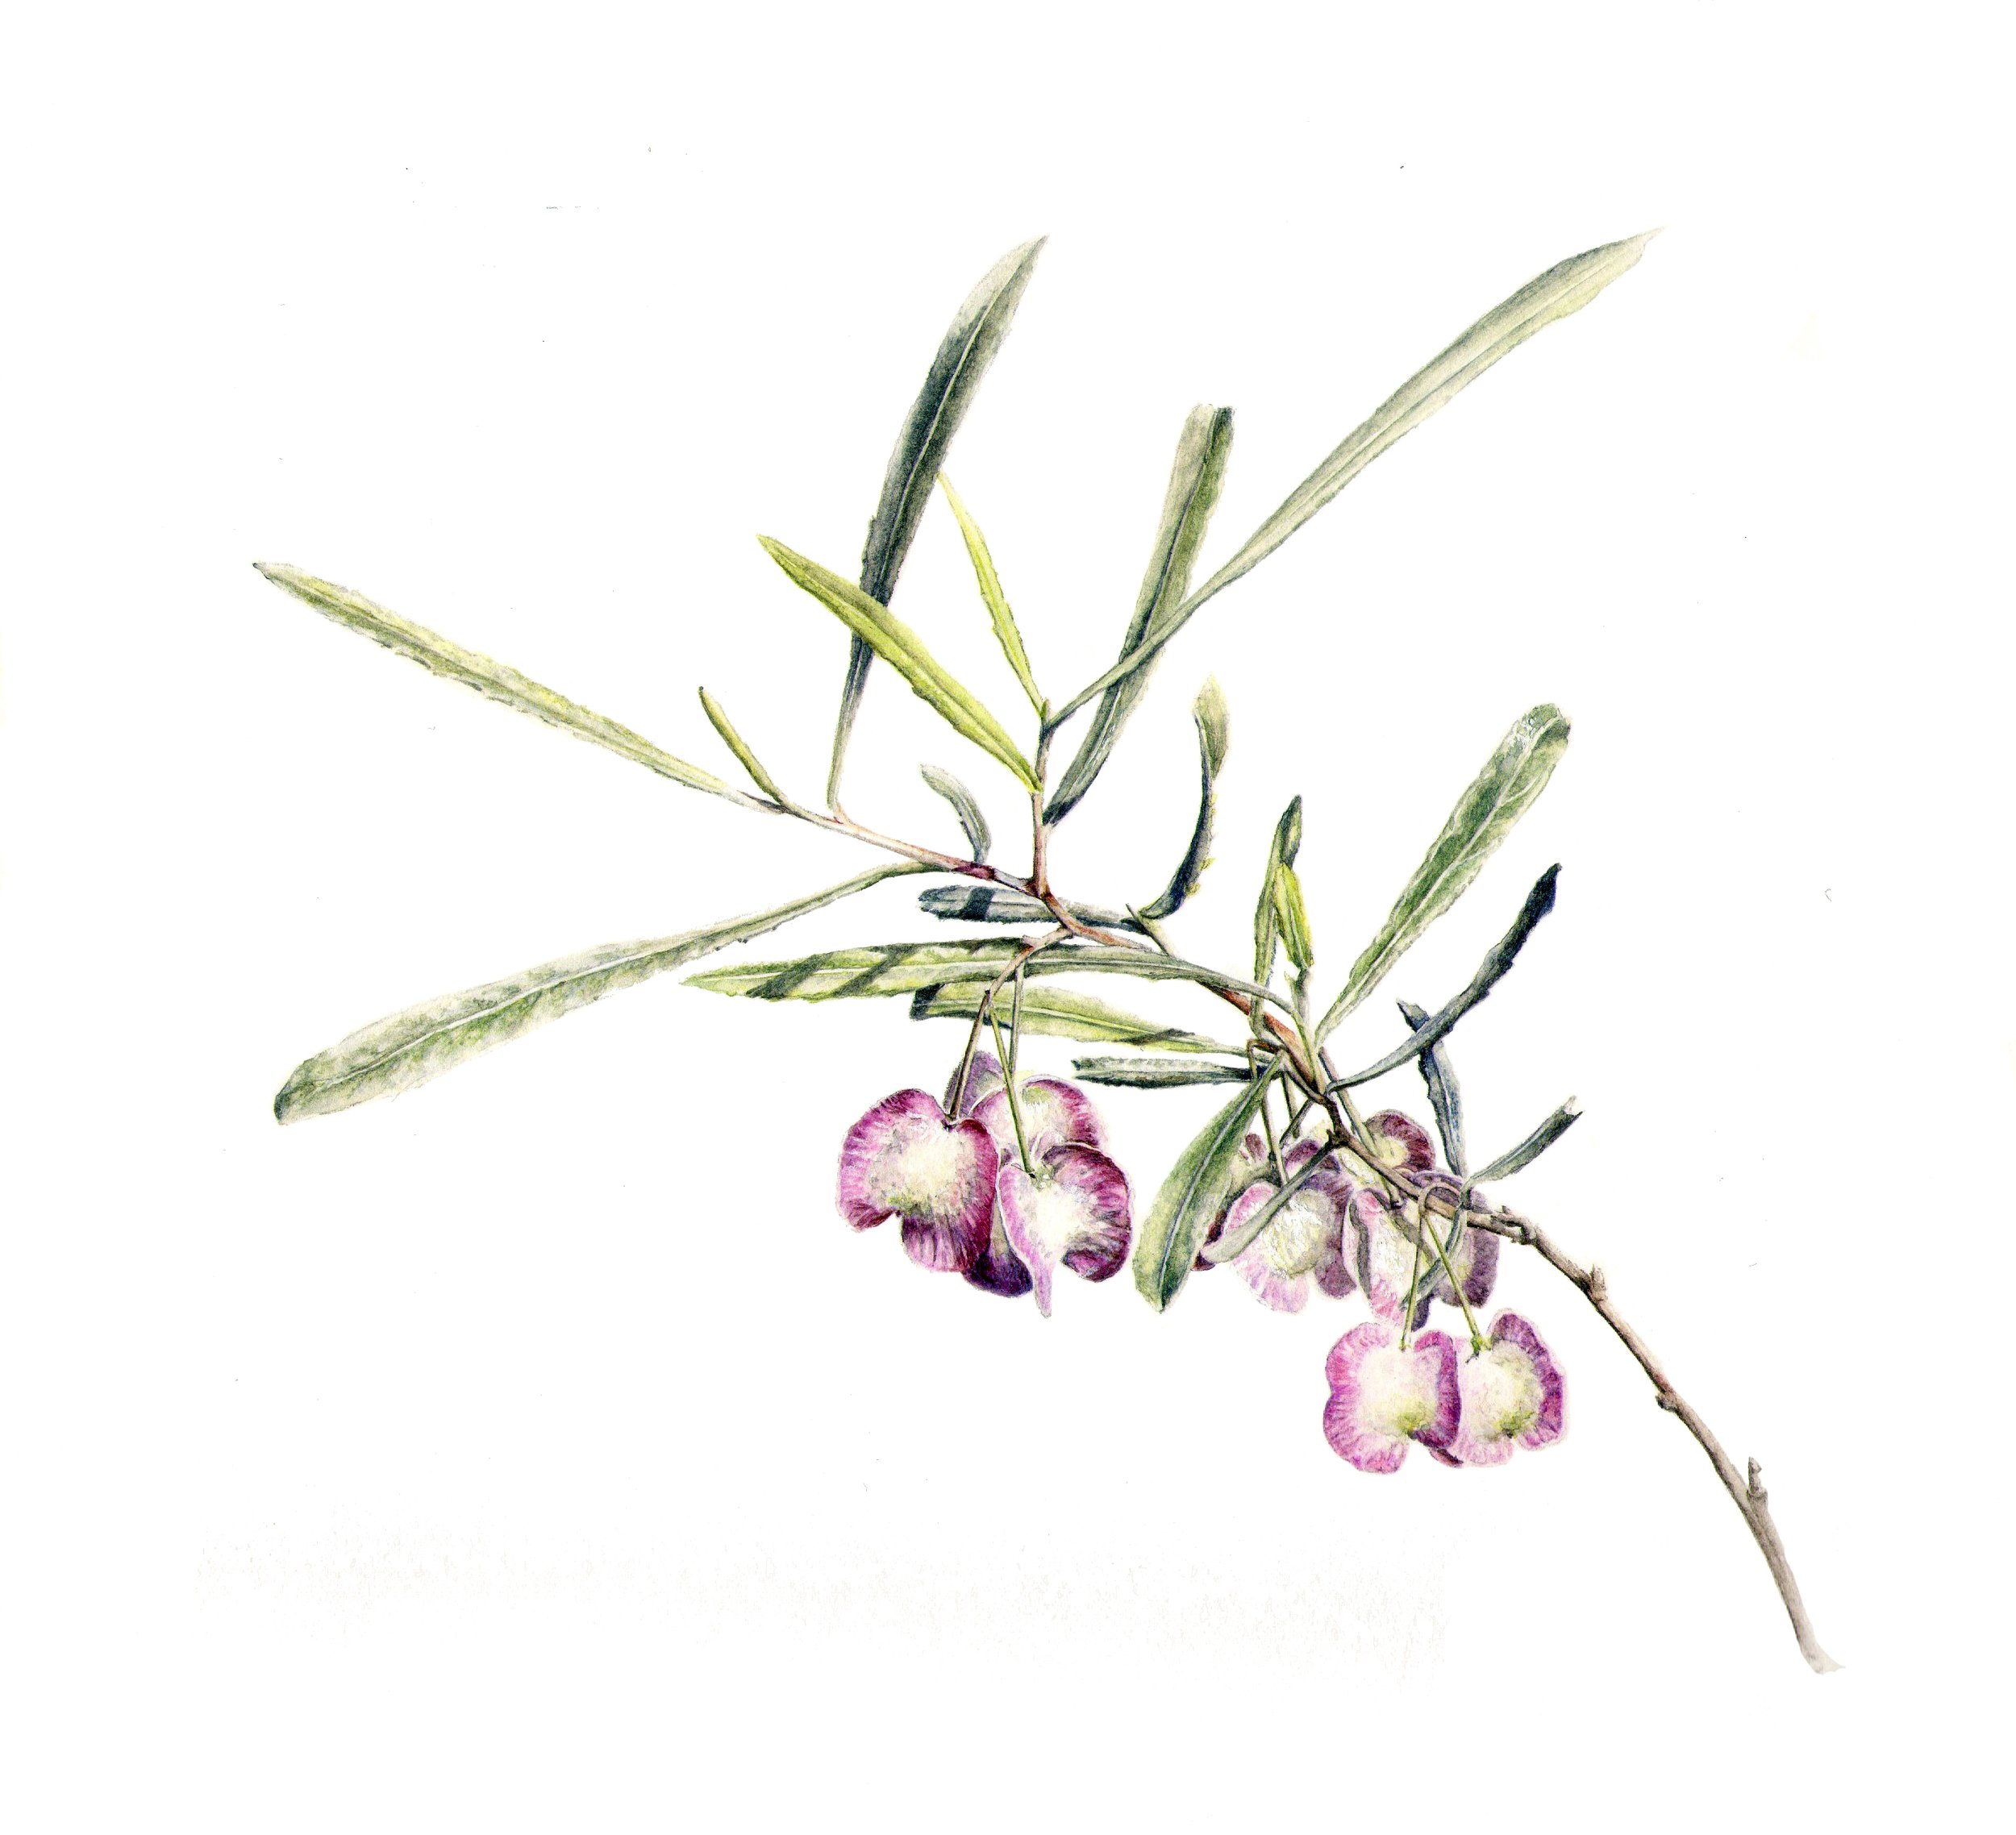
Some painting I did while I was thinking.


As an Exhibiting Artist myself it quickly dawned on me that I would no longer be able to frame my own work anymore, my Old Boss having taken all that lovely framing machinery with him to the south coast. ( Shout out for https://framingpieces.com.au )
So I set about making it possible to do my own framing from home. I quite enjoy many aspects of framing artwork. It utilises many of my skills and I found I had learnt a lot in my 8 years at the store.
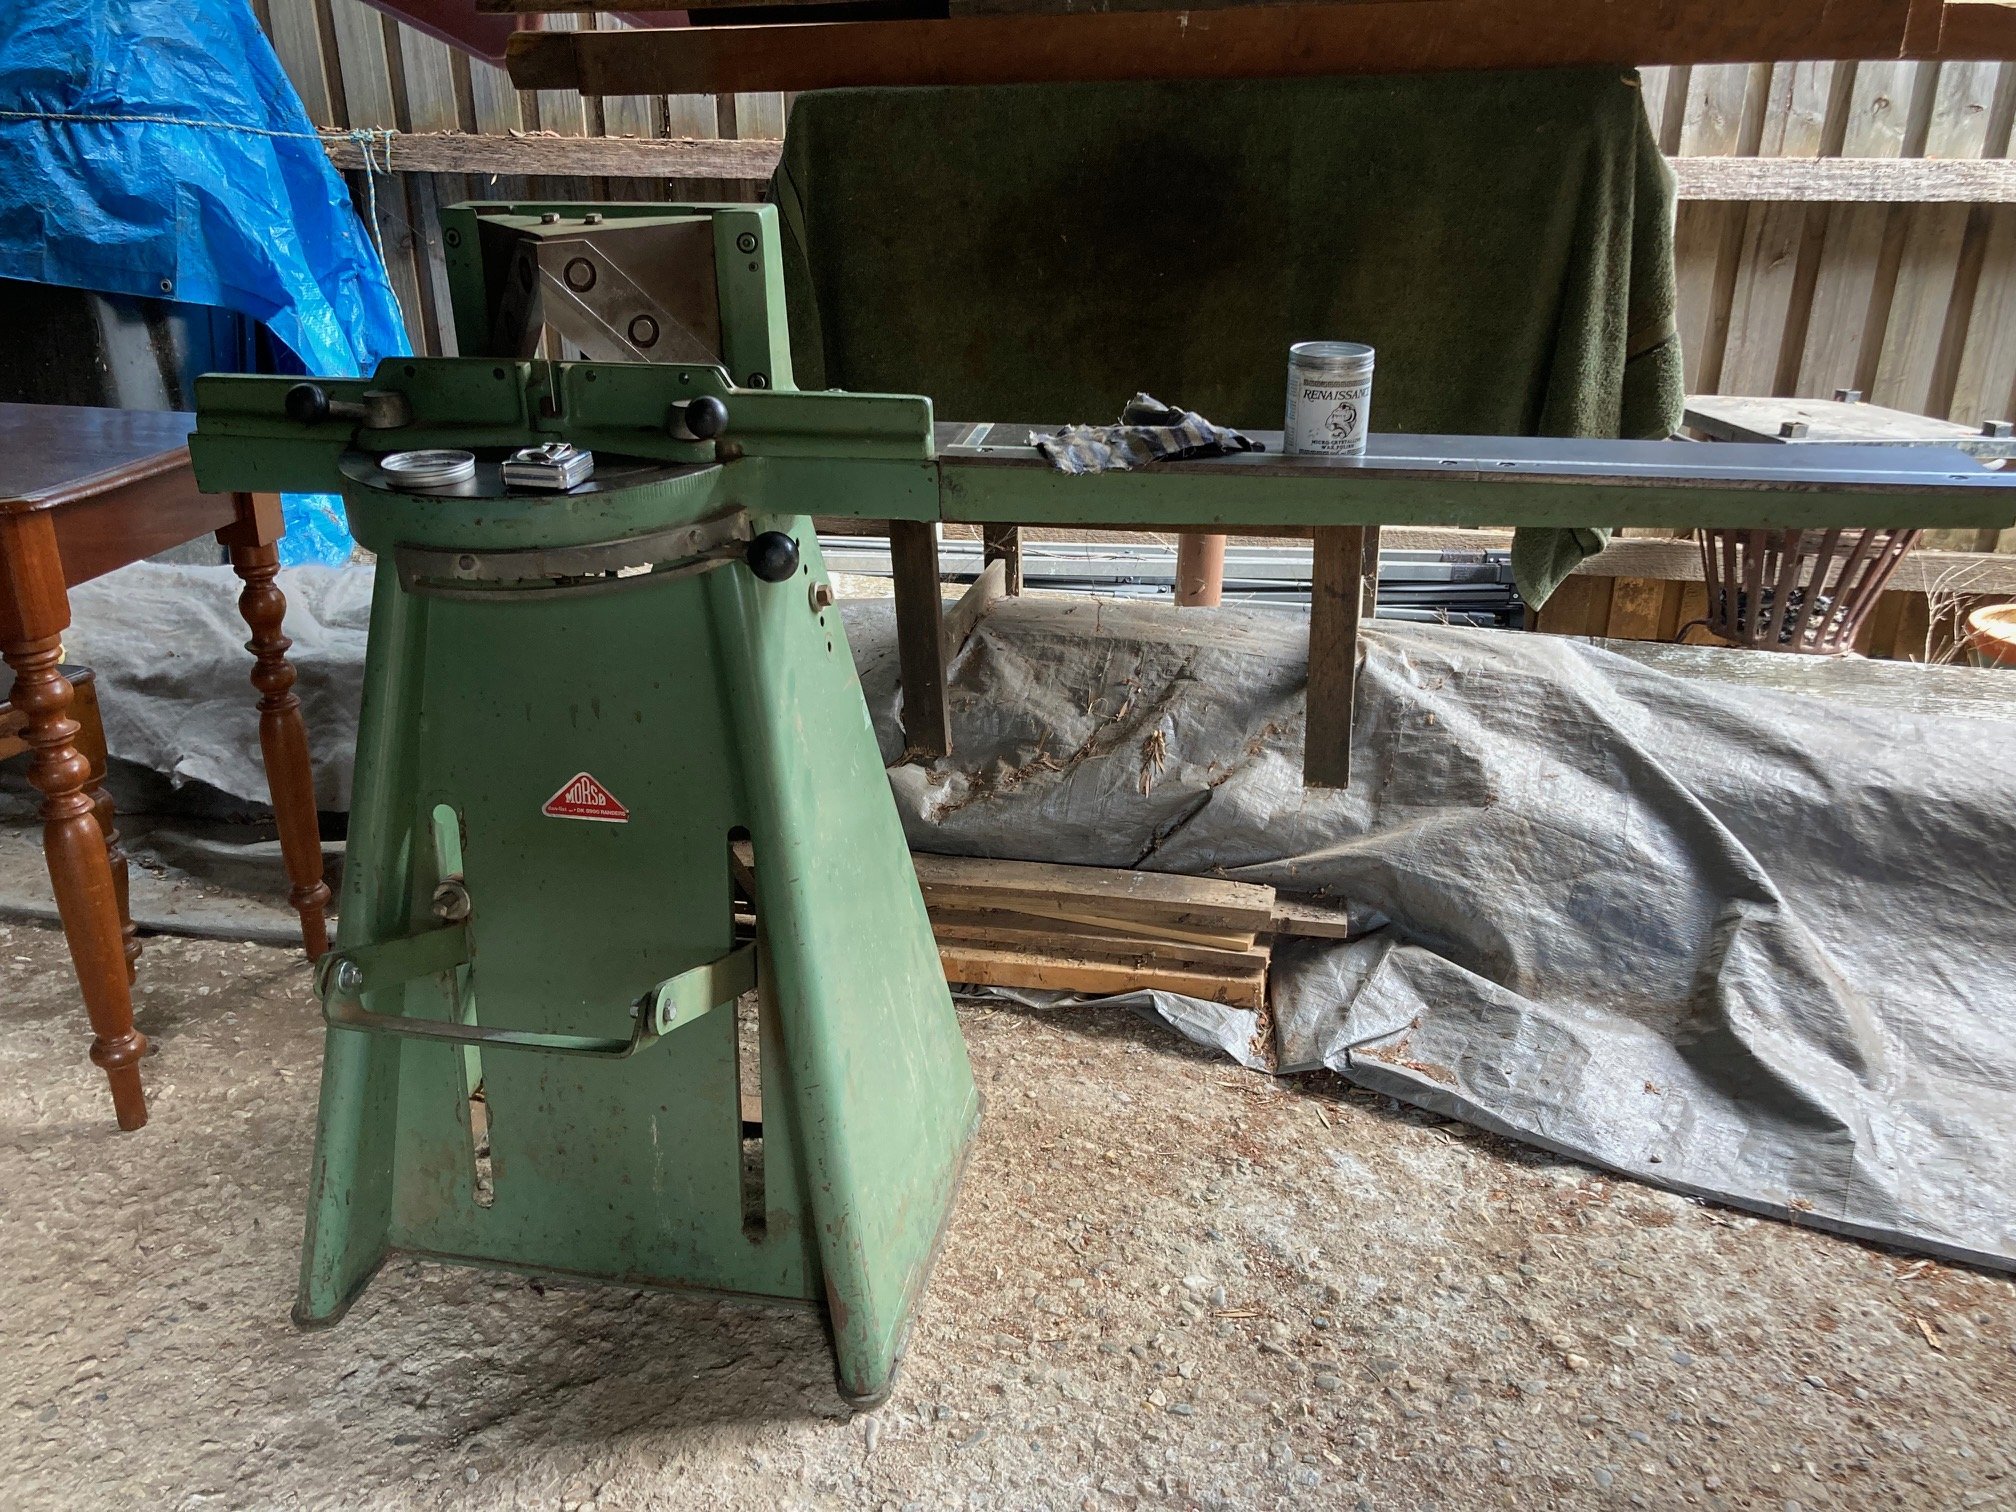
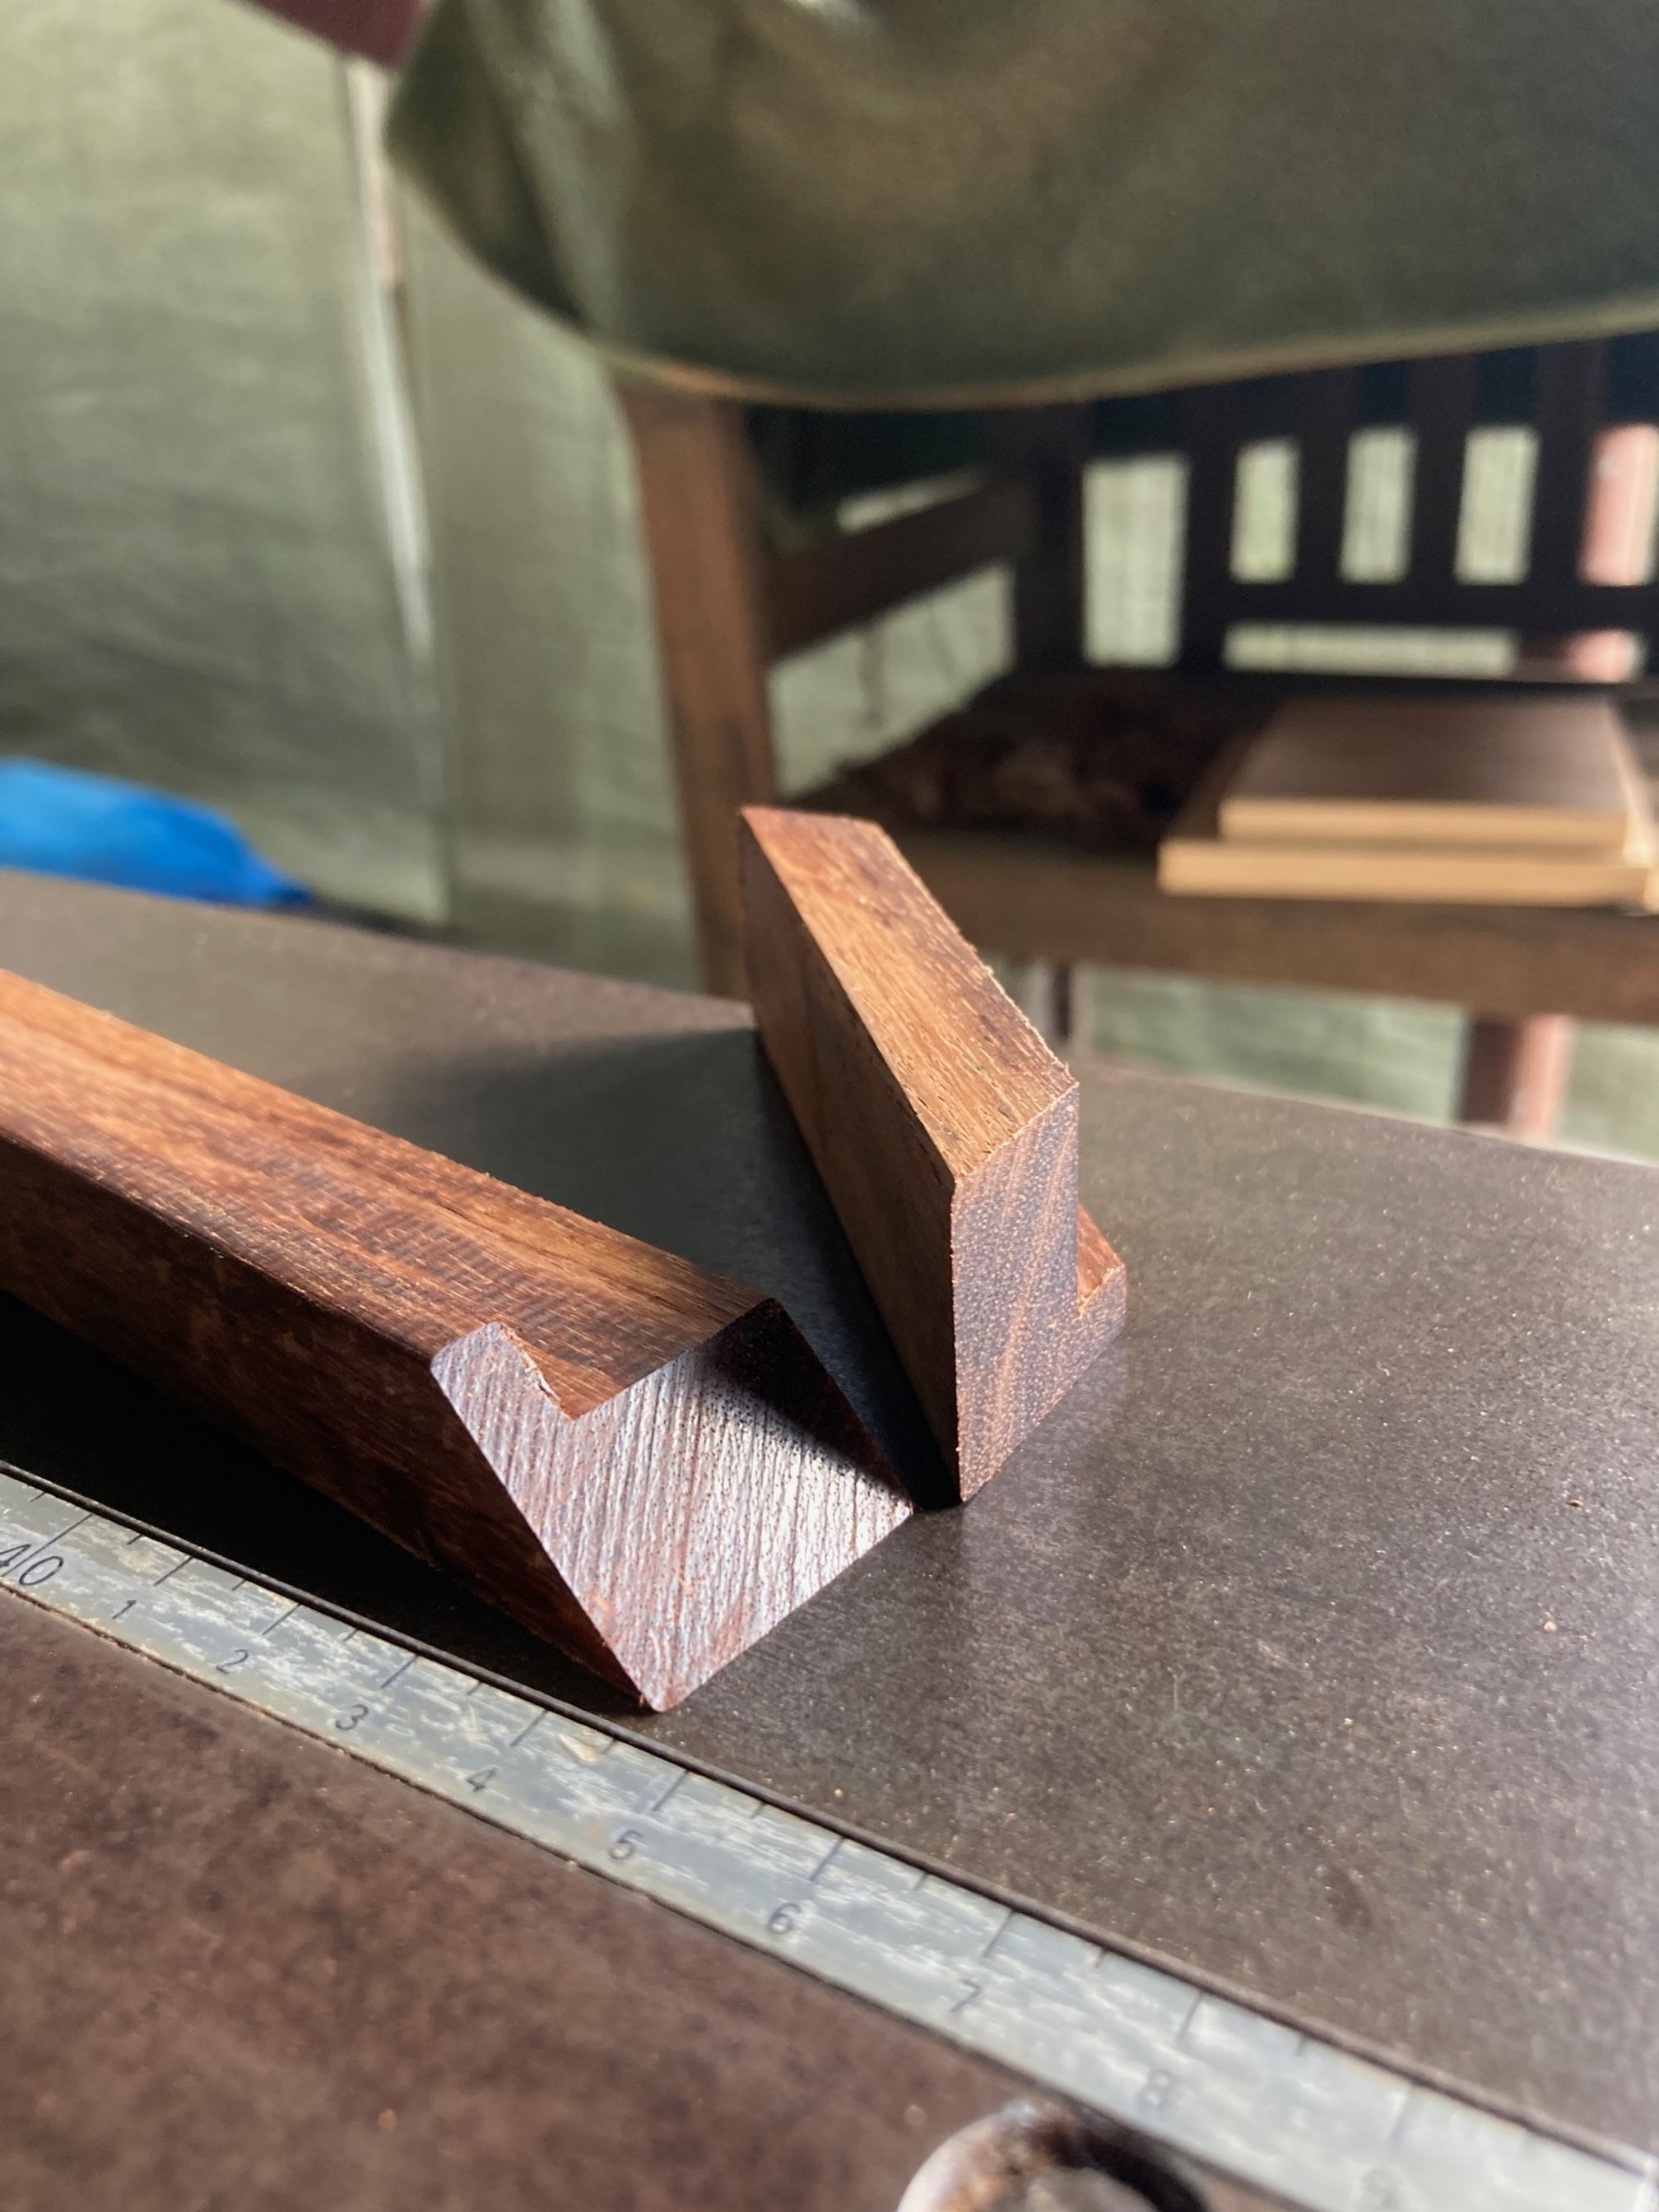
My first major acquisition was a Morso Mitre Guillotine. I found a second hand machine in good order. (It helped that I knew a bloke, who knew a bloke.) These are awesome machines, and with a little tweaking it is cutting beautifully.
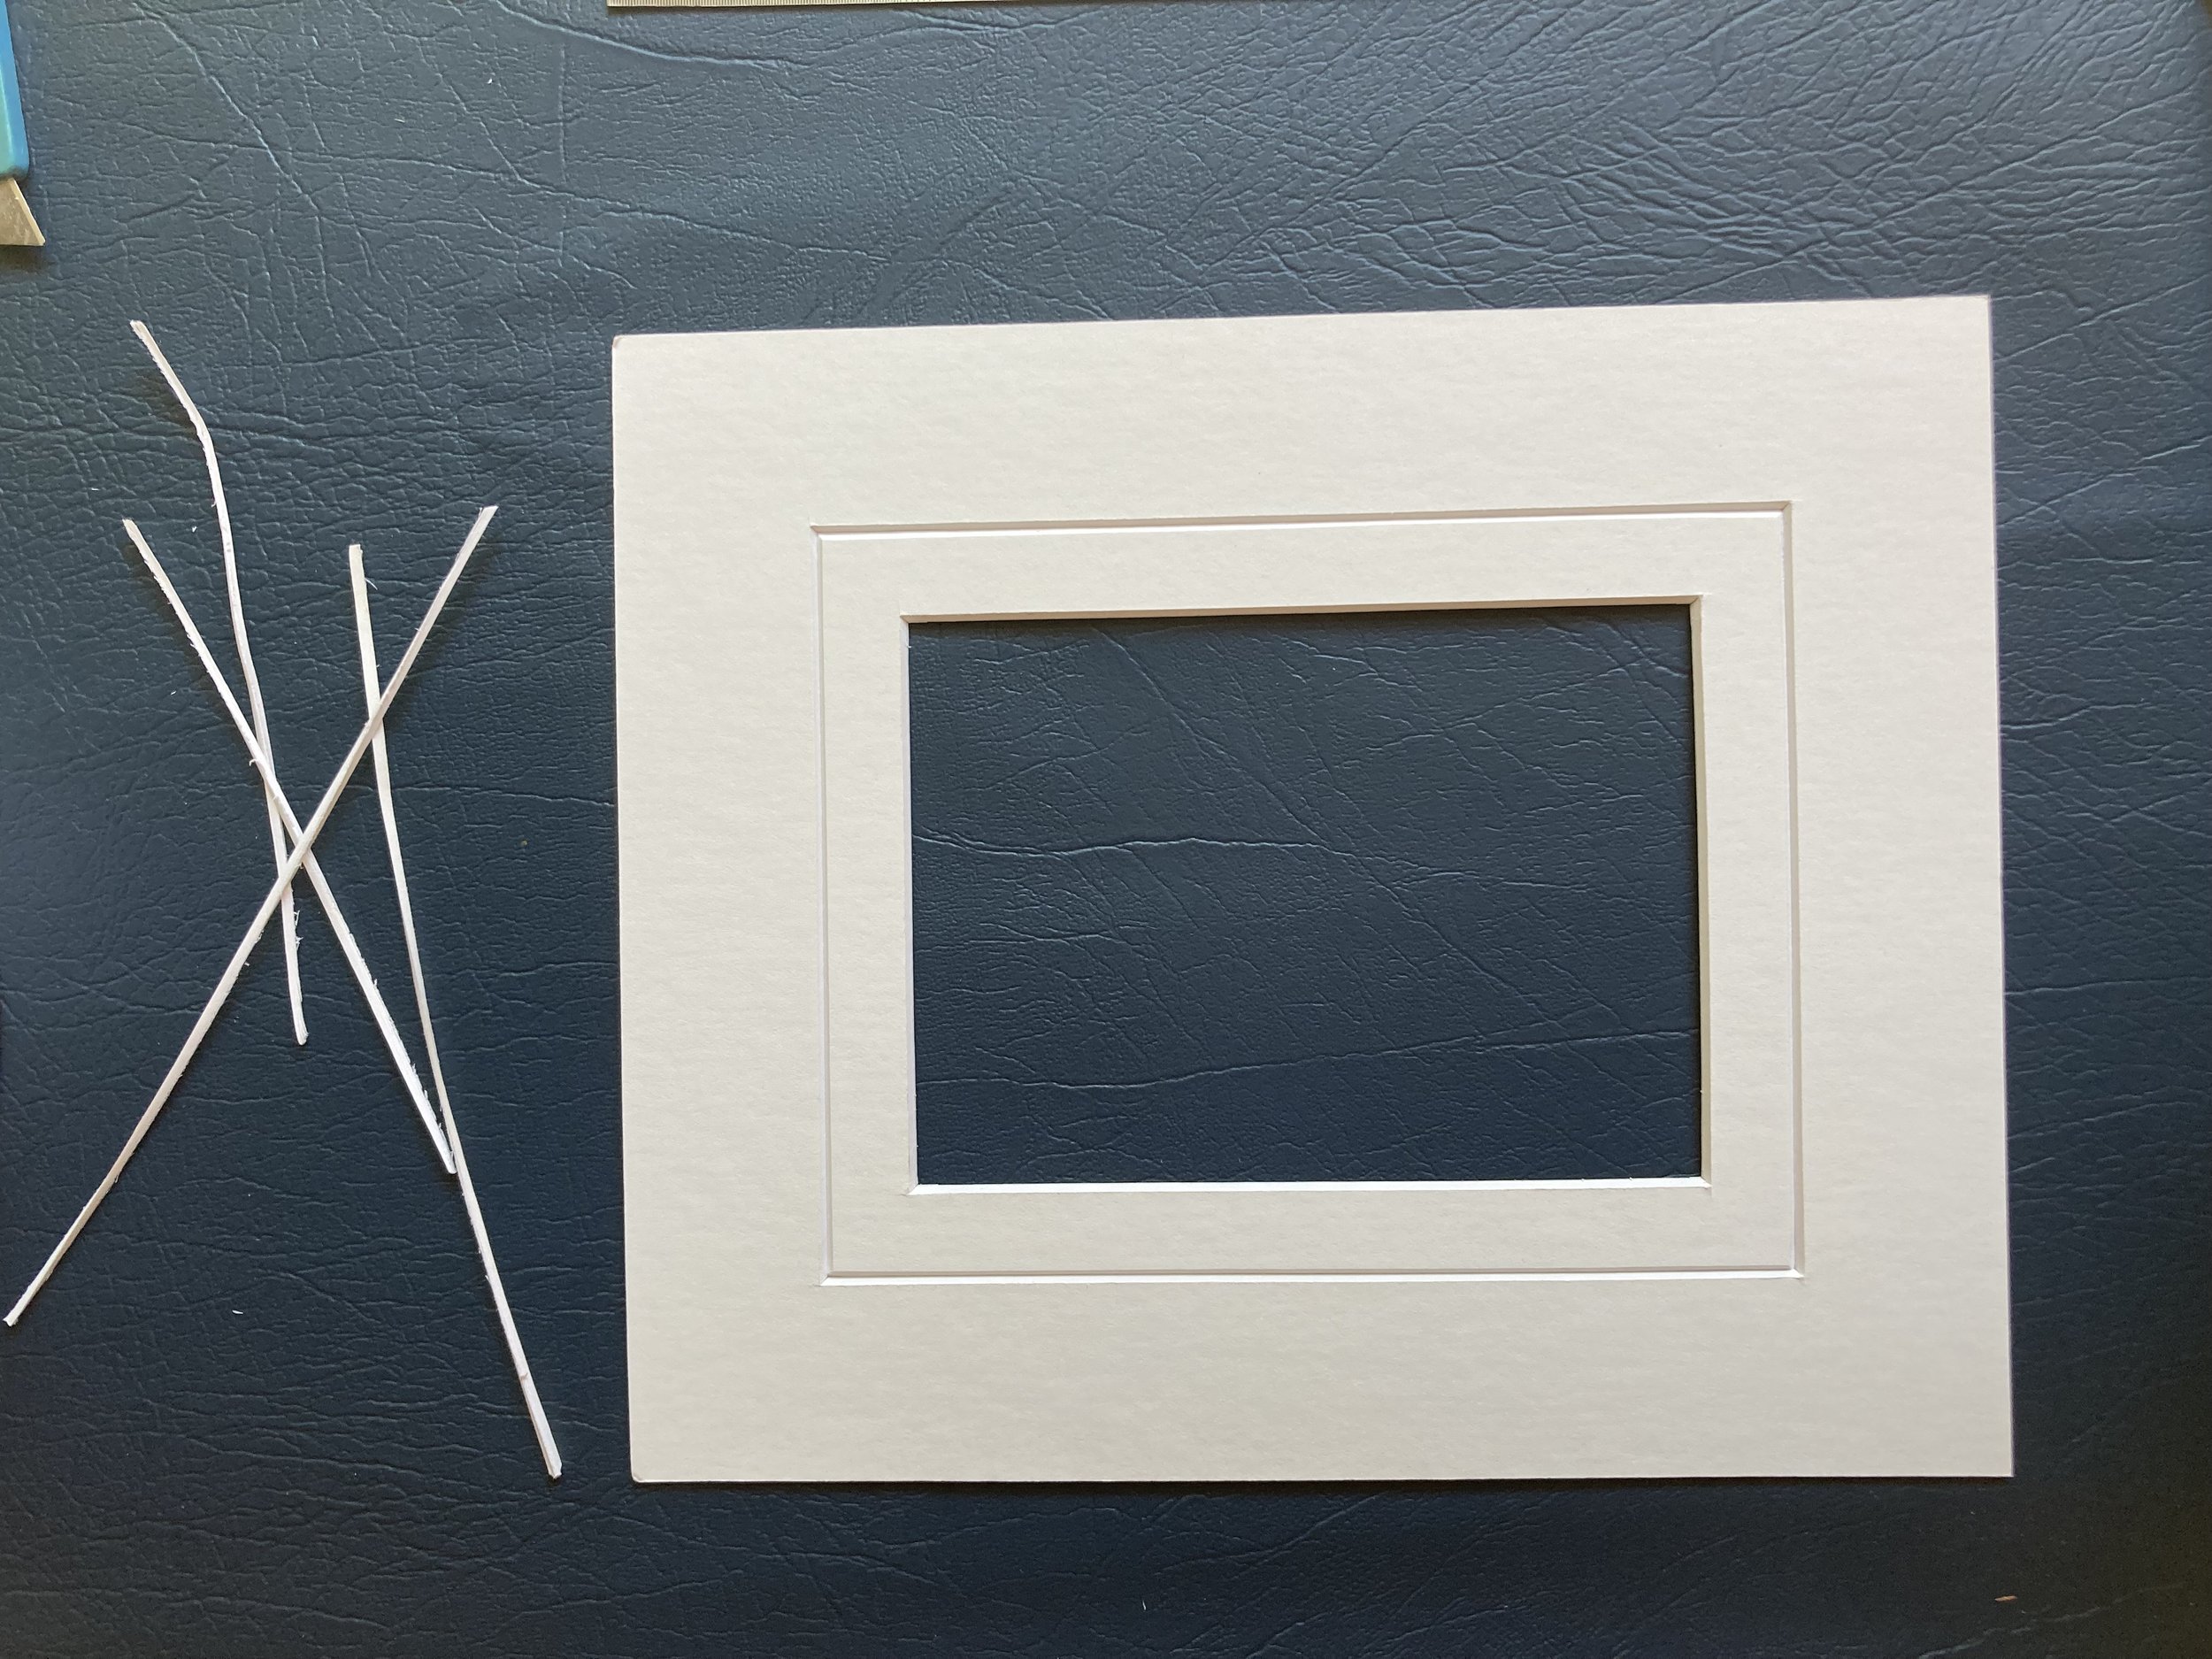
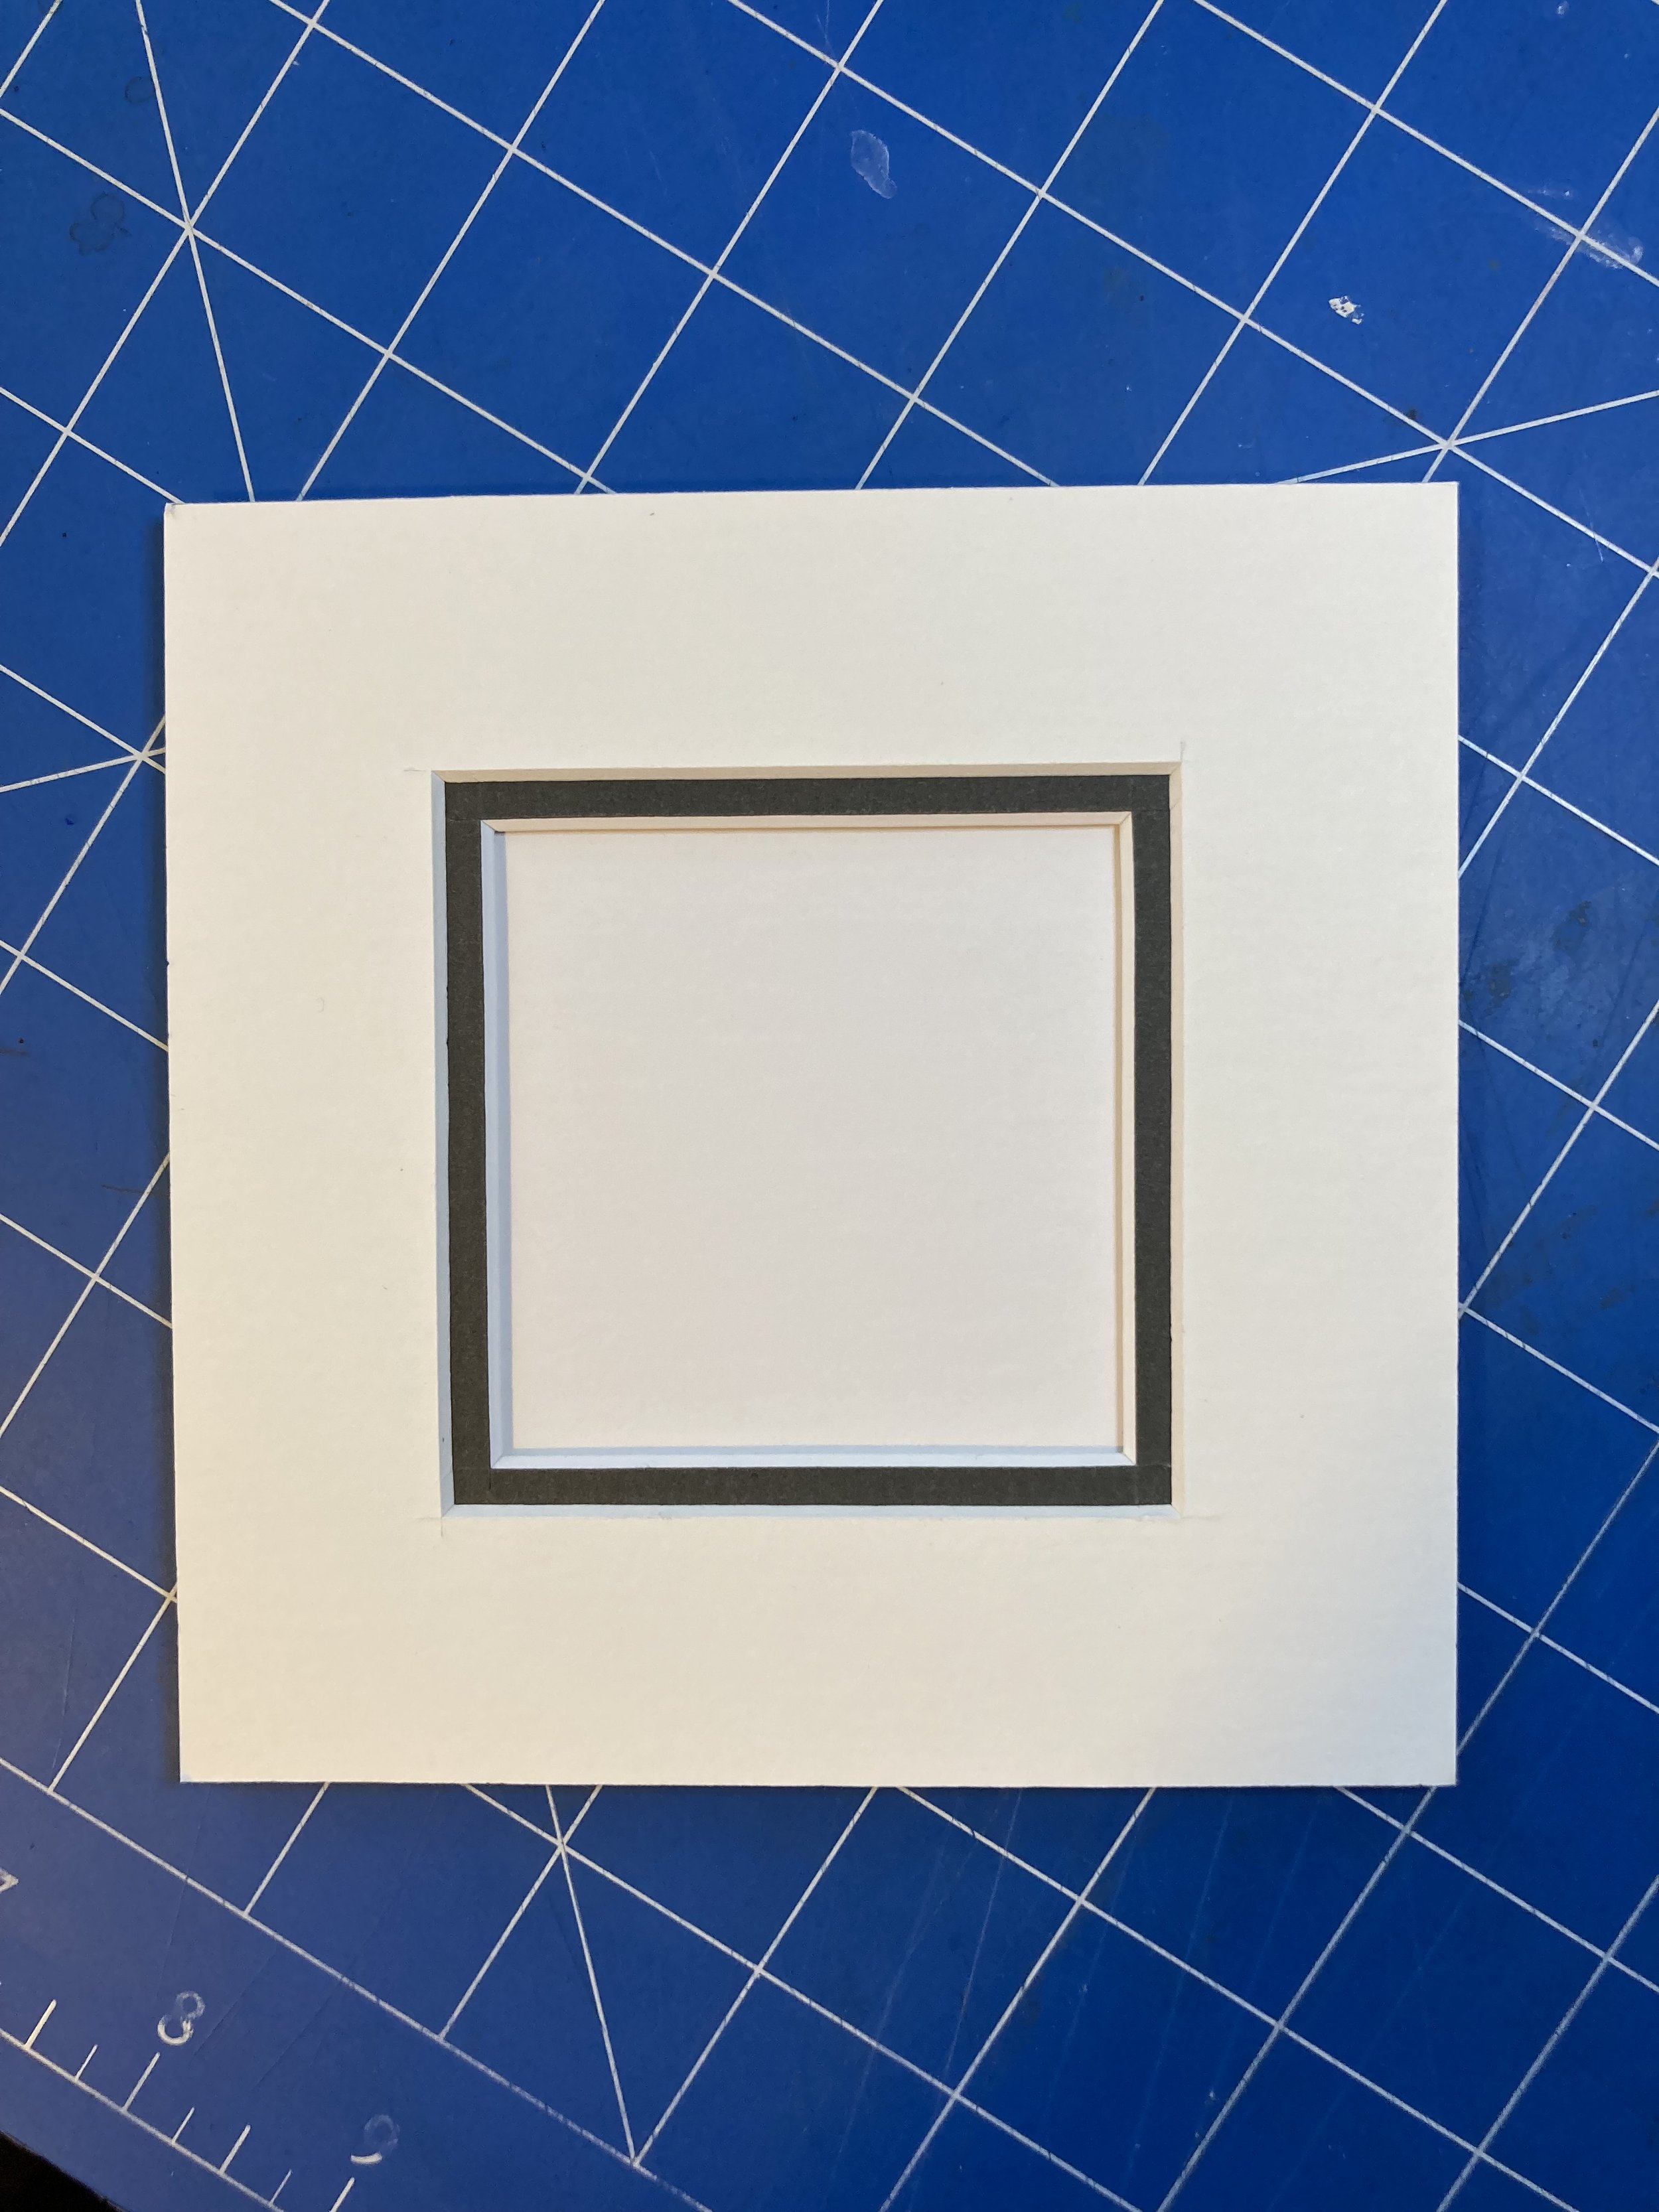
I was unsure how to tackle Mat cutting at first, and thought perhaps I would outsource it. On a visit to my friend and fellow Artist Amanda, she produced a vintage C&H Bainbridge mat cutter she had in her shed that was in good condition but she couldn’t get it working well. She offered me the challenge to see if I could get it going. I had never cut mats by hand before being spoiled with a C&C mat cutter at work, where you cut the mat to size, plug dimensions into the computer and hit cut.
The machine needed a good clean, some lubrication and a good square up. After which it was really practice and trial and error to produce a well cut mat. Sharp blades and attention to all the little details of posture, blade depth and setting the over cuts correctly all contribute to achieving this.

My next big issue was space and storage. I live in a small house and mat board, foam-core and glass are not exactly small or easy to store. My other half helped me make a storage rack for the glass which was simple enough, but what to do with the mat board and foam-core and all the off-cuts produced?
Eventually I decided map drawers were the way to go and I was lucky to find another framer who was selling a pair locally. I had no idea how heavy they were and I really exacerbated an existing back injury whilst moving them! However they perfectly solved my storage issues.
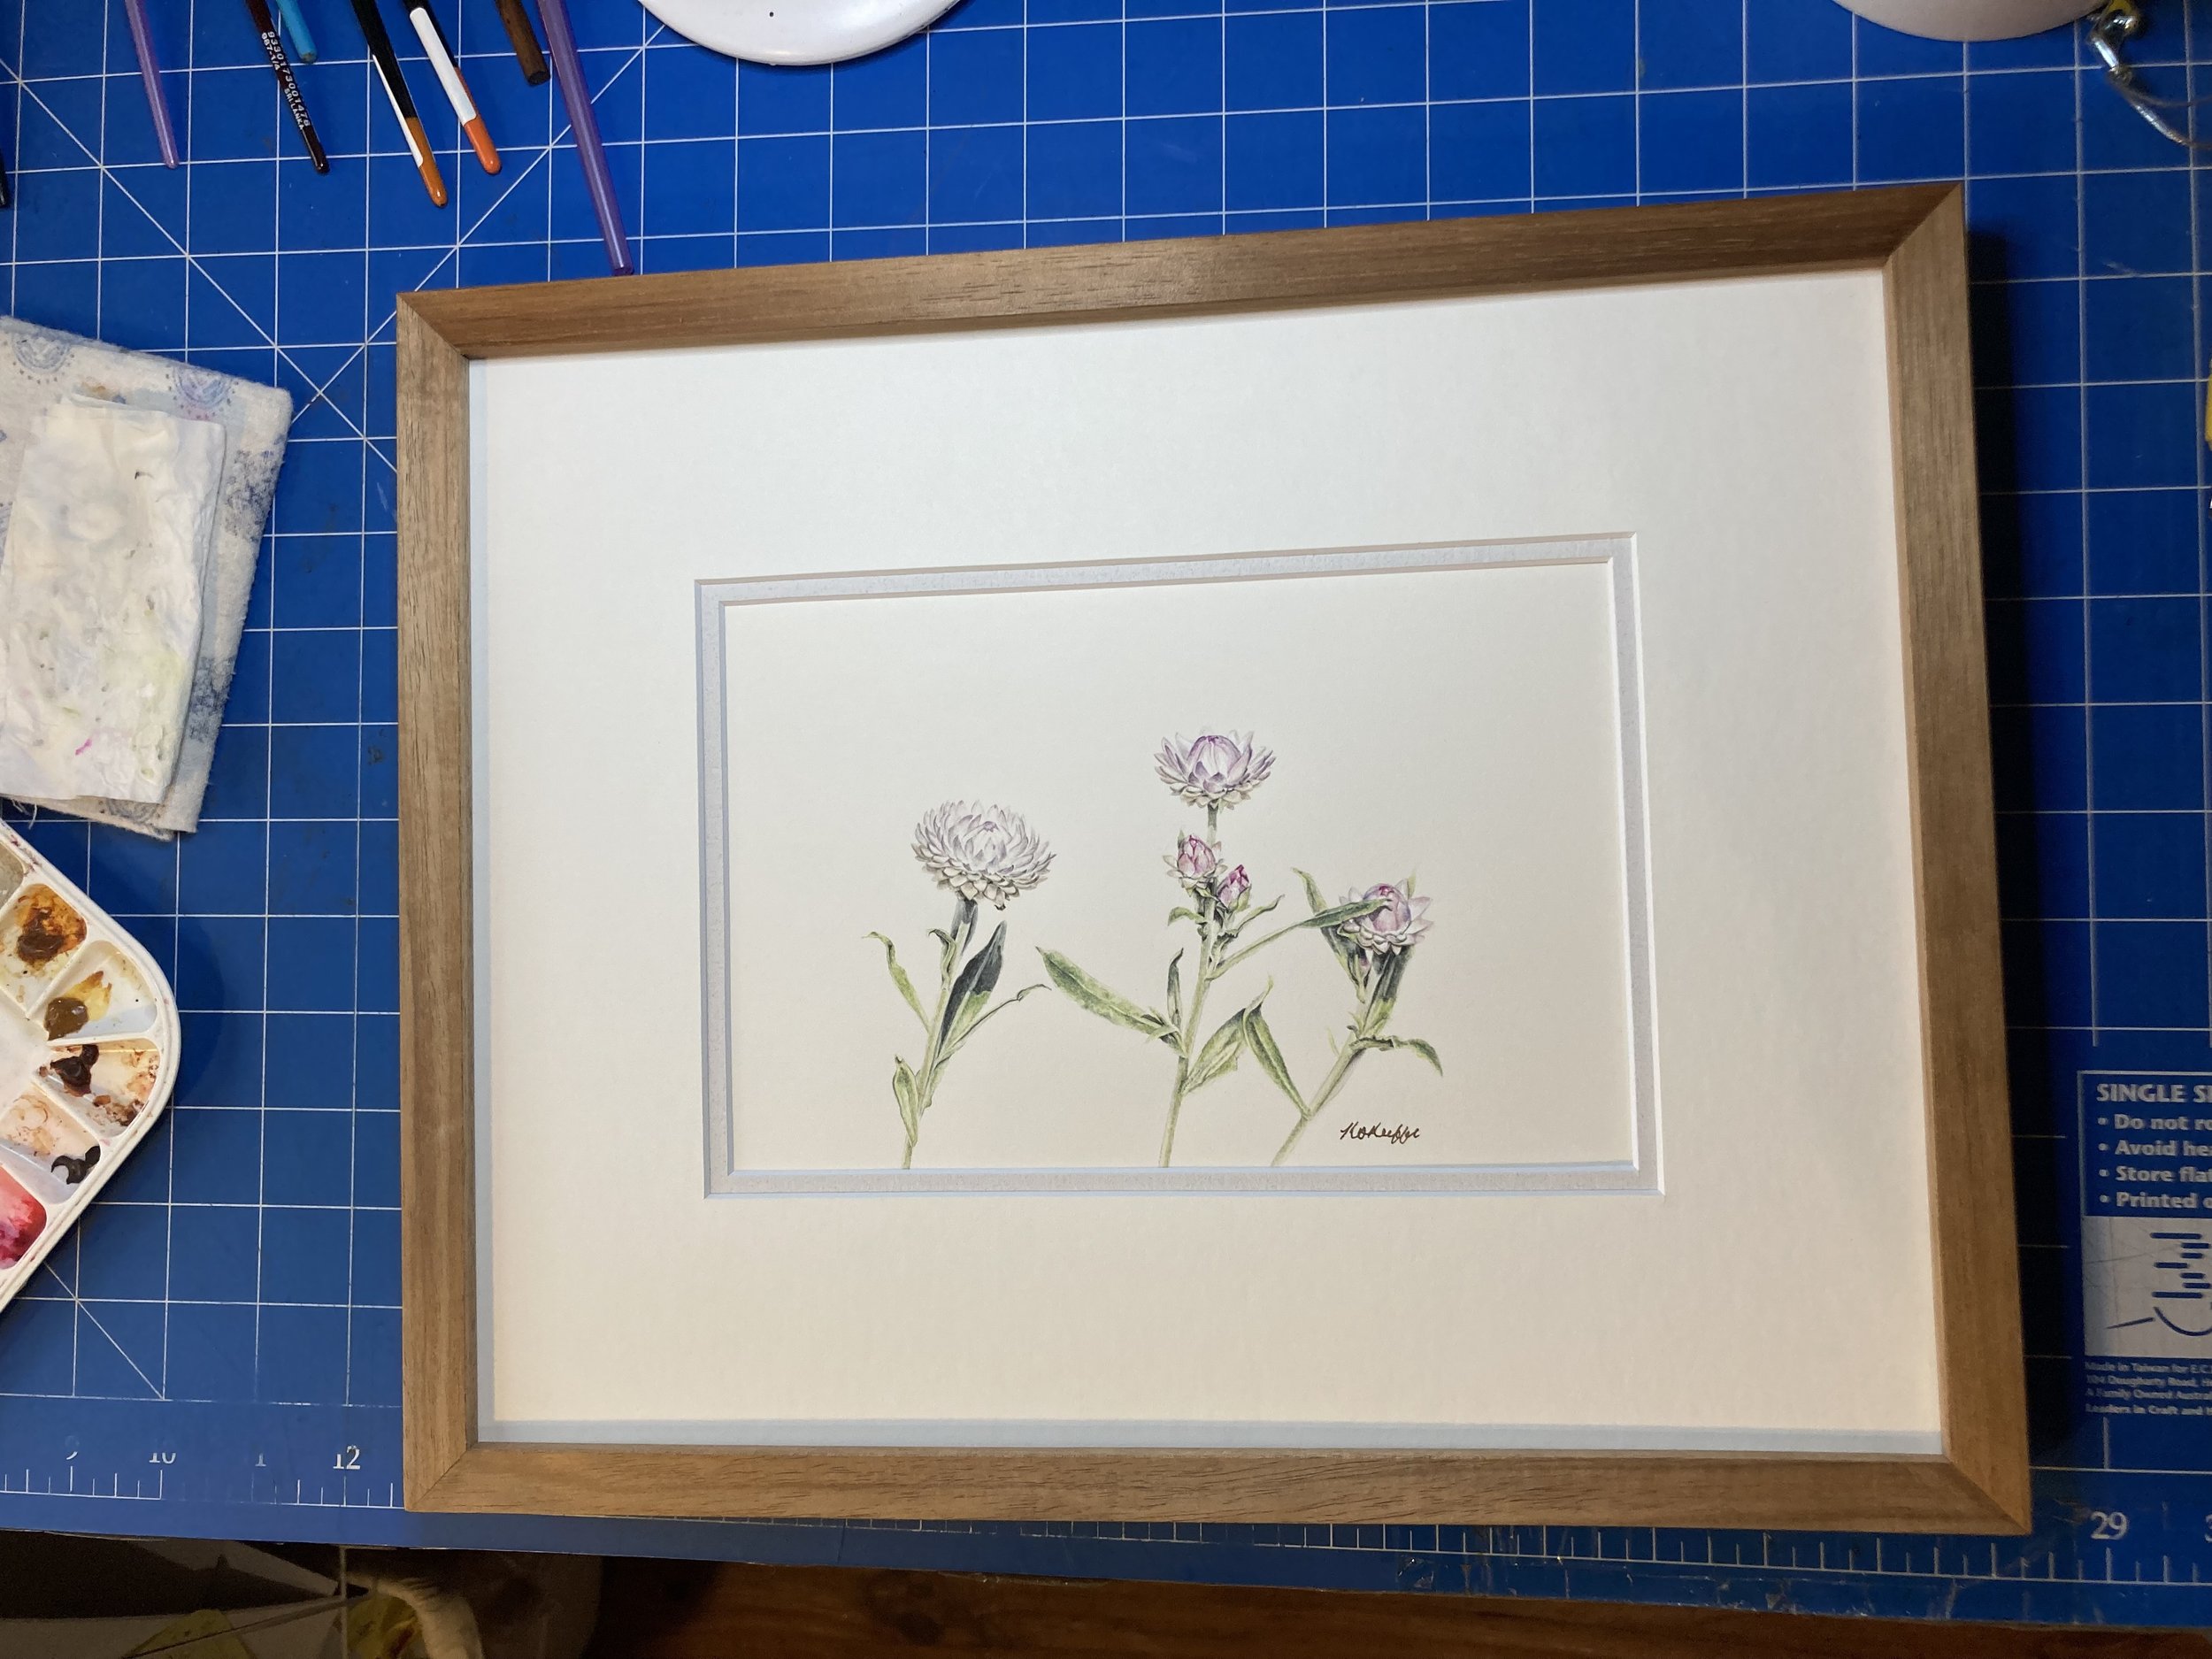
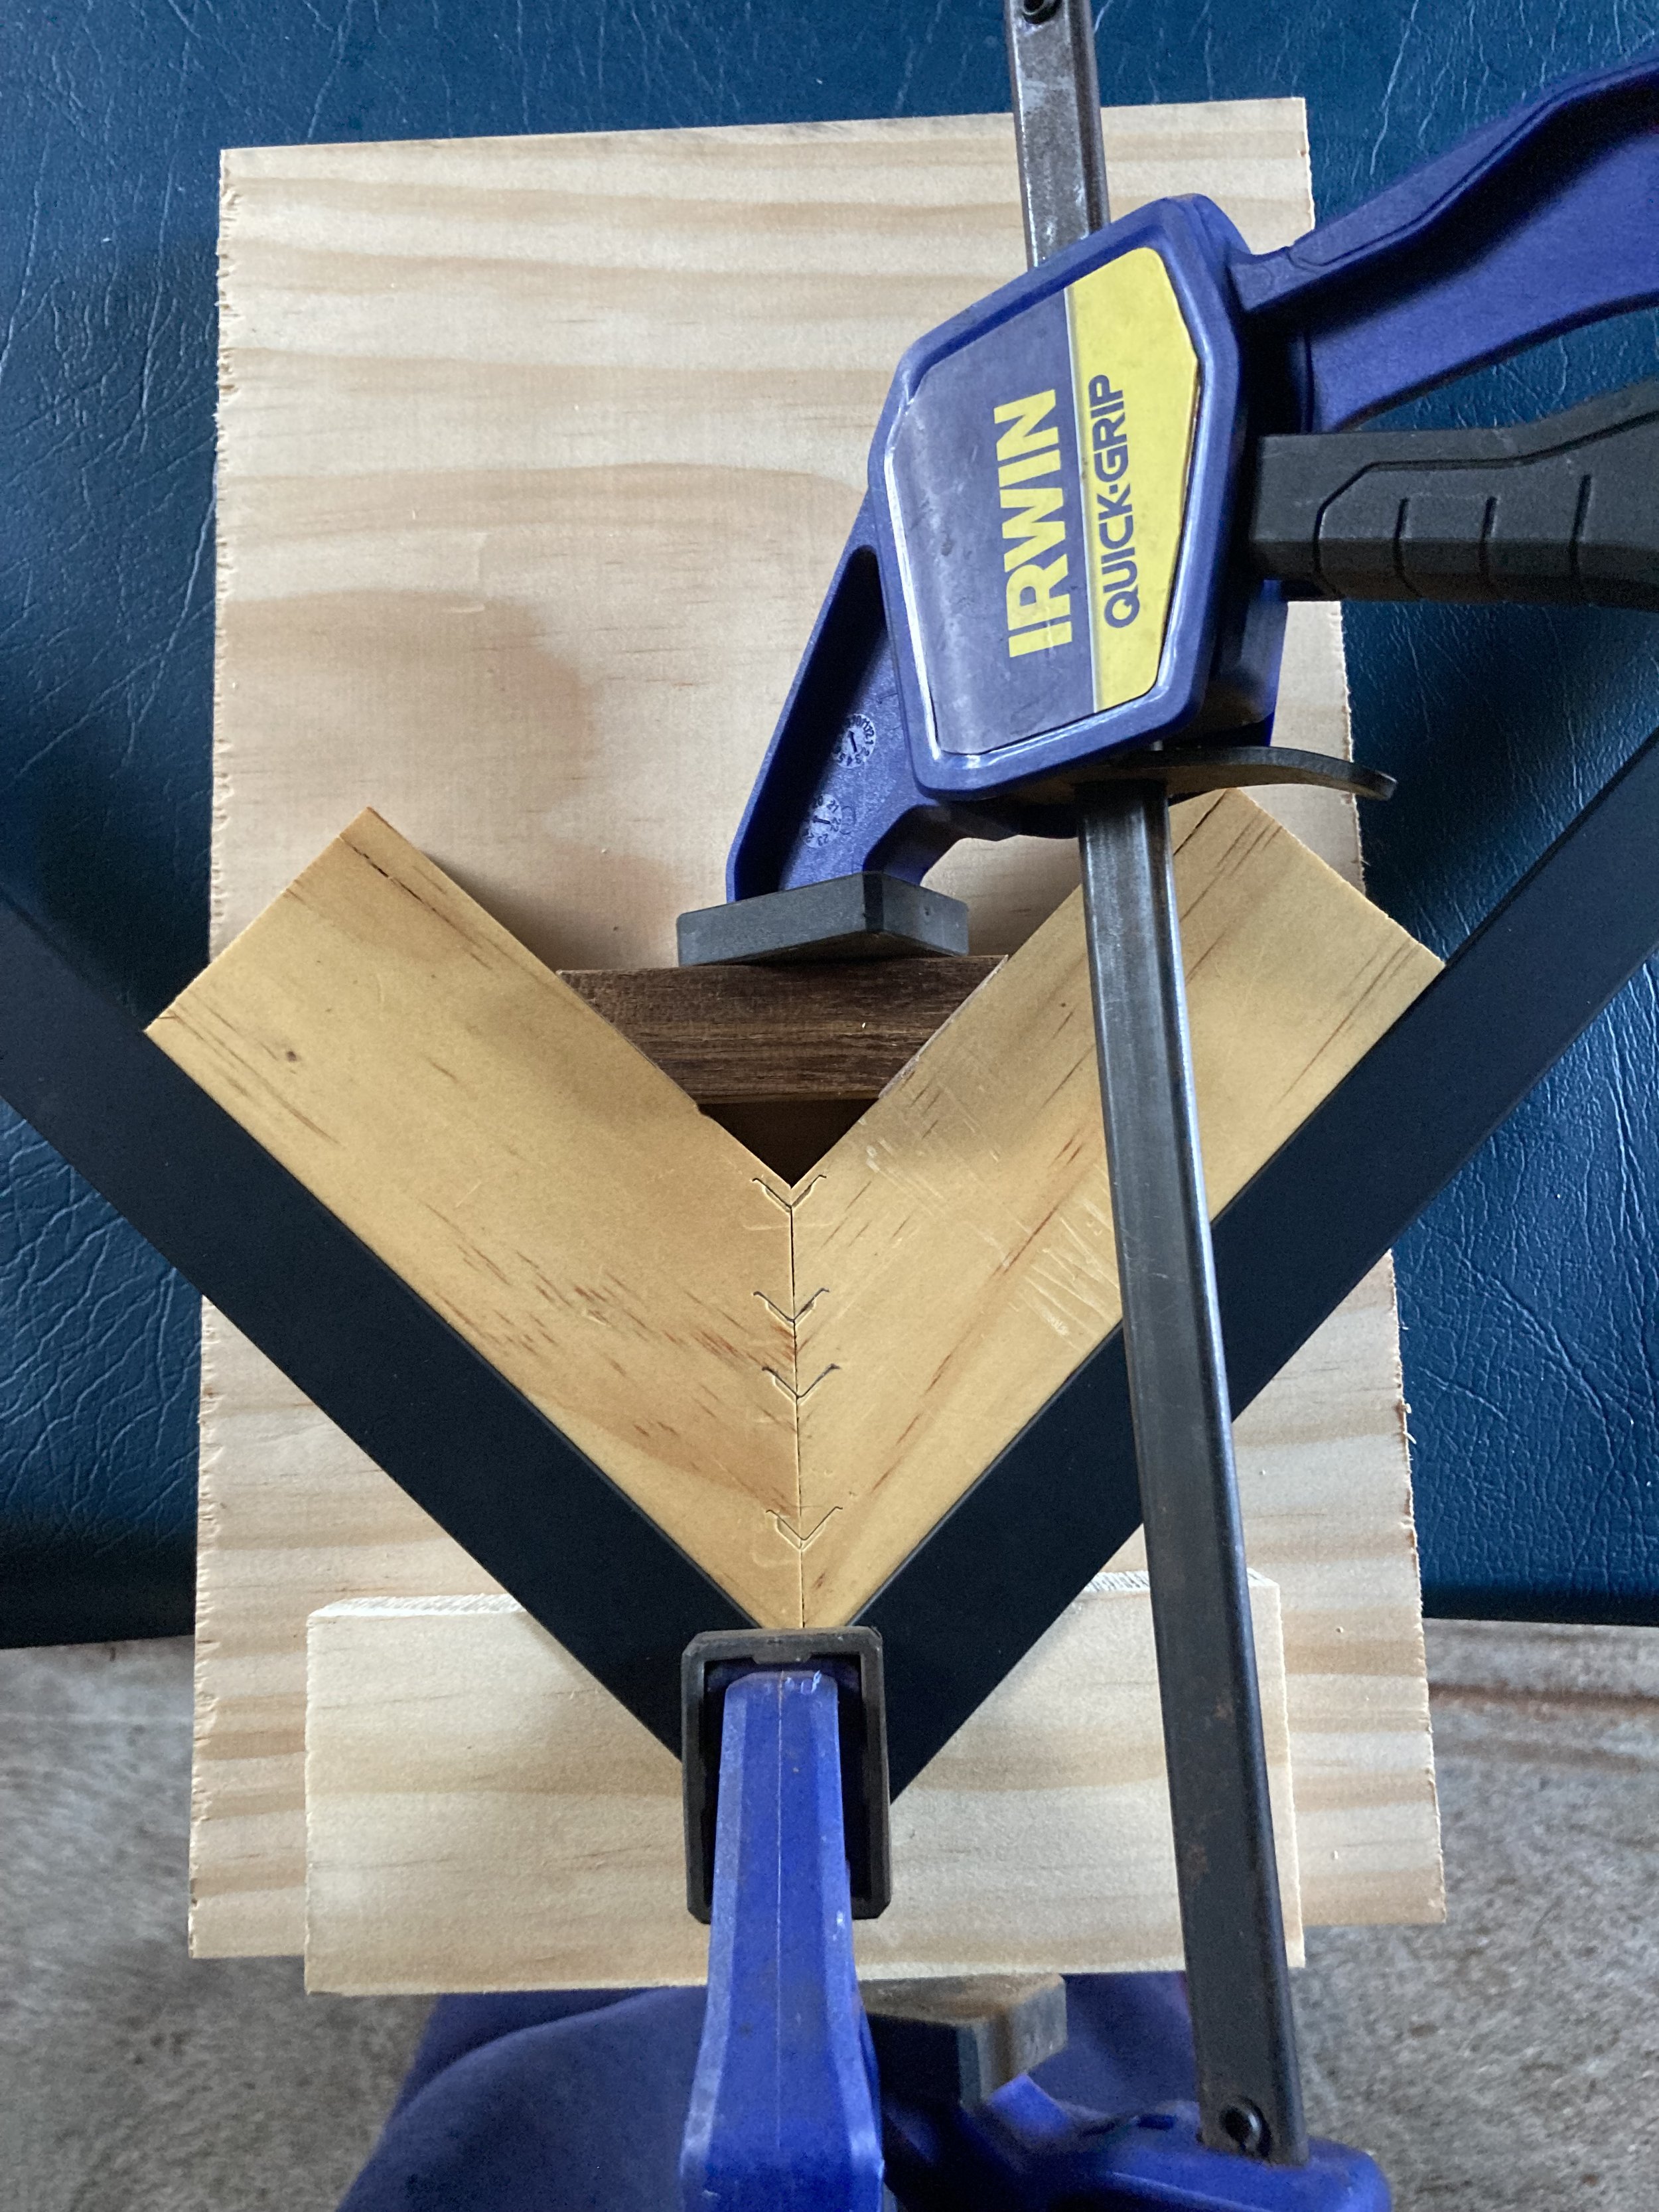
My biggest hurdle and conundrum was frame joining. I purchased a hand operated V-nail gun that was powered by air. I planned to clamp and glue then apply the v-nails to each frame corner. The gun works well but I had not factored in that the Victorian ash and Australian Blackwood I would be using is extremely hard wood and I had issues with the mitres being forced open with the firing of the gun. The clamps I had were not sufficient to hold them closed. I tried to source other styles of clamps but not a lot was available and I wasn’t even sure they would do the job.
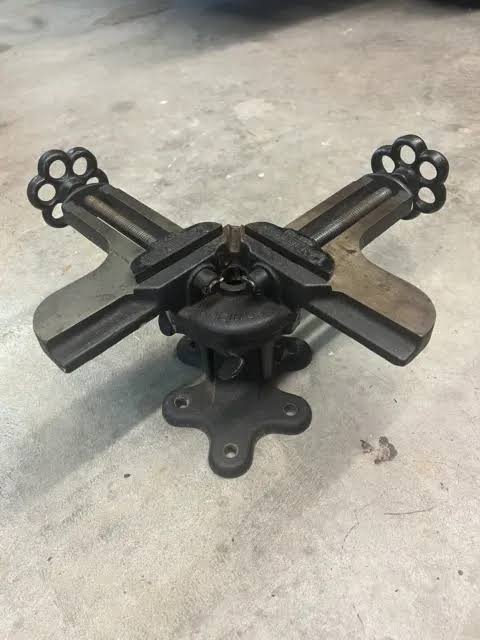
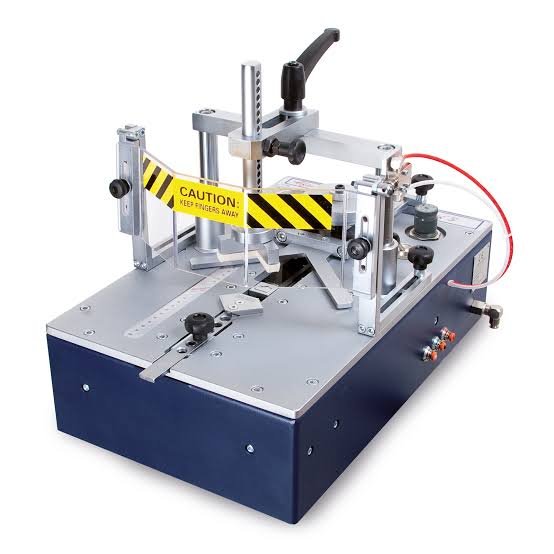
A wise man told me if you’re going to do the job do it properly with the right tools.
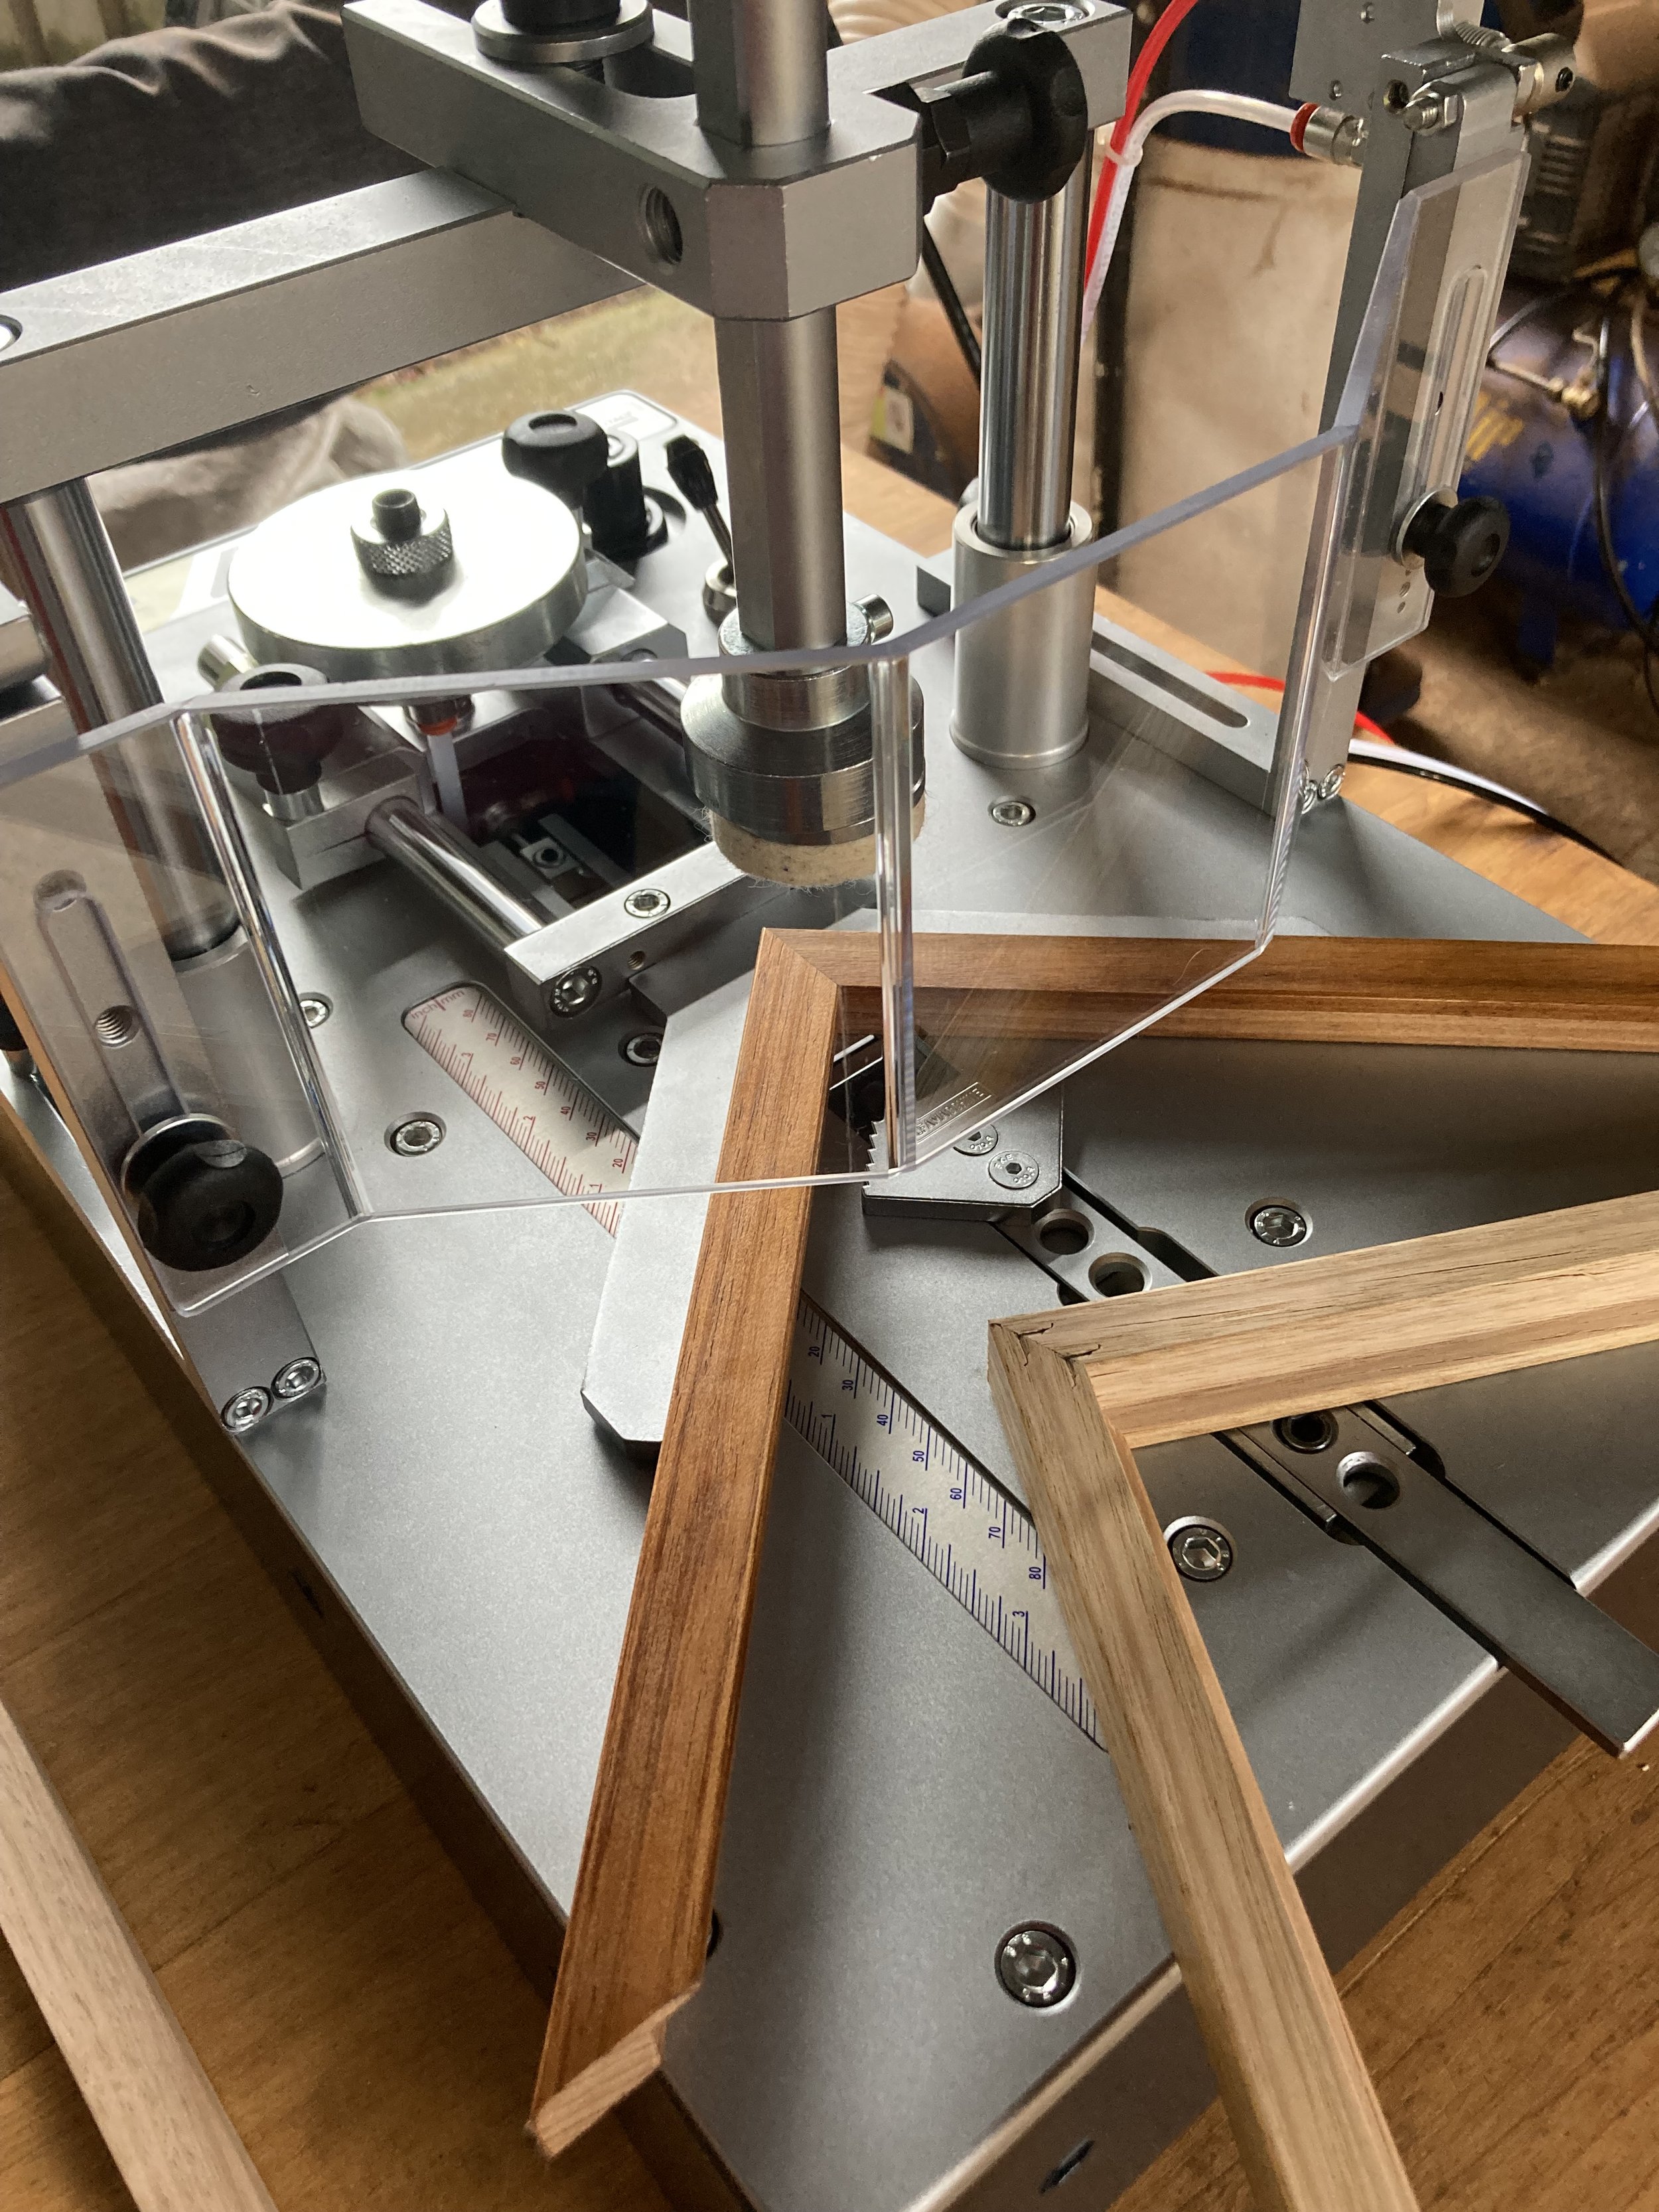
So today I take delivery of the right tool for the job. Arriving today is a pneumatic underpinner. These machines mean you can clamp, glue and fire in v-nails all at once, and are what the professionals use!
New Side Hustle
I was asked along the way by some other awesome Artists and friends that I know if I would do some framing work for them so from June 2023 I will be offering a limited framing service based in Canberra, catering mainly to the exhibiting artist or collectors of Fine Art. The range and services I will be initially offering will best suit watercolours, drawings, prints or miniatures. I also have experience with embroidery and textile work.
It will be an evolving entity so please feel free to contact me to see if my range, services and skills match what you are after.