Something New


I was asked to road test some Ampersand Aquabord, a clay-coated panel for watercolour that claims to be acid-free and archival.  I thought I might share my experience working on it.


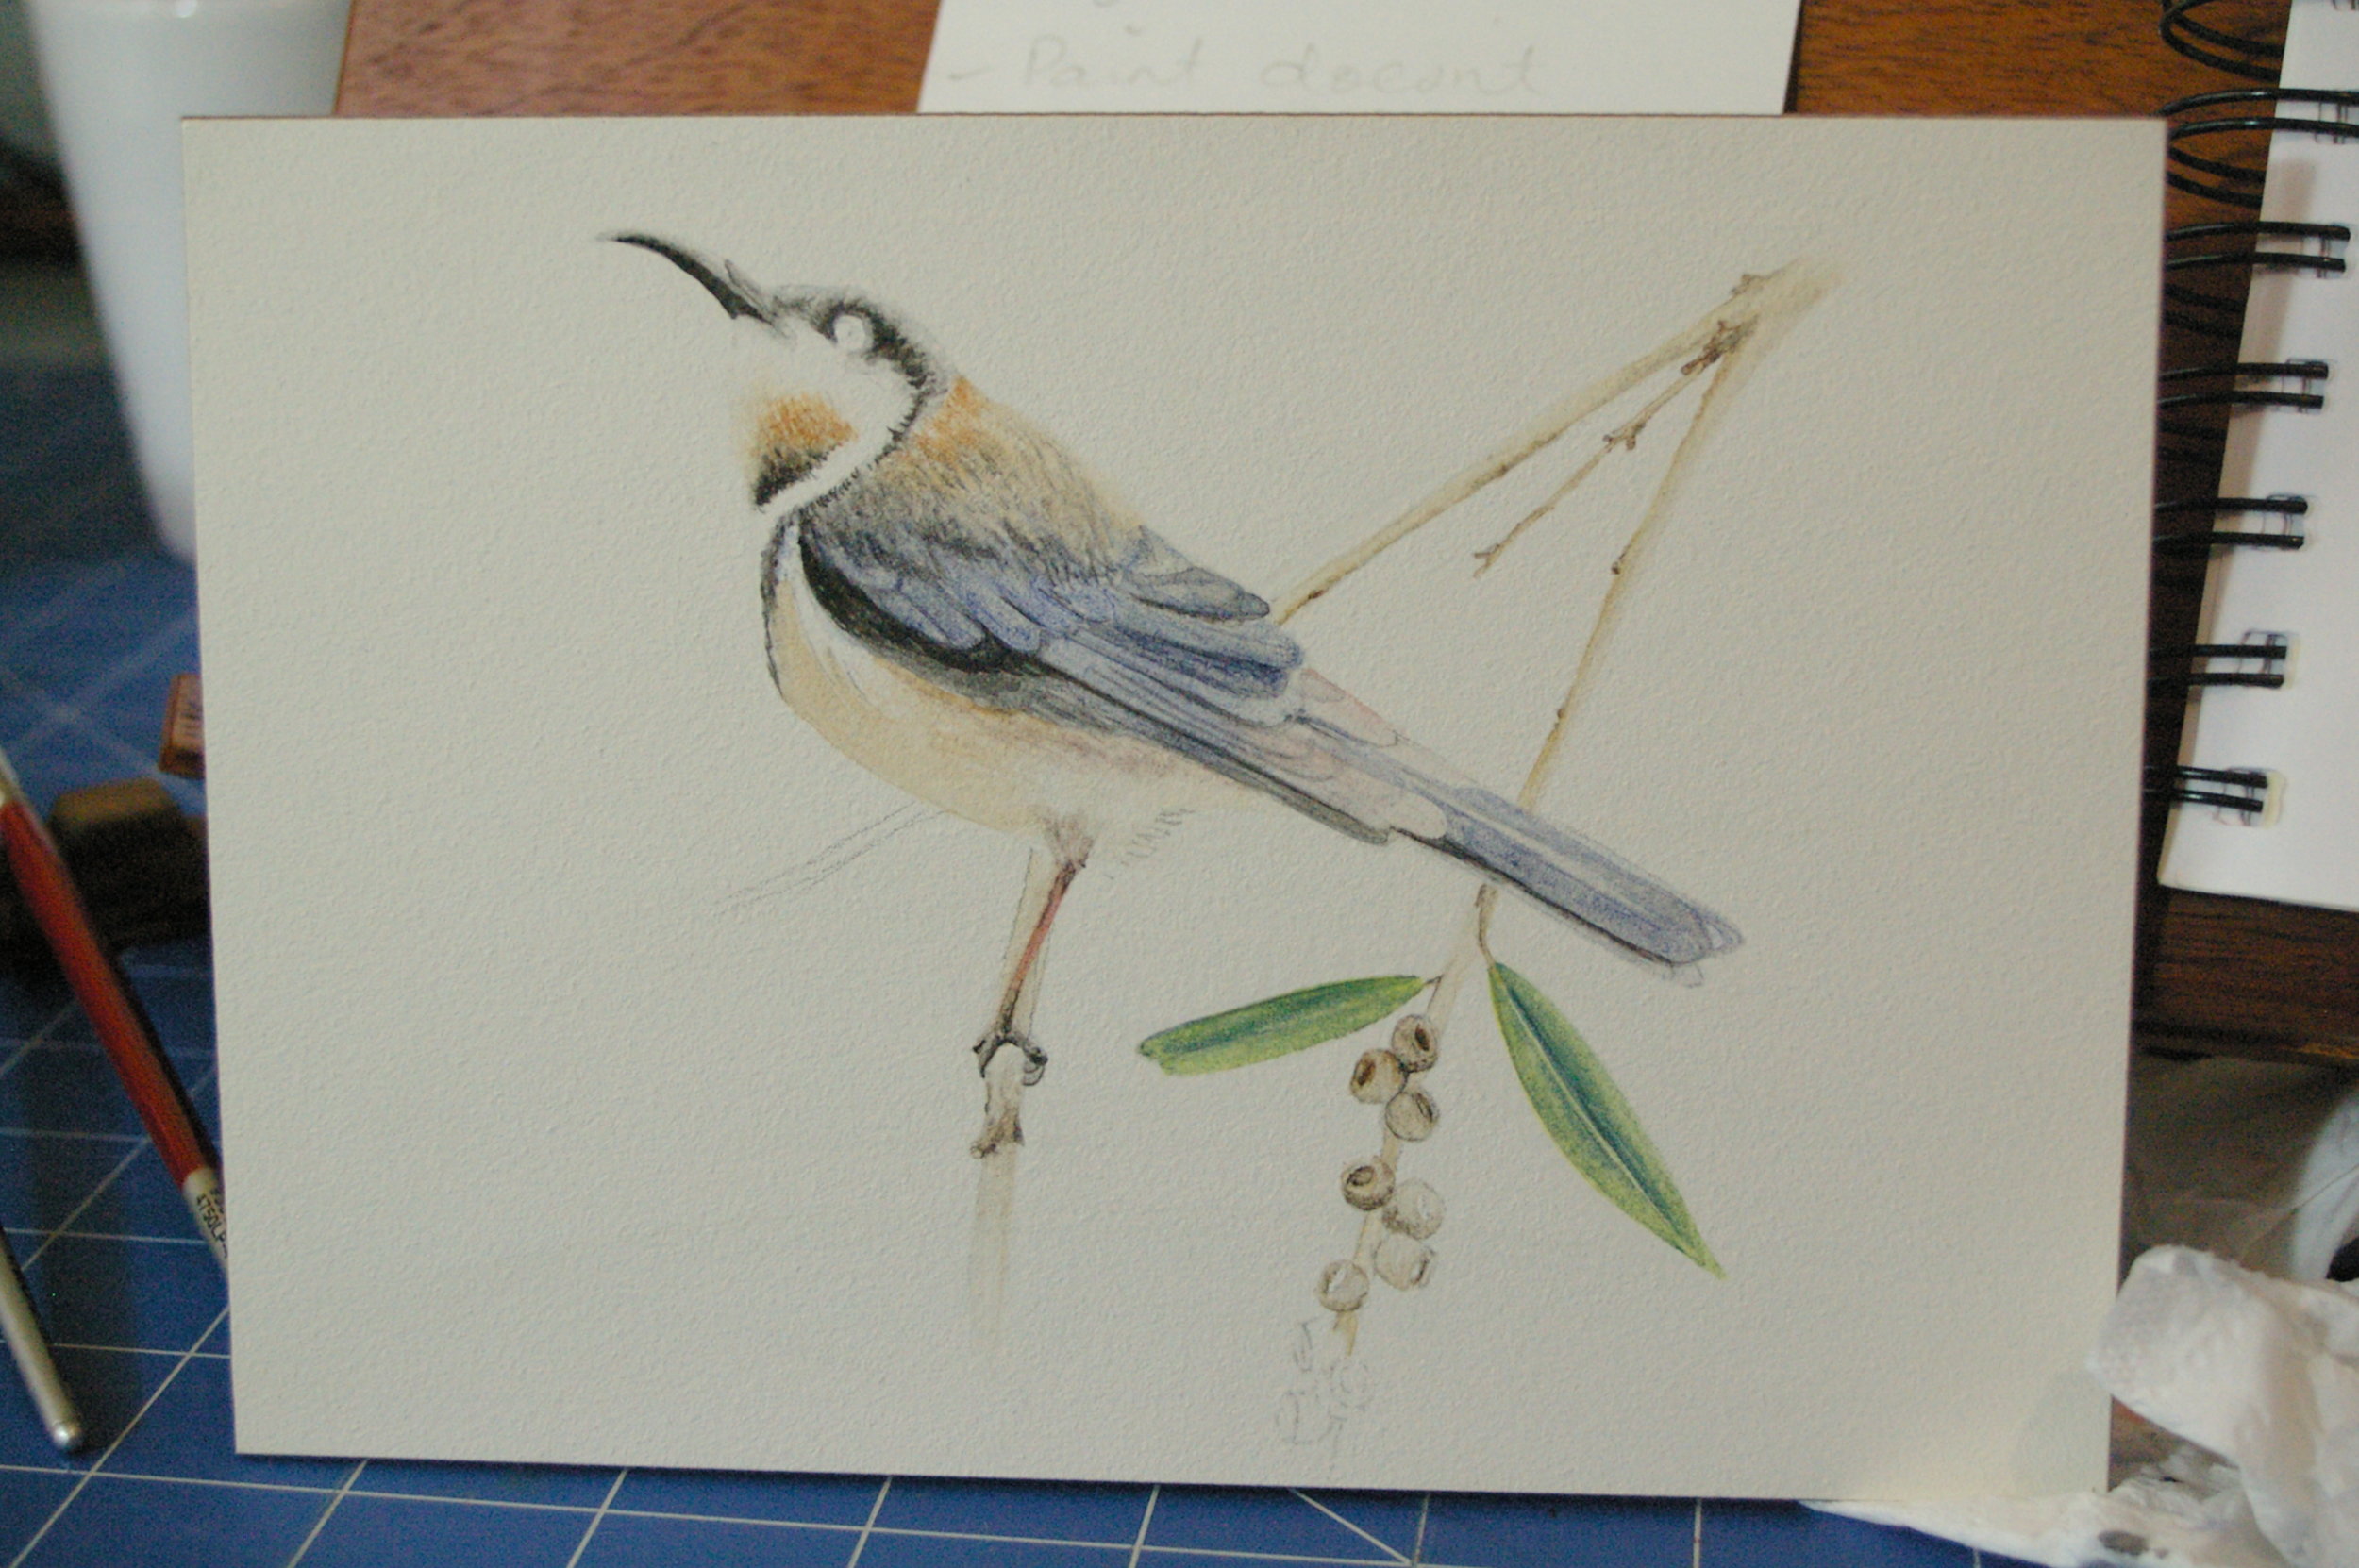
I am used to working on 300gsm hot pressed paper which is very smooth, I found I had to adjust the way I worked on the Aquabord, the clay surface as you would expect behaves rather differently.

The panel surface has some texture to it and required wetting out before you commence painting to release any air bubbles trapped under the surface.

I found my paint brush traveled quite smoothly over the surface of the board.

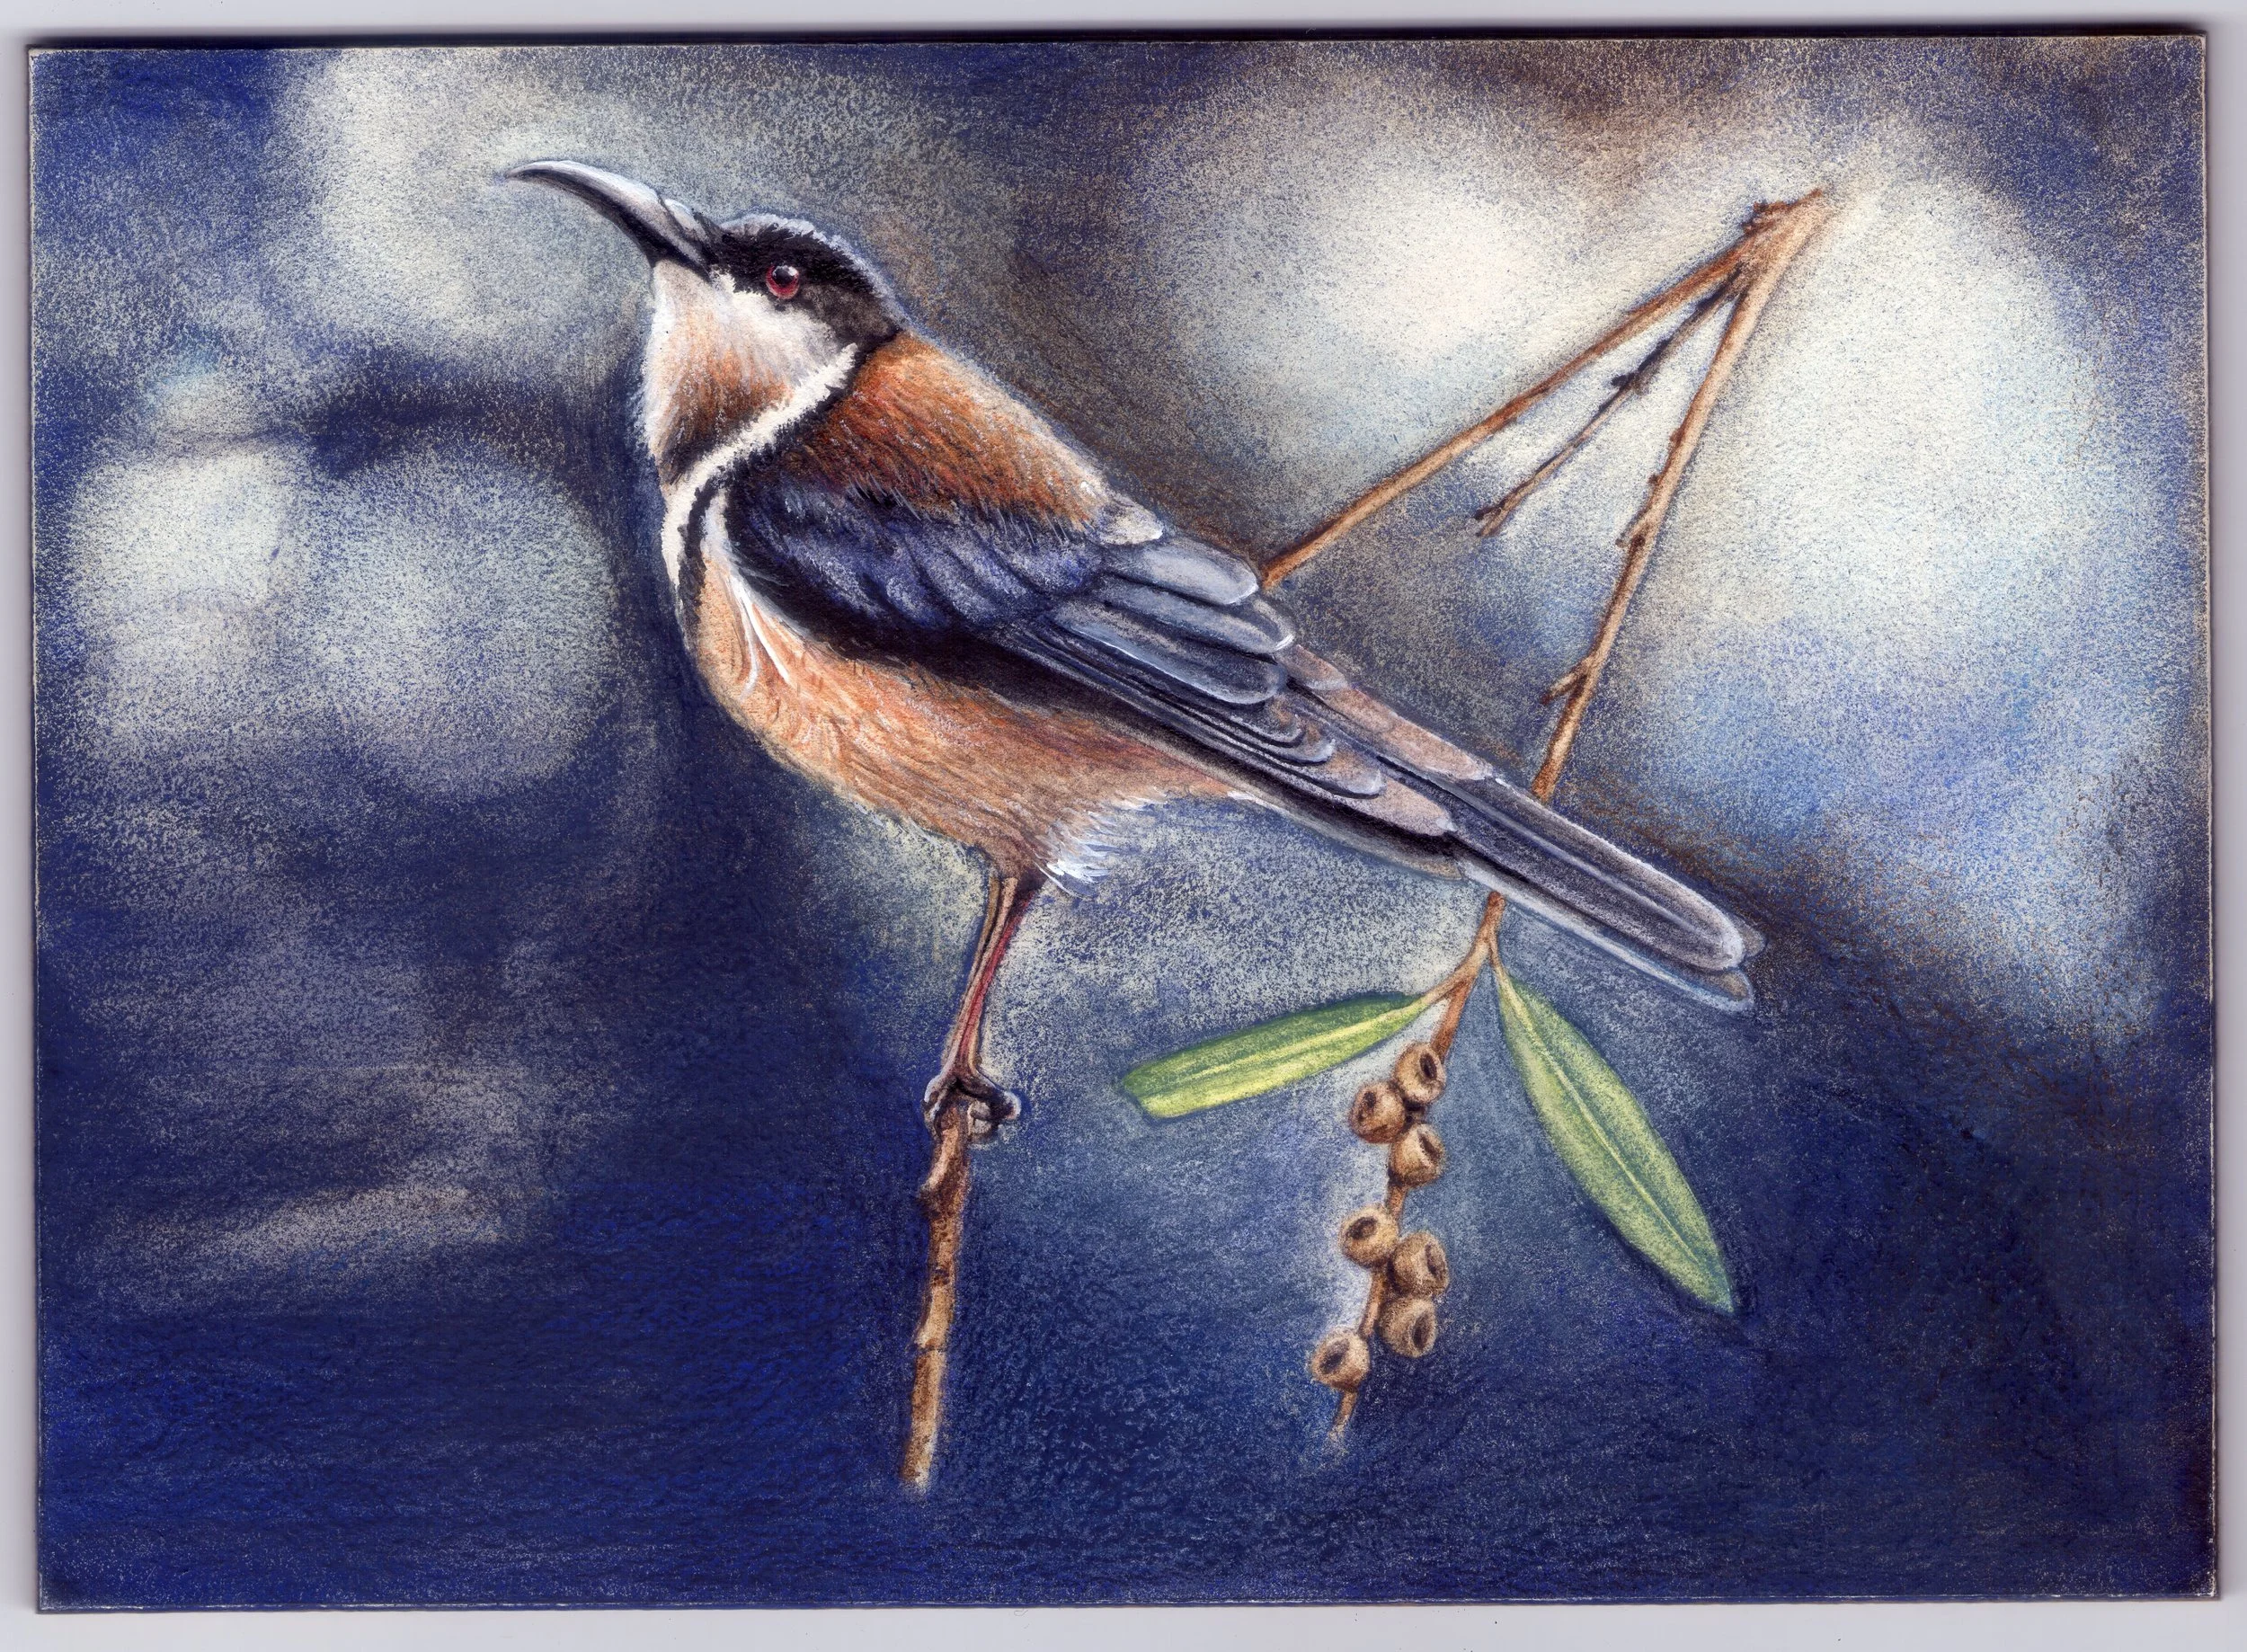
The paint tended to sit on the surface and did not behave like it would on paper. Where paint is drawn away and may spread as it absorbs into paper, on the Aquabord it does not. This makes you apply the paint differently on the Aquabord.  The fact that the paint sits on the surface means you can push it around quite a lot even after its dry. It is quite easy to build up layers of colours and you get great vibrancy of colour.

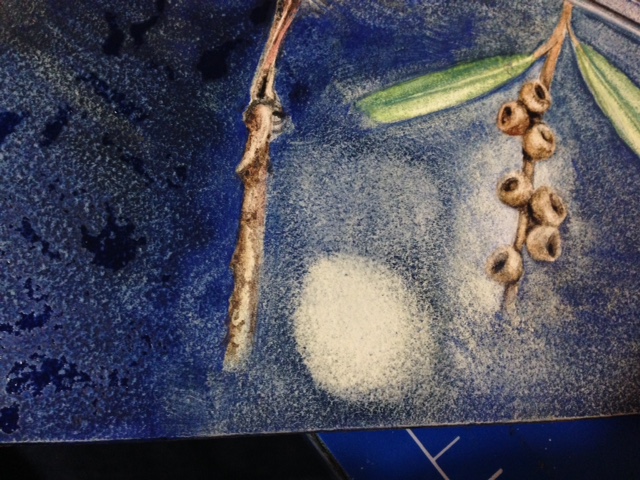
The nature of the surface also allows for amazing lift out. You can remove layers of paint to expose colours underneath or lift out back to the white of the board. This would be great for highlights and details like leaf veins. (see pics)

Being a board product no stretching or flattening is required as it is with paper.

Check it out, it's always fun to try something new.


Ombre and Gradient Yarn Dyeing.

I have seen some beautiful Ombre and gradient dyed yarns around lately so I just had to try to achieve some for myself with natural dyes.

I have tried three different techniques; ball dyed, cake dyed and skein dipping.

Natural beet red powder and Grapeskin extract.

Skien, cake and ball of yarn.

Skien, cake and ball of yarn.


I also had some new dyes to test ( so I have used them from some of the following experiments) , Natural Beet red powder and a liquid Grapeskin extract they were purchased online because I didn't fancy peeling my own grapes!

You can get a great purple and pinks through to a dark magenta.

Grapeskin extract and Beet red powder.

Grapeskin extract and Beet red powder.

1. Ball Dyed

Ball dyeing is simply dyeing the yarn as a ball. The dye only penetrates so far into the ball so the result is full colour penetration on the outside of the ball through paler tones to, in some cases the un-dyed wool colour. You can then get tricky and unwind the ball then wind it back up with the inside now on the outside and re-dye so you get a two tone effect. If you need multiple balls of yarn dyed the same you can wind two strands together and they will dye the same.

2. Cake Dyed

Yarn is dyed as a wound cake. Cake dyeing gives you a more random dye effect than the smoother colour transitions achieved with ball dyeing.

3. Skein Dipping

Skein dipping is simply that; dipping the skein so you have a graduation of colour from light to dark.


Cake dyeing, skein dipping and Ball dyed.

Ball dyed Ombre effect.

Skein dipped yarn knitted up.

I loved the effects I have been getting particularly with the ball dyeing. I see some ombre socks in my near future :-)

Pink!

In the pursuit of purples and blue using natural dyes I noticed a plant when I was on holidays on the Mid-North coast with dark purple foliage. The plant is used commonly in that neck of the woods in road side plantings on roundabouts and also in home gardens such as my mother in laws.

Although it is an exotic I thought I'd give it a try and see what colours I can get from it so I collected some leaves as well as a small plant to bring home. I have planted the plant in my garden. ( Hope it survives the frosty Canberra winter, although I doubt it!) I have done some experiments with the leaves; here are the results.

Alternanthera dentata

Alternanthera dentata


Boiled with Alum

The first method I tried with this plant was boiling. The yarns were pre-mordanted with Alum. It started off promising but furious boiling seemed to strip out the pink tones and I was left with a dirty orange colour.

Perhaps more steeping and less furious boiling is the way to go.

Promising start to boiling... the colour changed considerably the longer it boiled.

Final colour after boiling for about 30 minutes.

Solar Dyed with Vinegar

In the height of the Australian summer on days of 35 degrees or more it did not take long to see results from the solar dyeing. I was amazed at the result! Such a vibrant magenta pink after about 3 days in the sun. There still seemed to be pigment in the water when I removed the first skein after 3 days so I put a second skein in and left it for a further 3 days resulting in a paler pink colour.

My solar dyeing jar.

Solar dyeing after 1 day.

The finished colour after 3 days.

The yarn in the centre is a second dyeing from the solar dyeing jar.

There are more experiments I'd like to try with these leaves, I need to wait till they grow a bit though! I am still hoping I can push it to more purple tones but only time and experimentation will tell.