Textiles

Varigated yarn

I had my first go at producing variegated yarns with natural dyes. I have done it before with chemical dyes using a technique of painting straight onto the yarns, however this technique does not really work for most of the natural dyes as they take time to be absorbed by the yarn. Where there is a will there's a way and here is what I came up with for my first attempt.

I tried two different techniques, the first technique is more calculated, I will call it the dip dye method. It is achieved by sectioning off areas of the skein, dyeing and over dyeing, the second technique is entirely random.
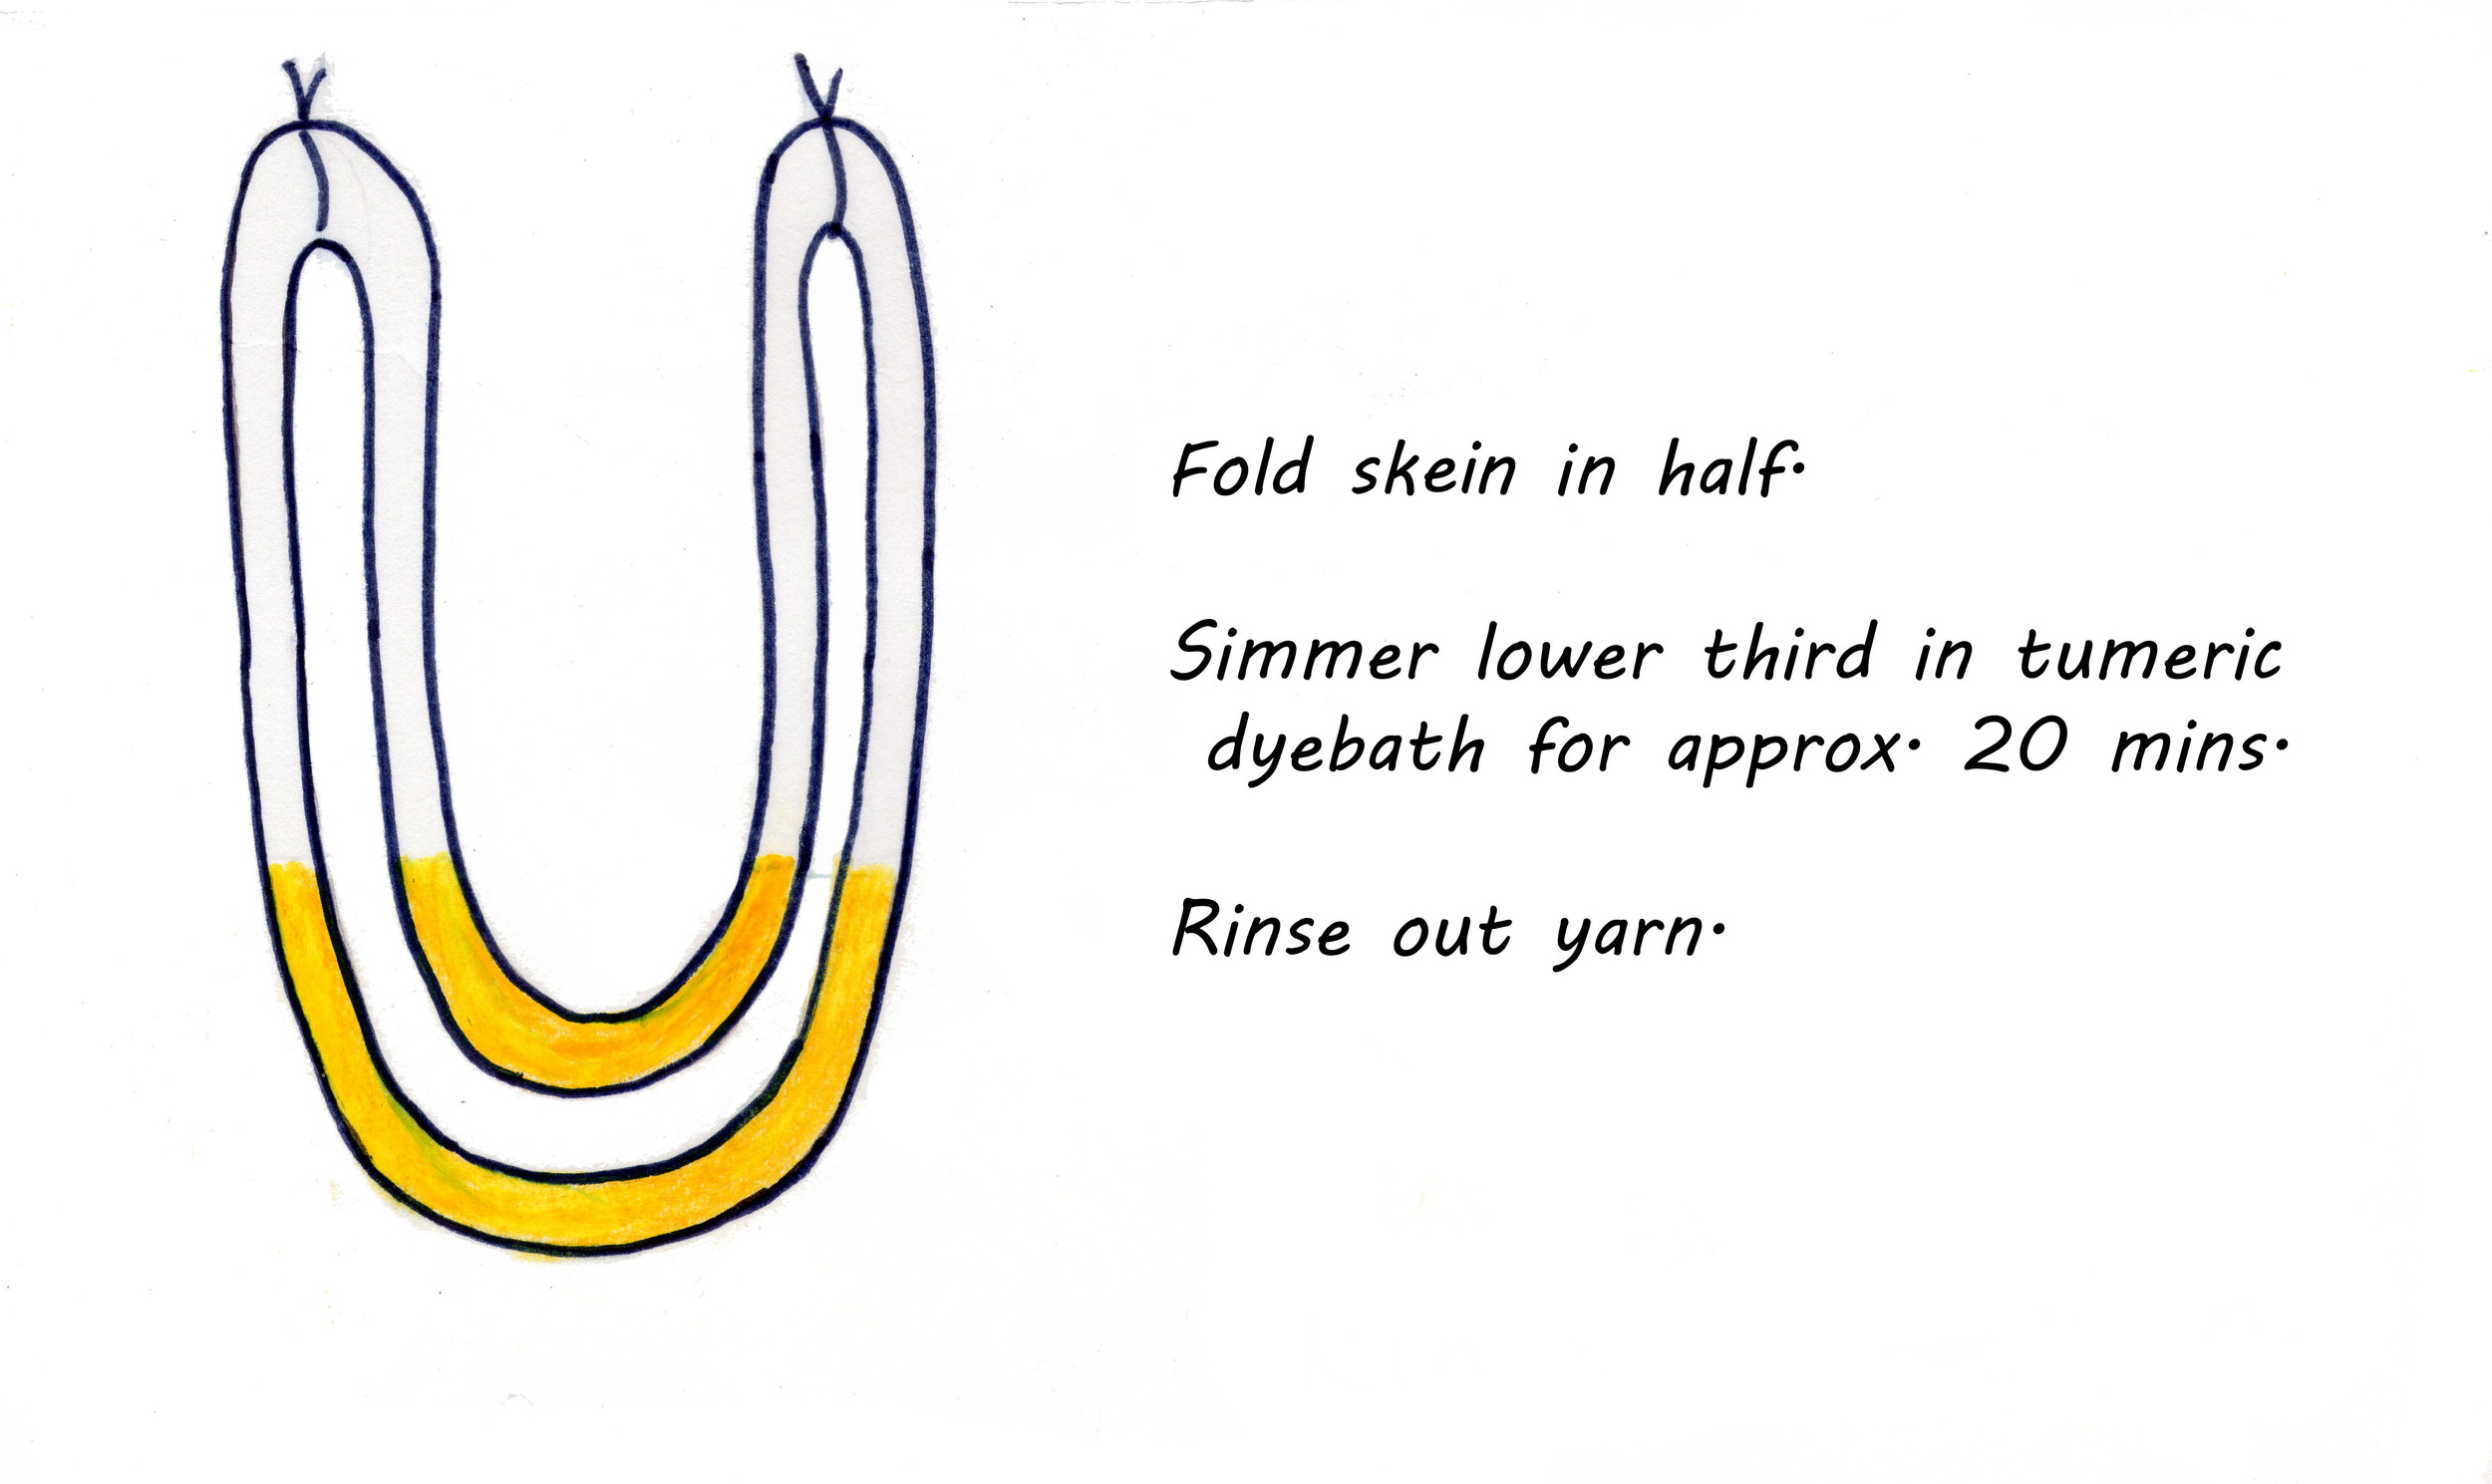
Dip Dye Method

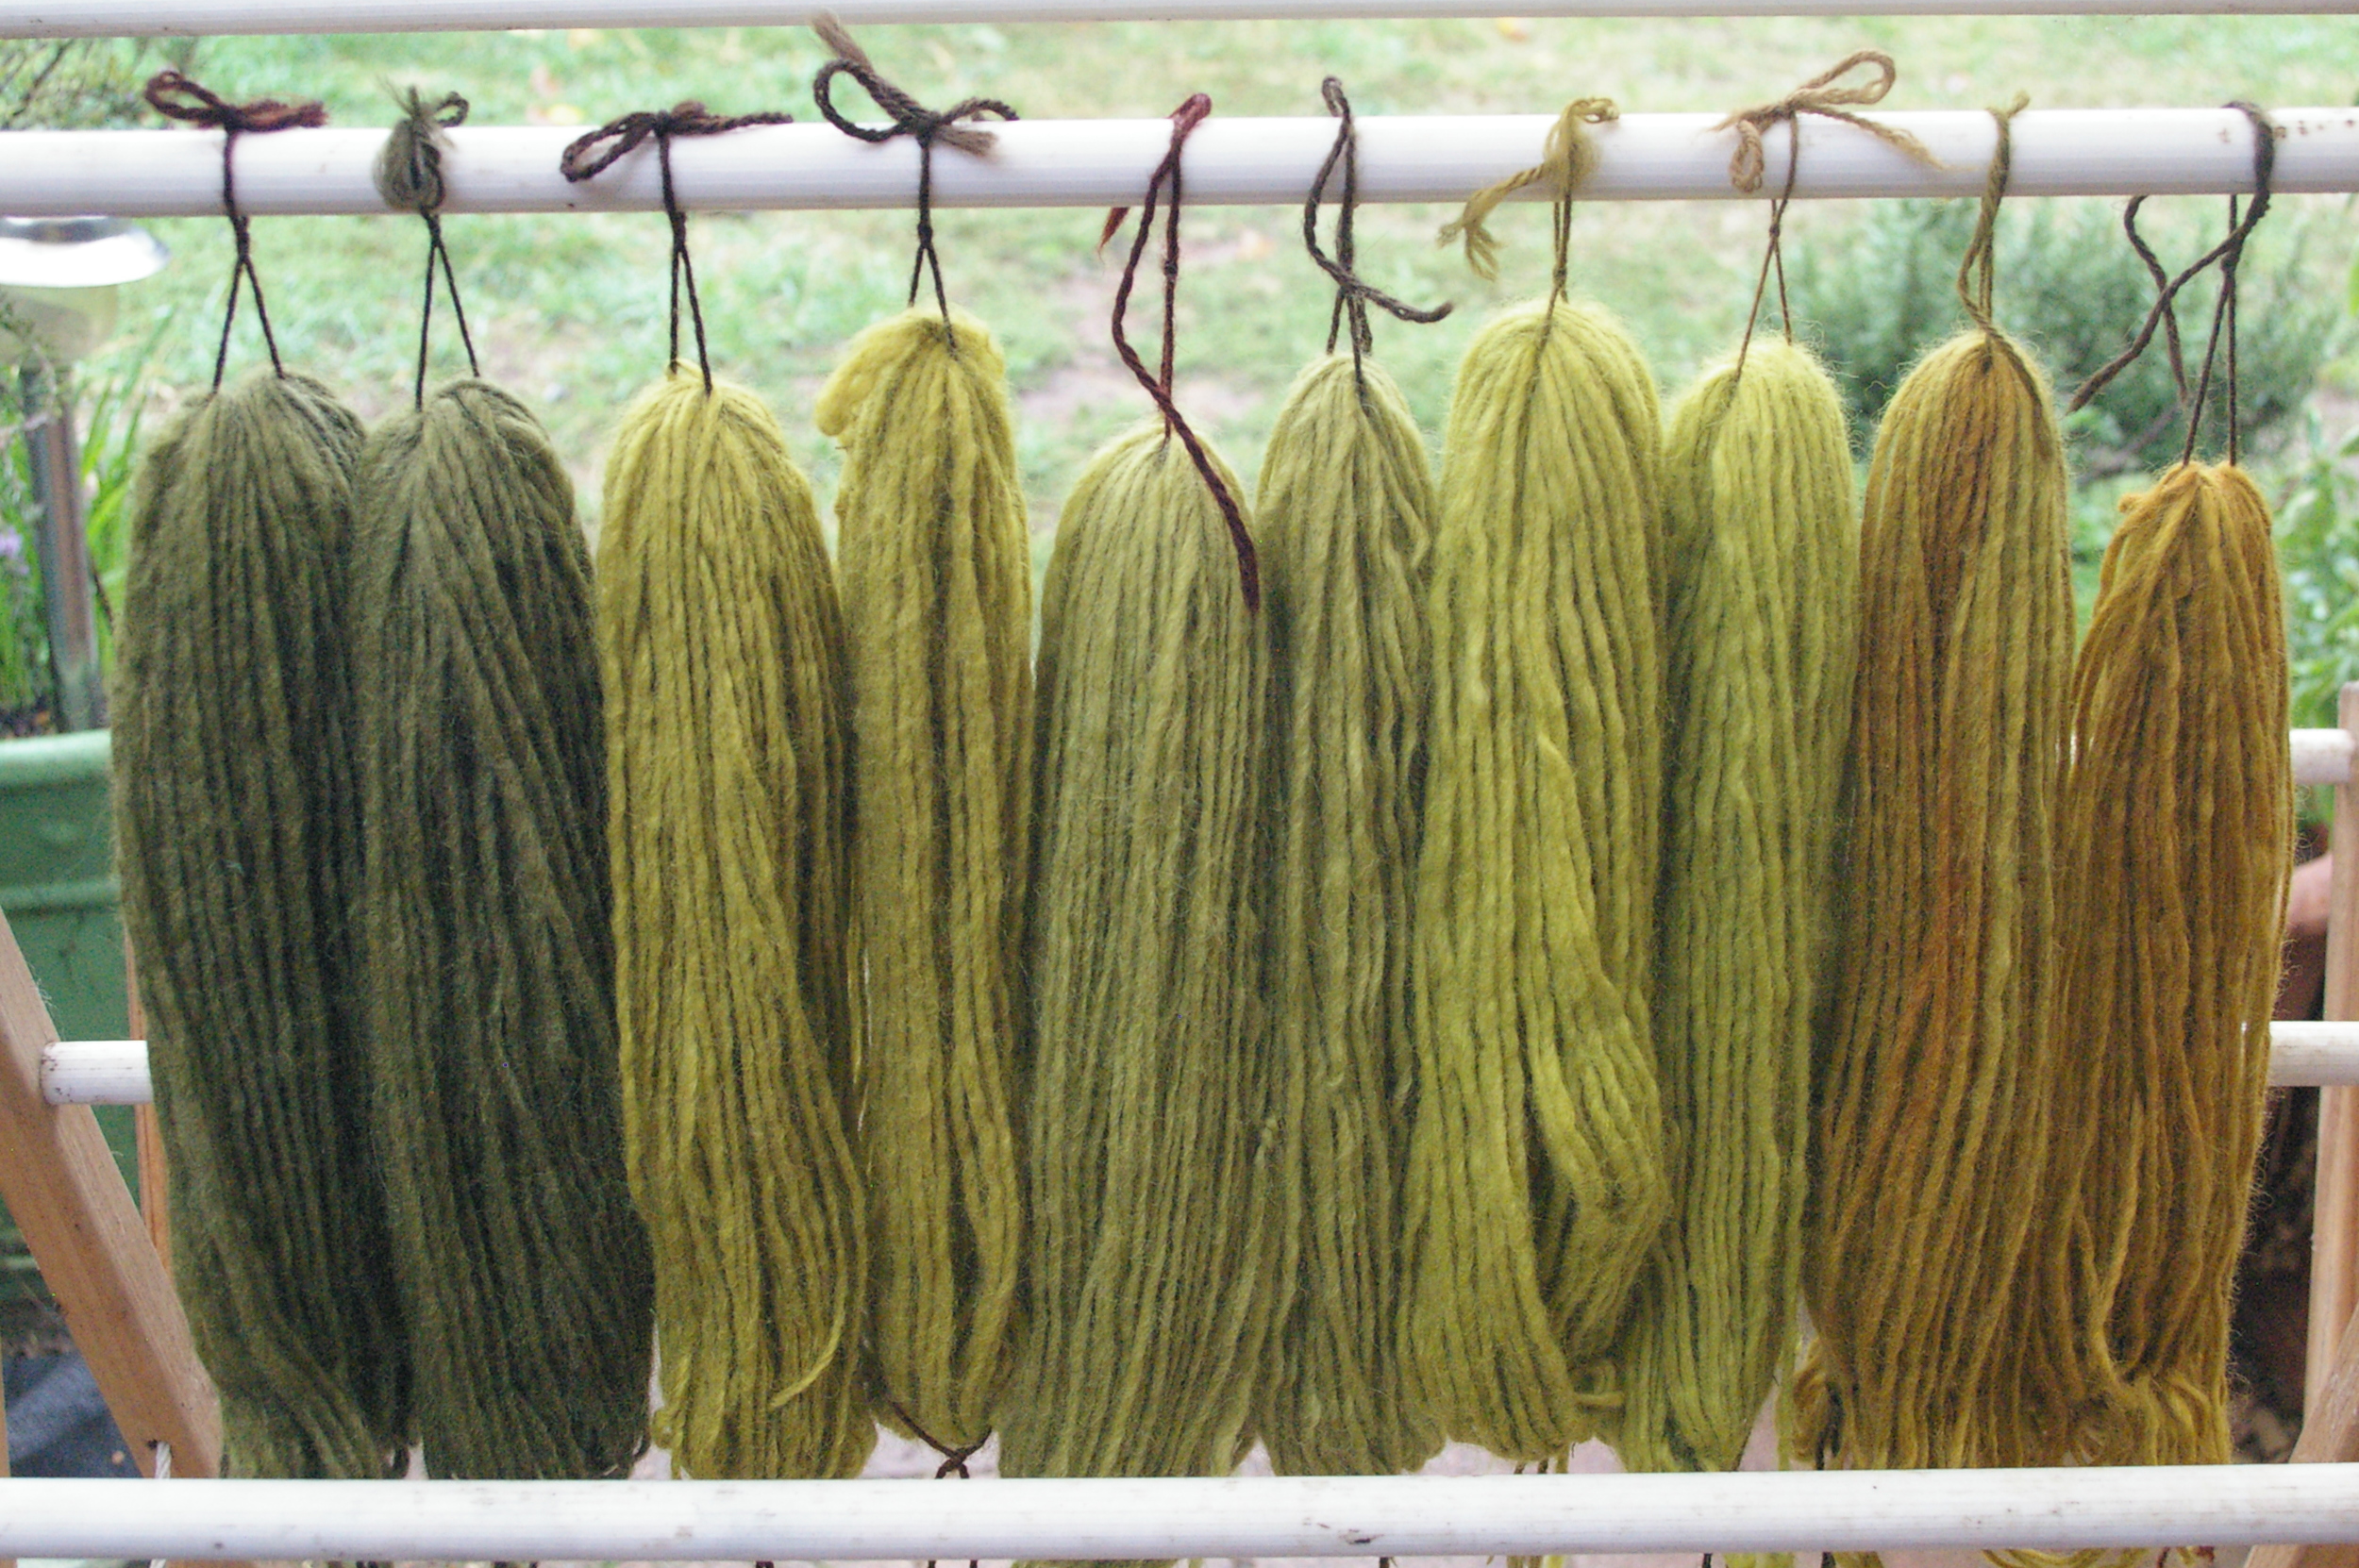
In this method I used three different dyestuffs, Turmeric, Indigo and Cochineal. The indigo over dyes the Turmeric turning it green and the cochineal over the indigo makes purple. There are areas of cross over so you may get a little blue coming through but I quite like that.

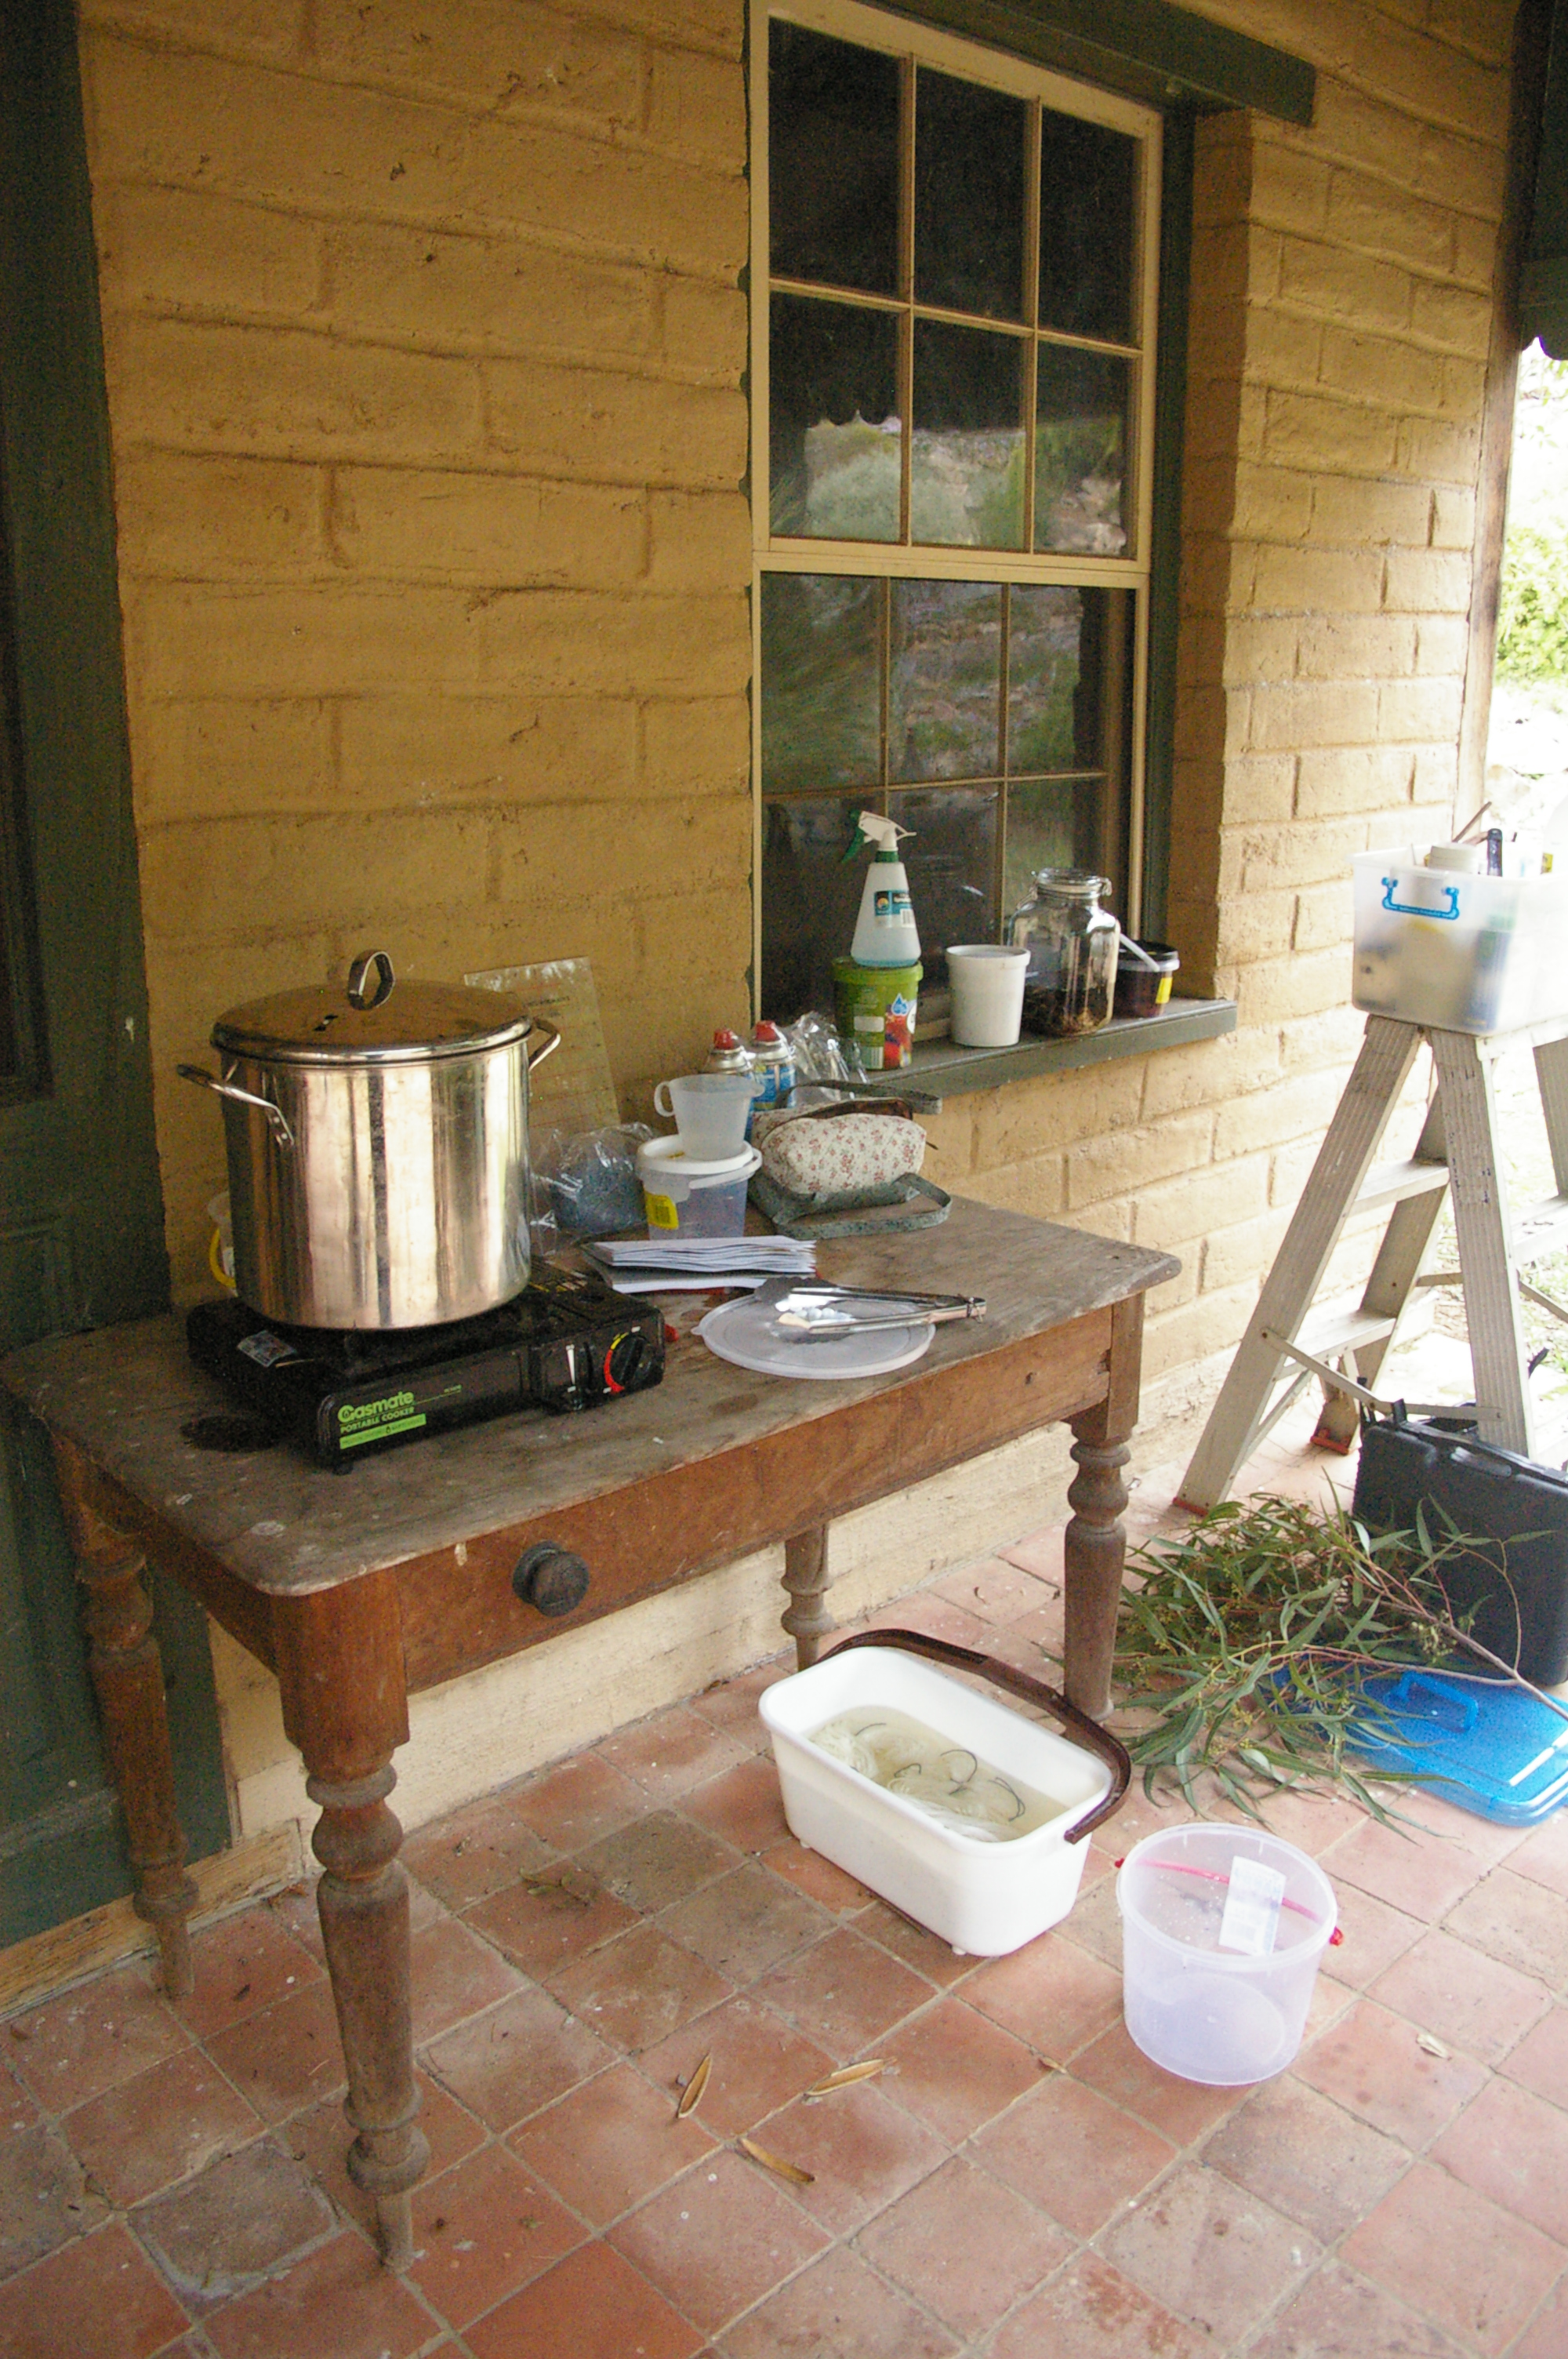
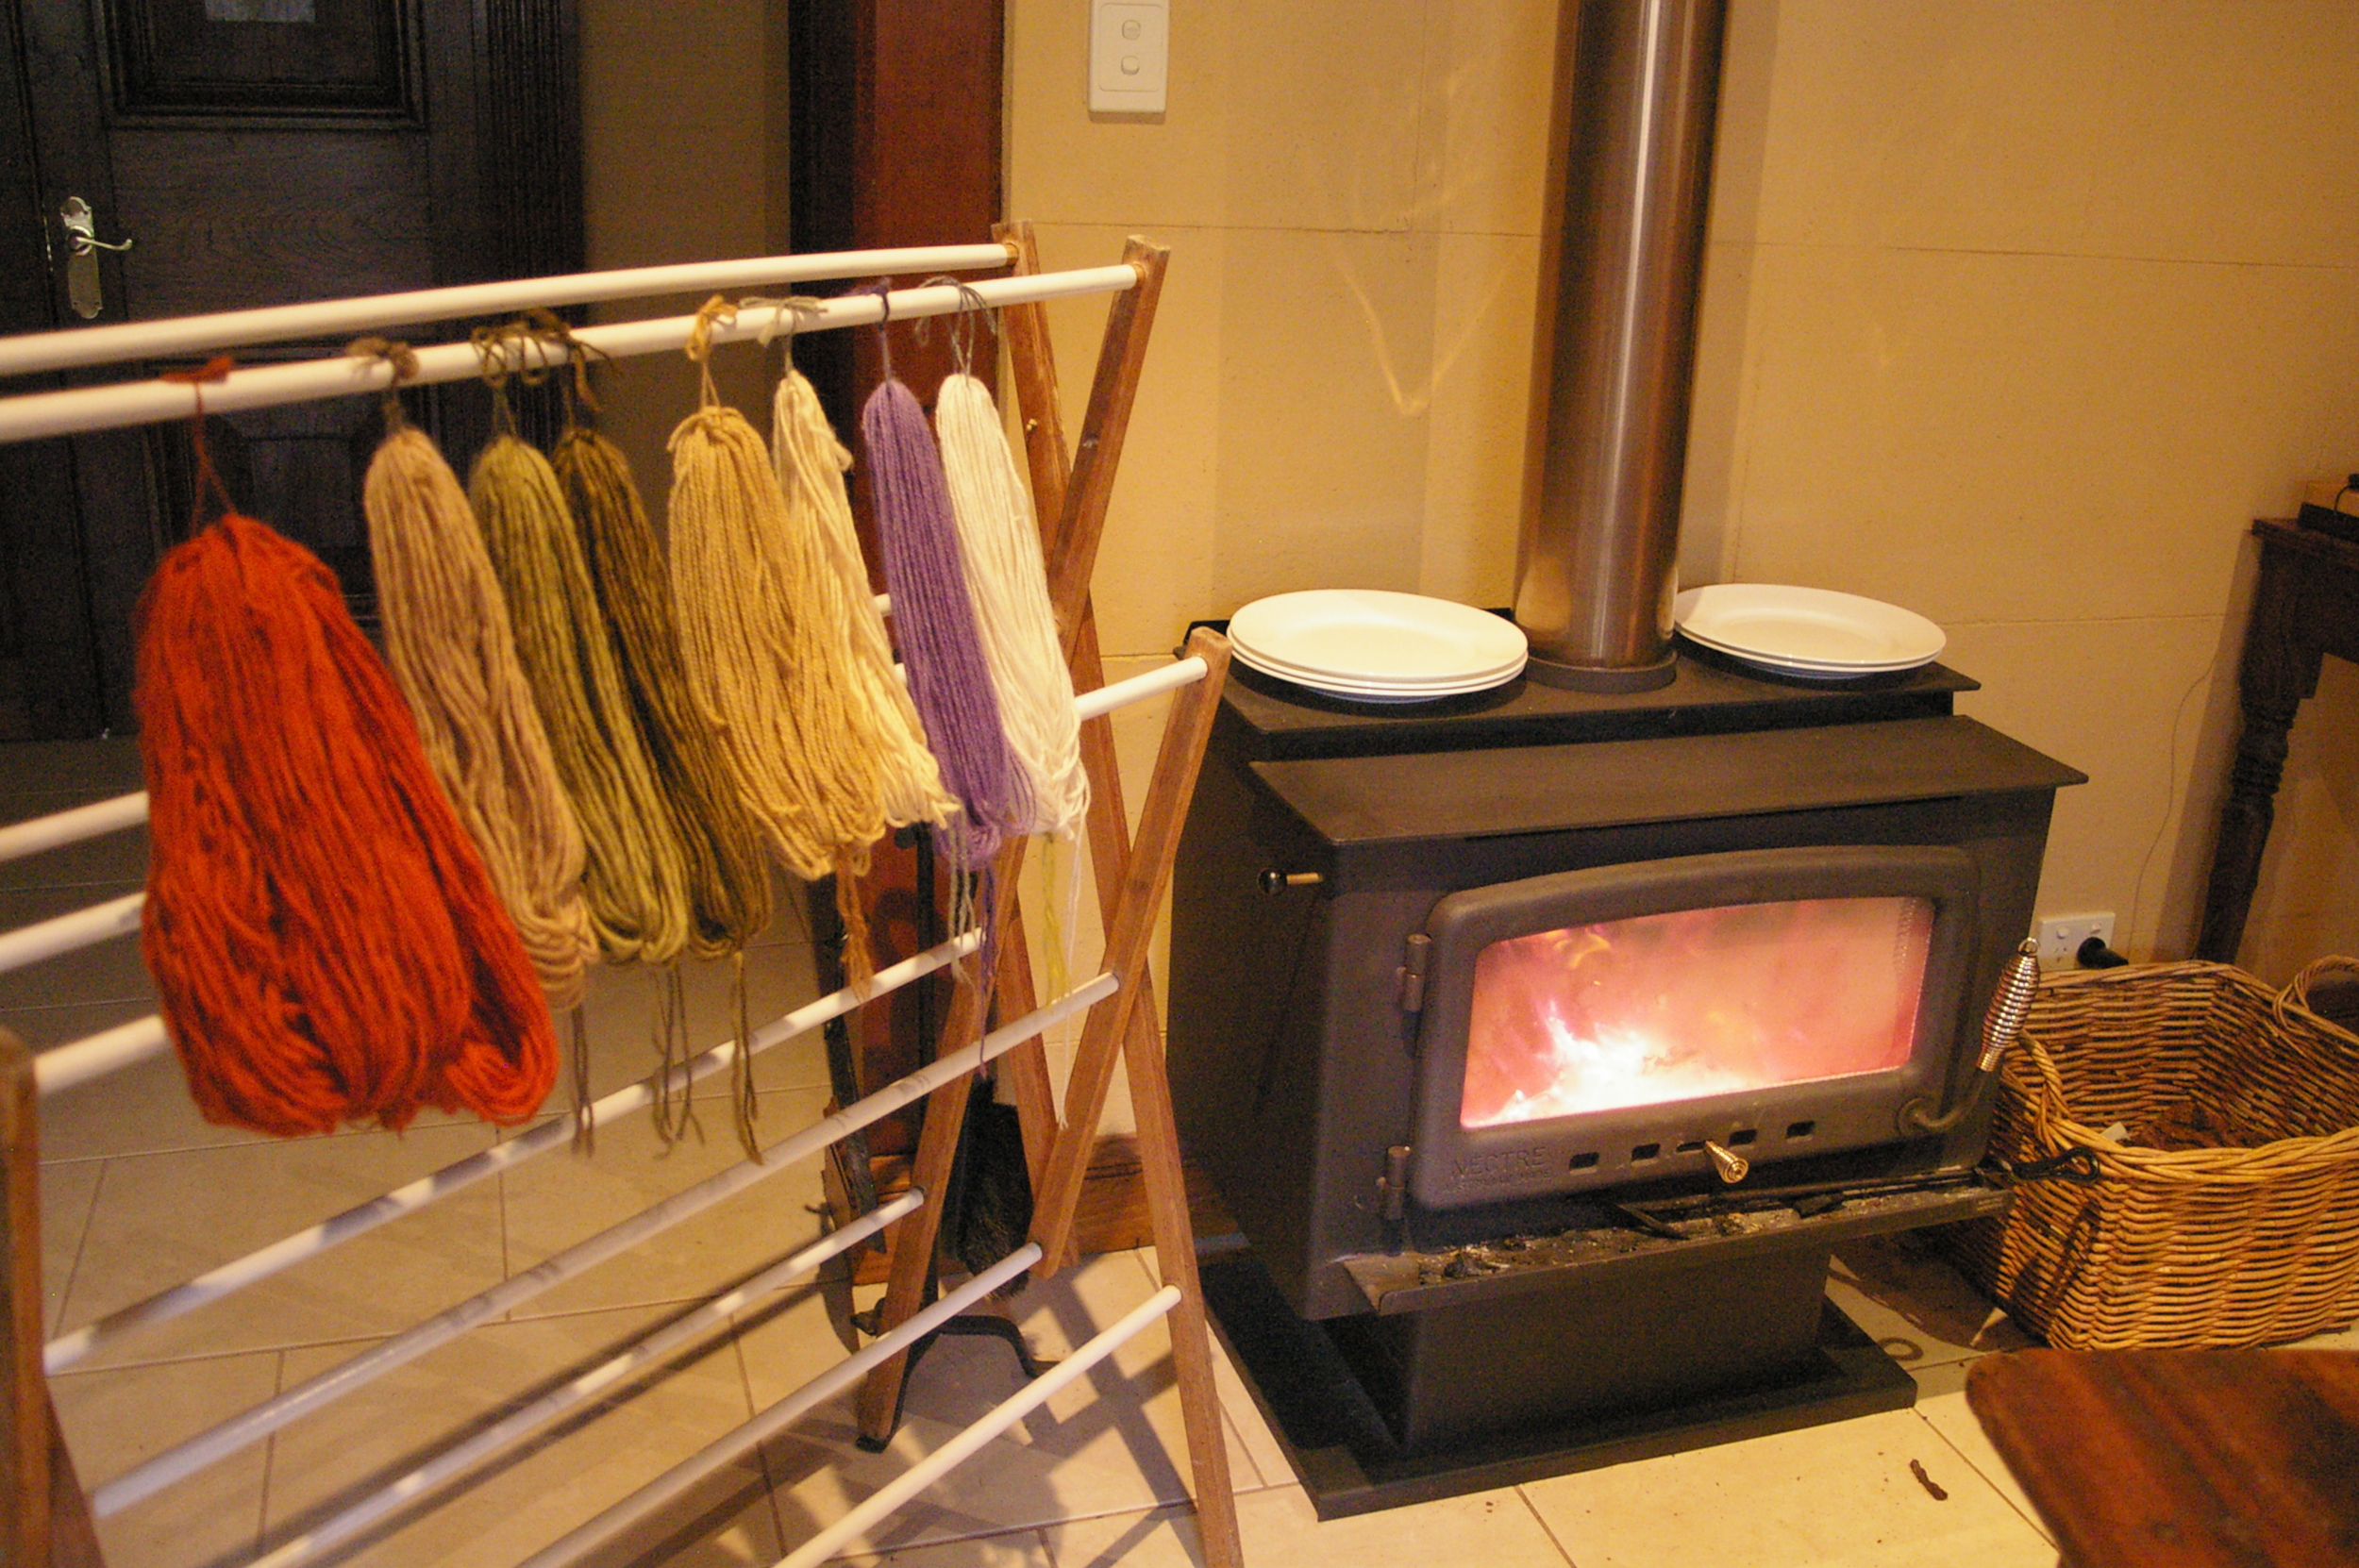
To simmer only part of the skeins I used a stick across the top of my boiler and bulldog clips to hold the yarn tied to the stick so that the right amount of my skein was entering the dye-bath.

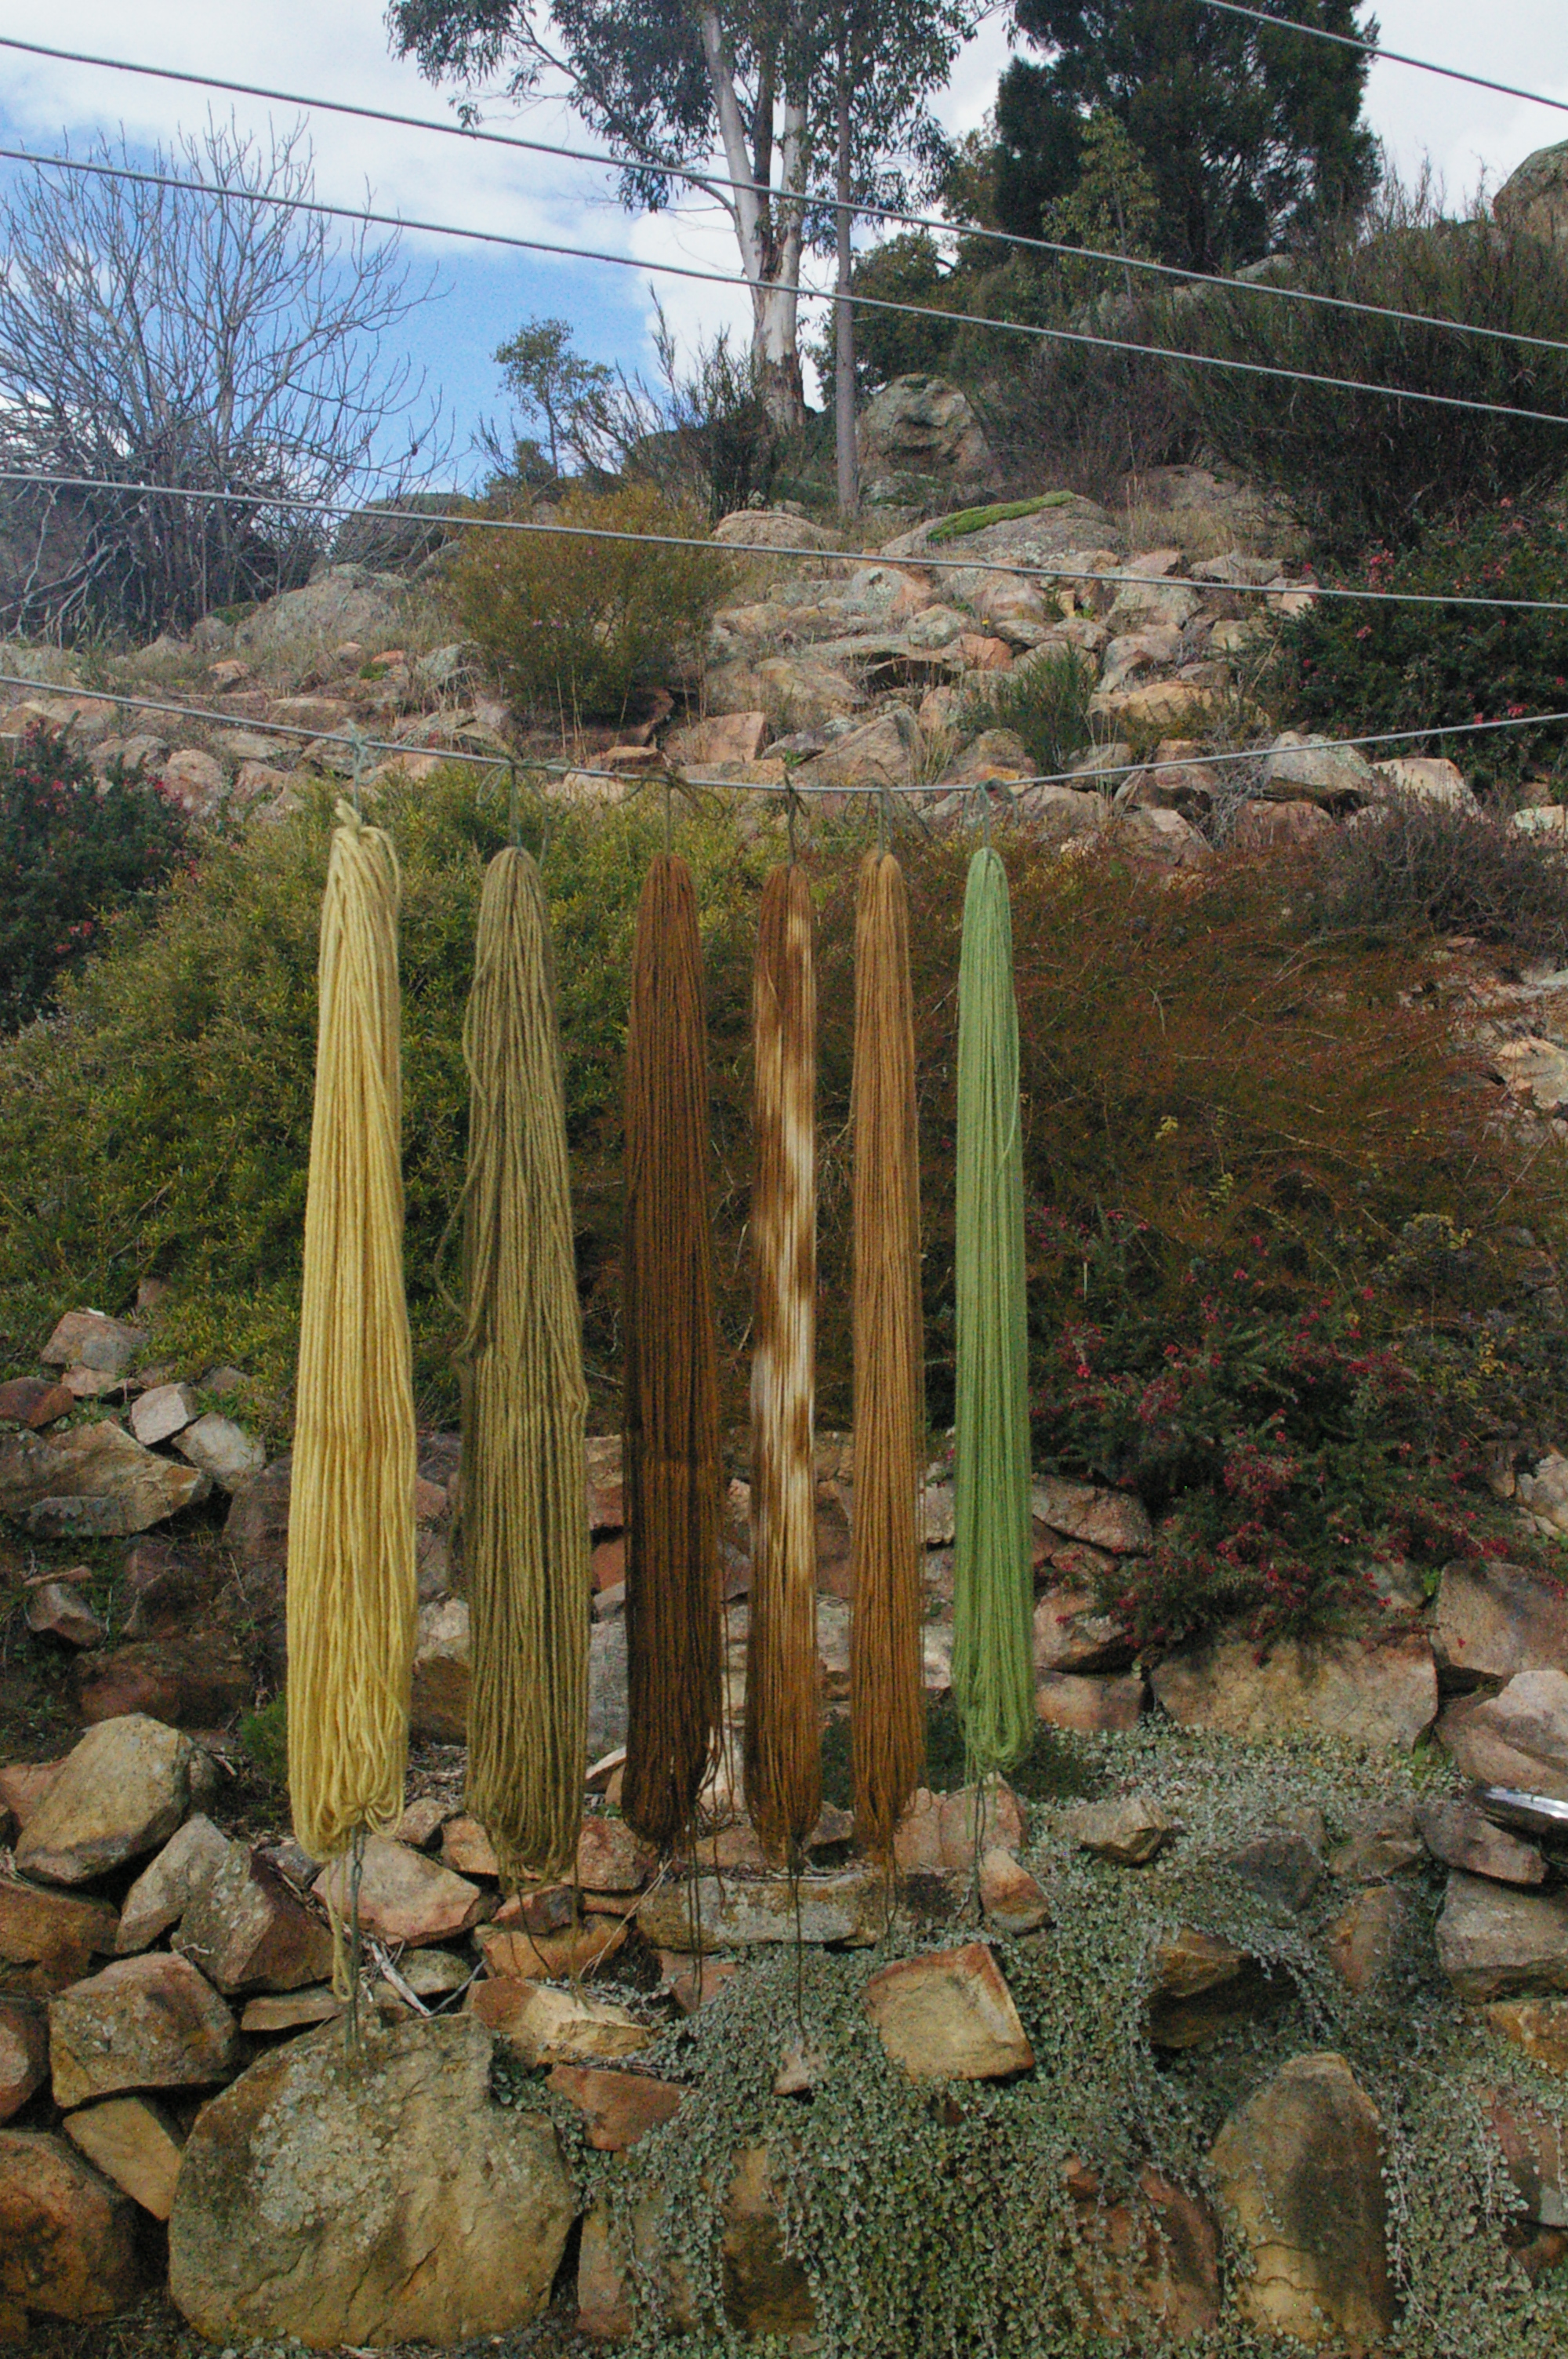
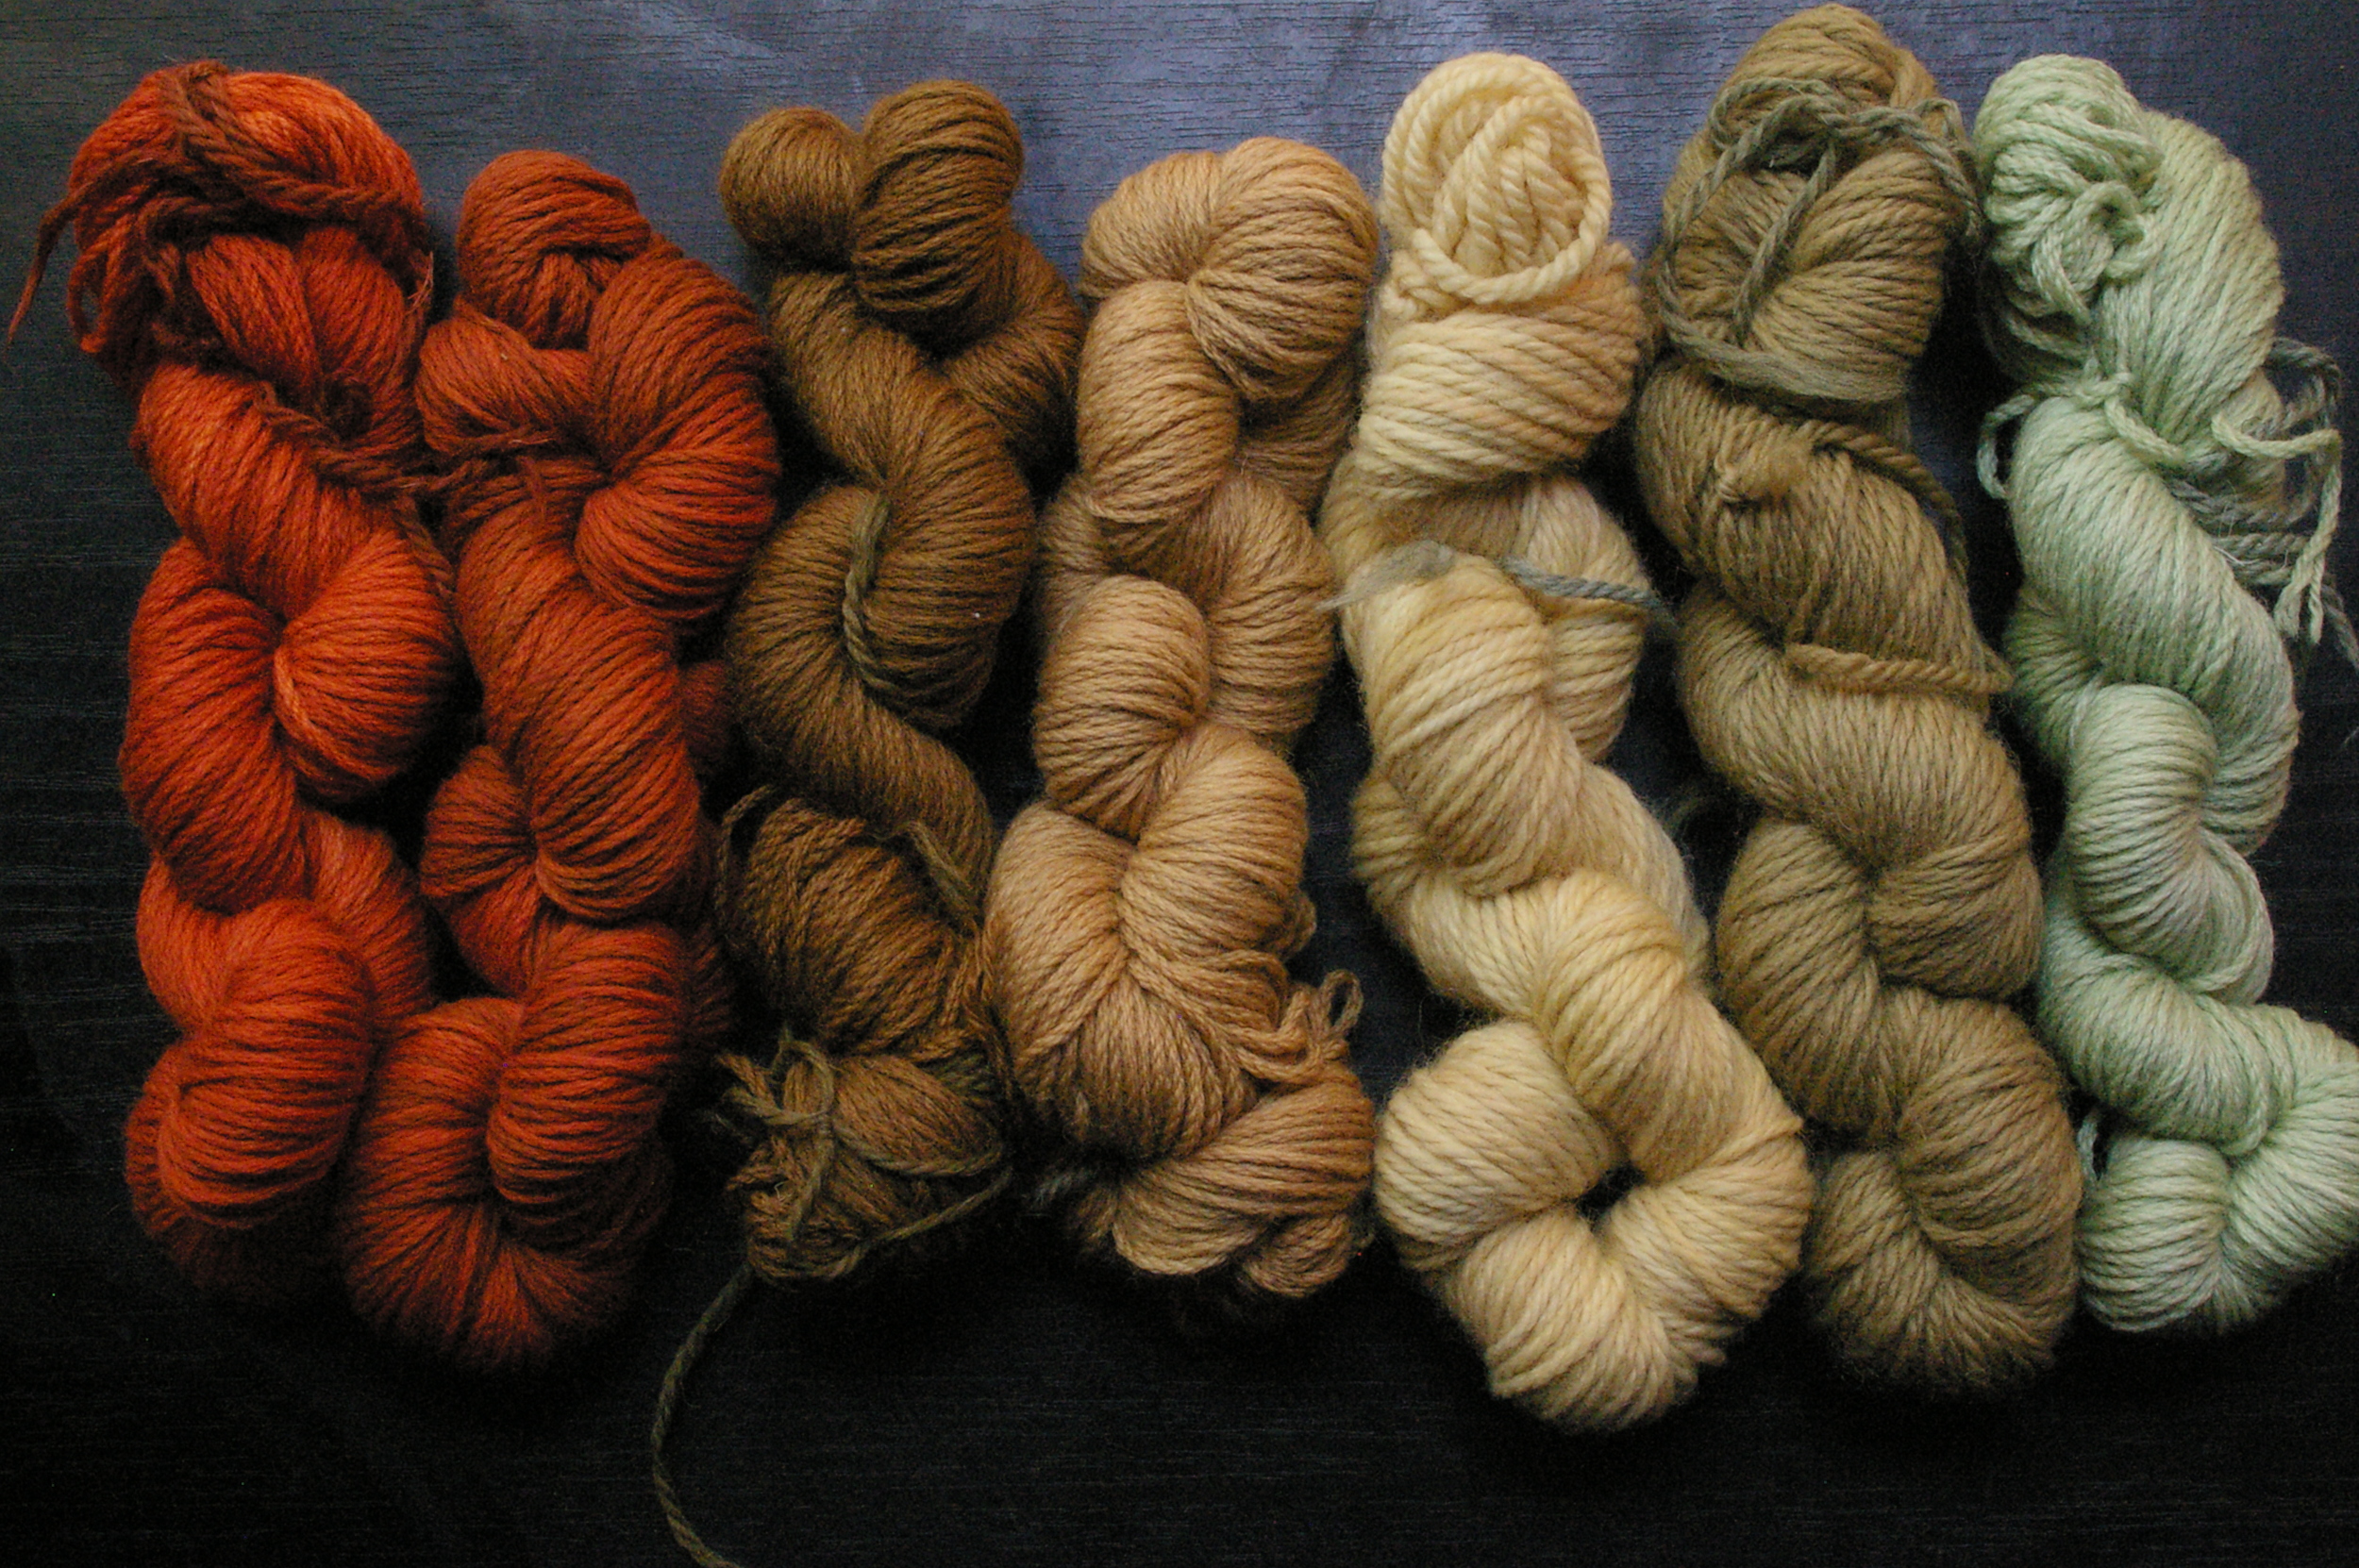
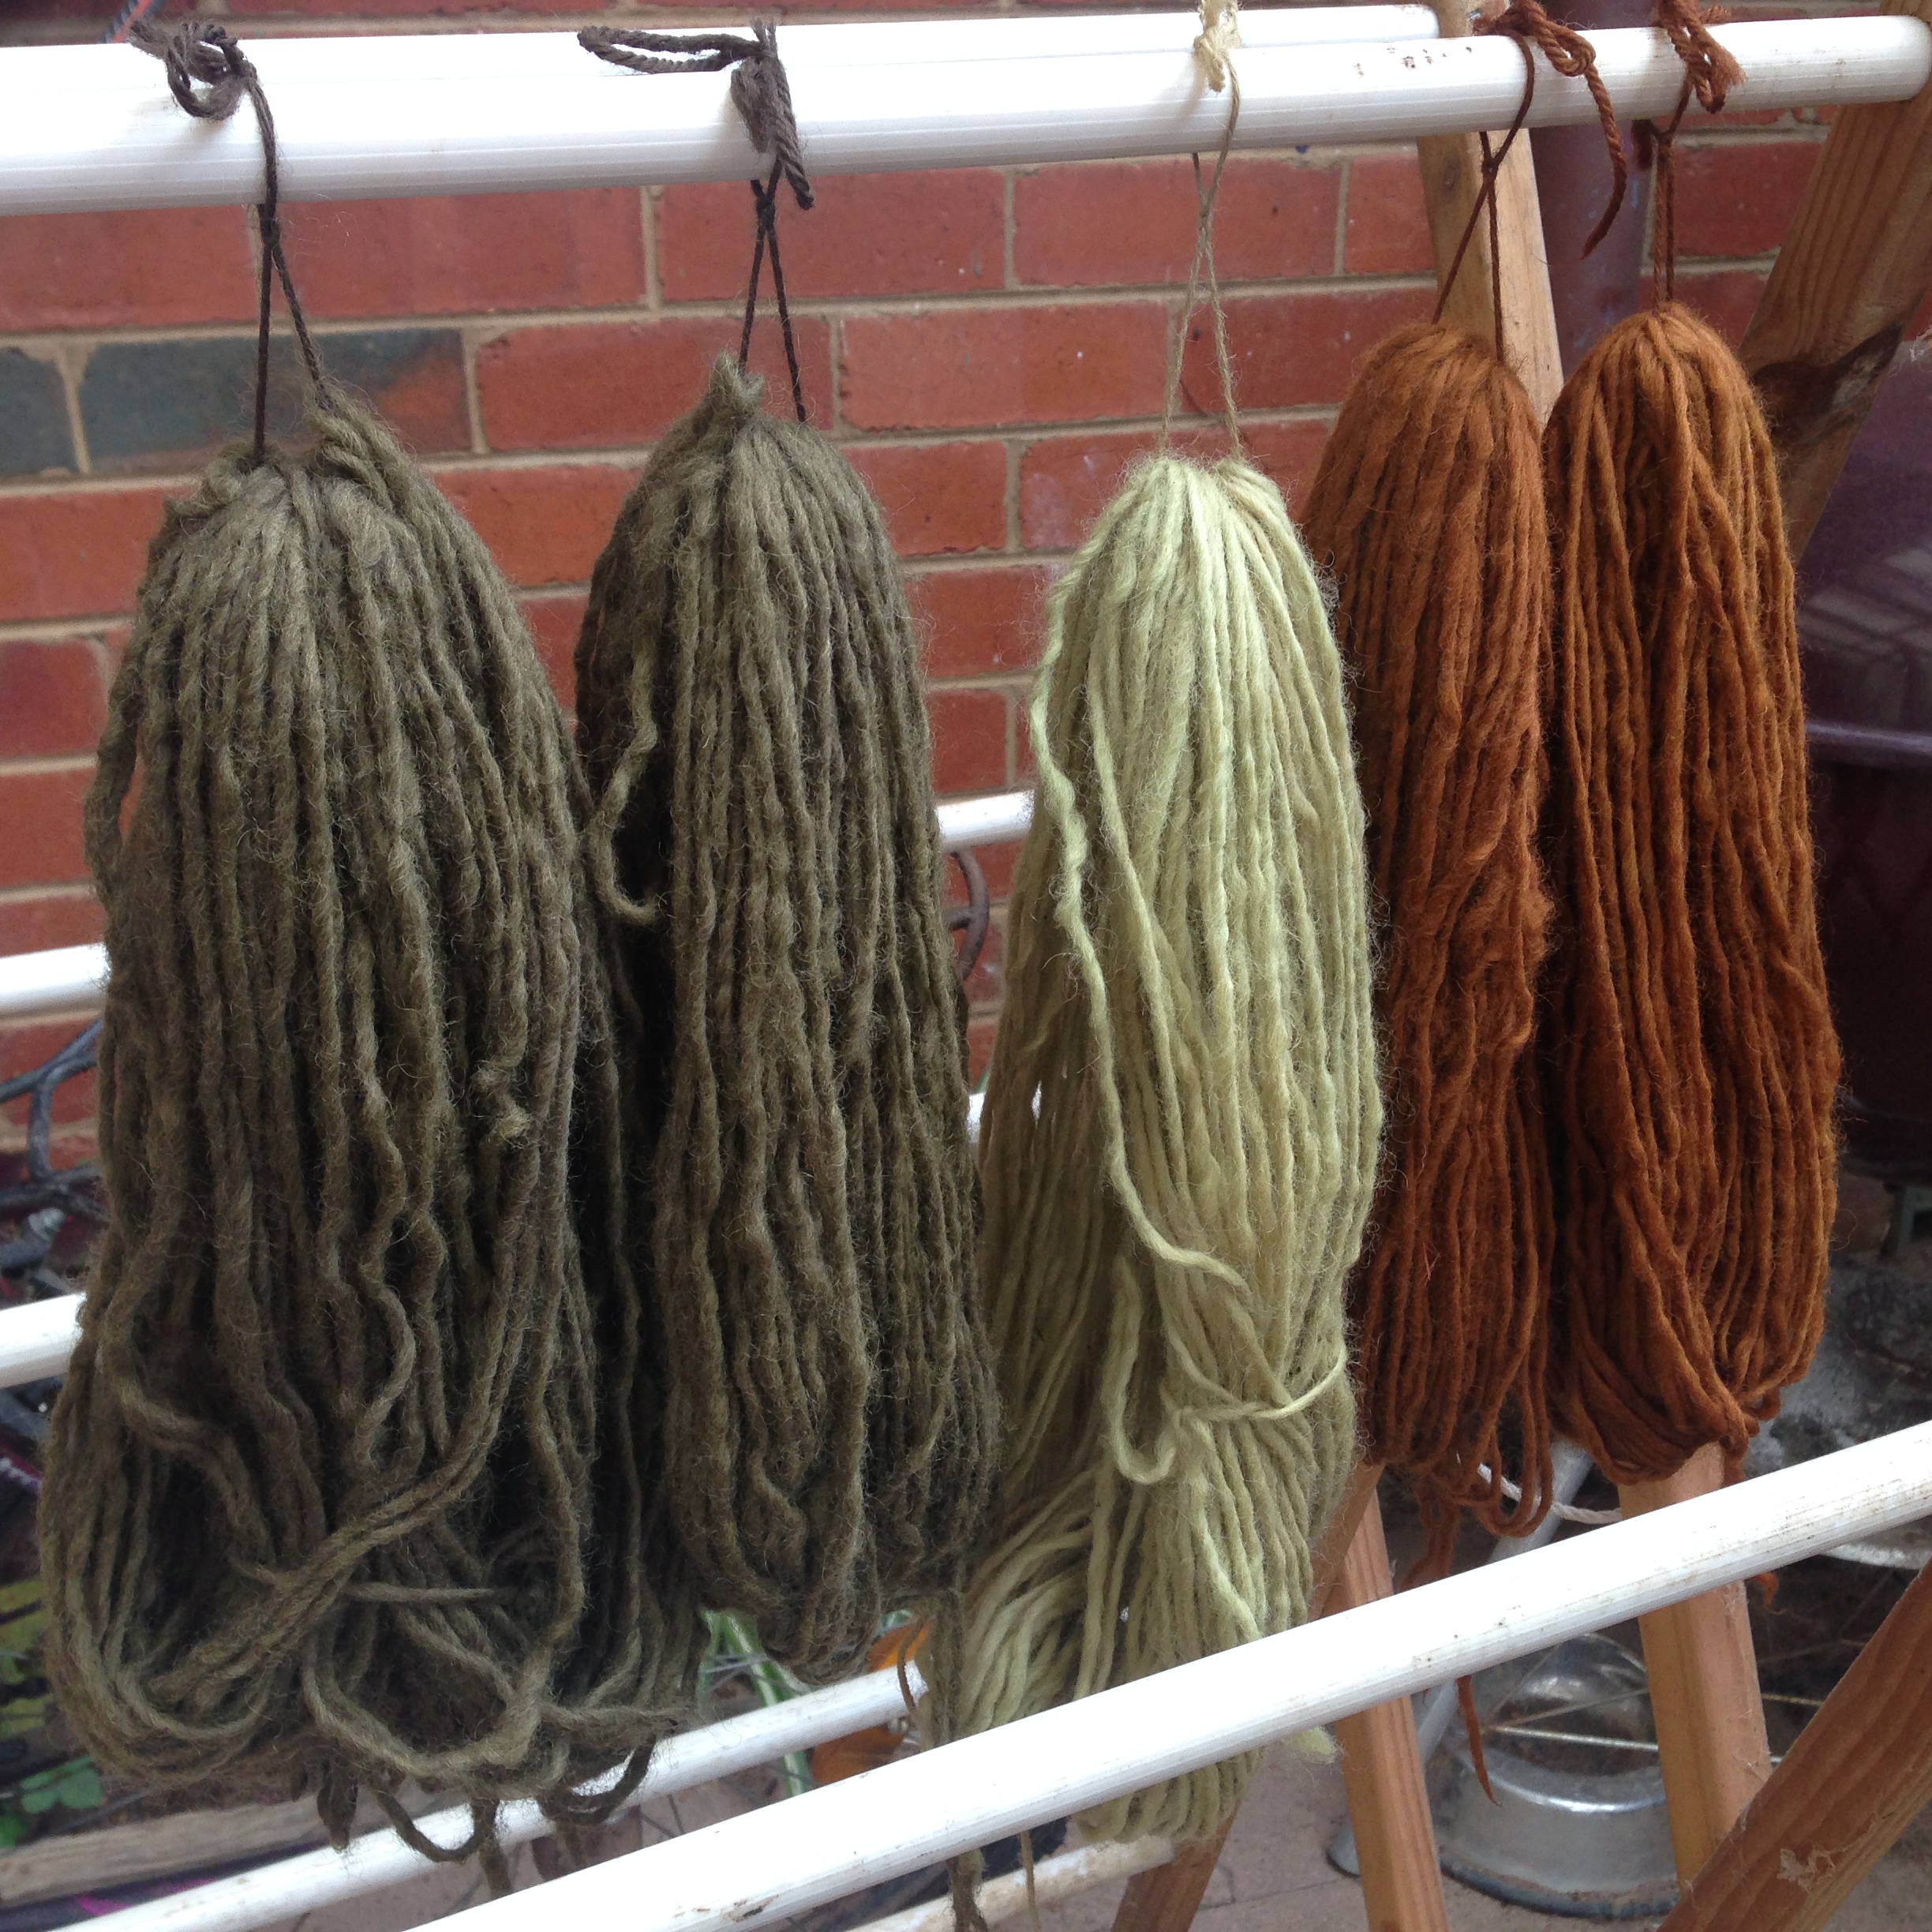
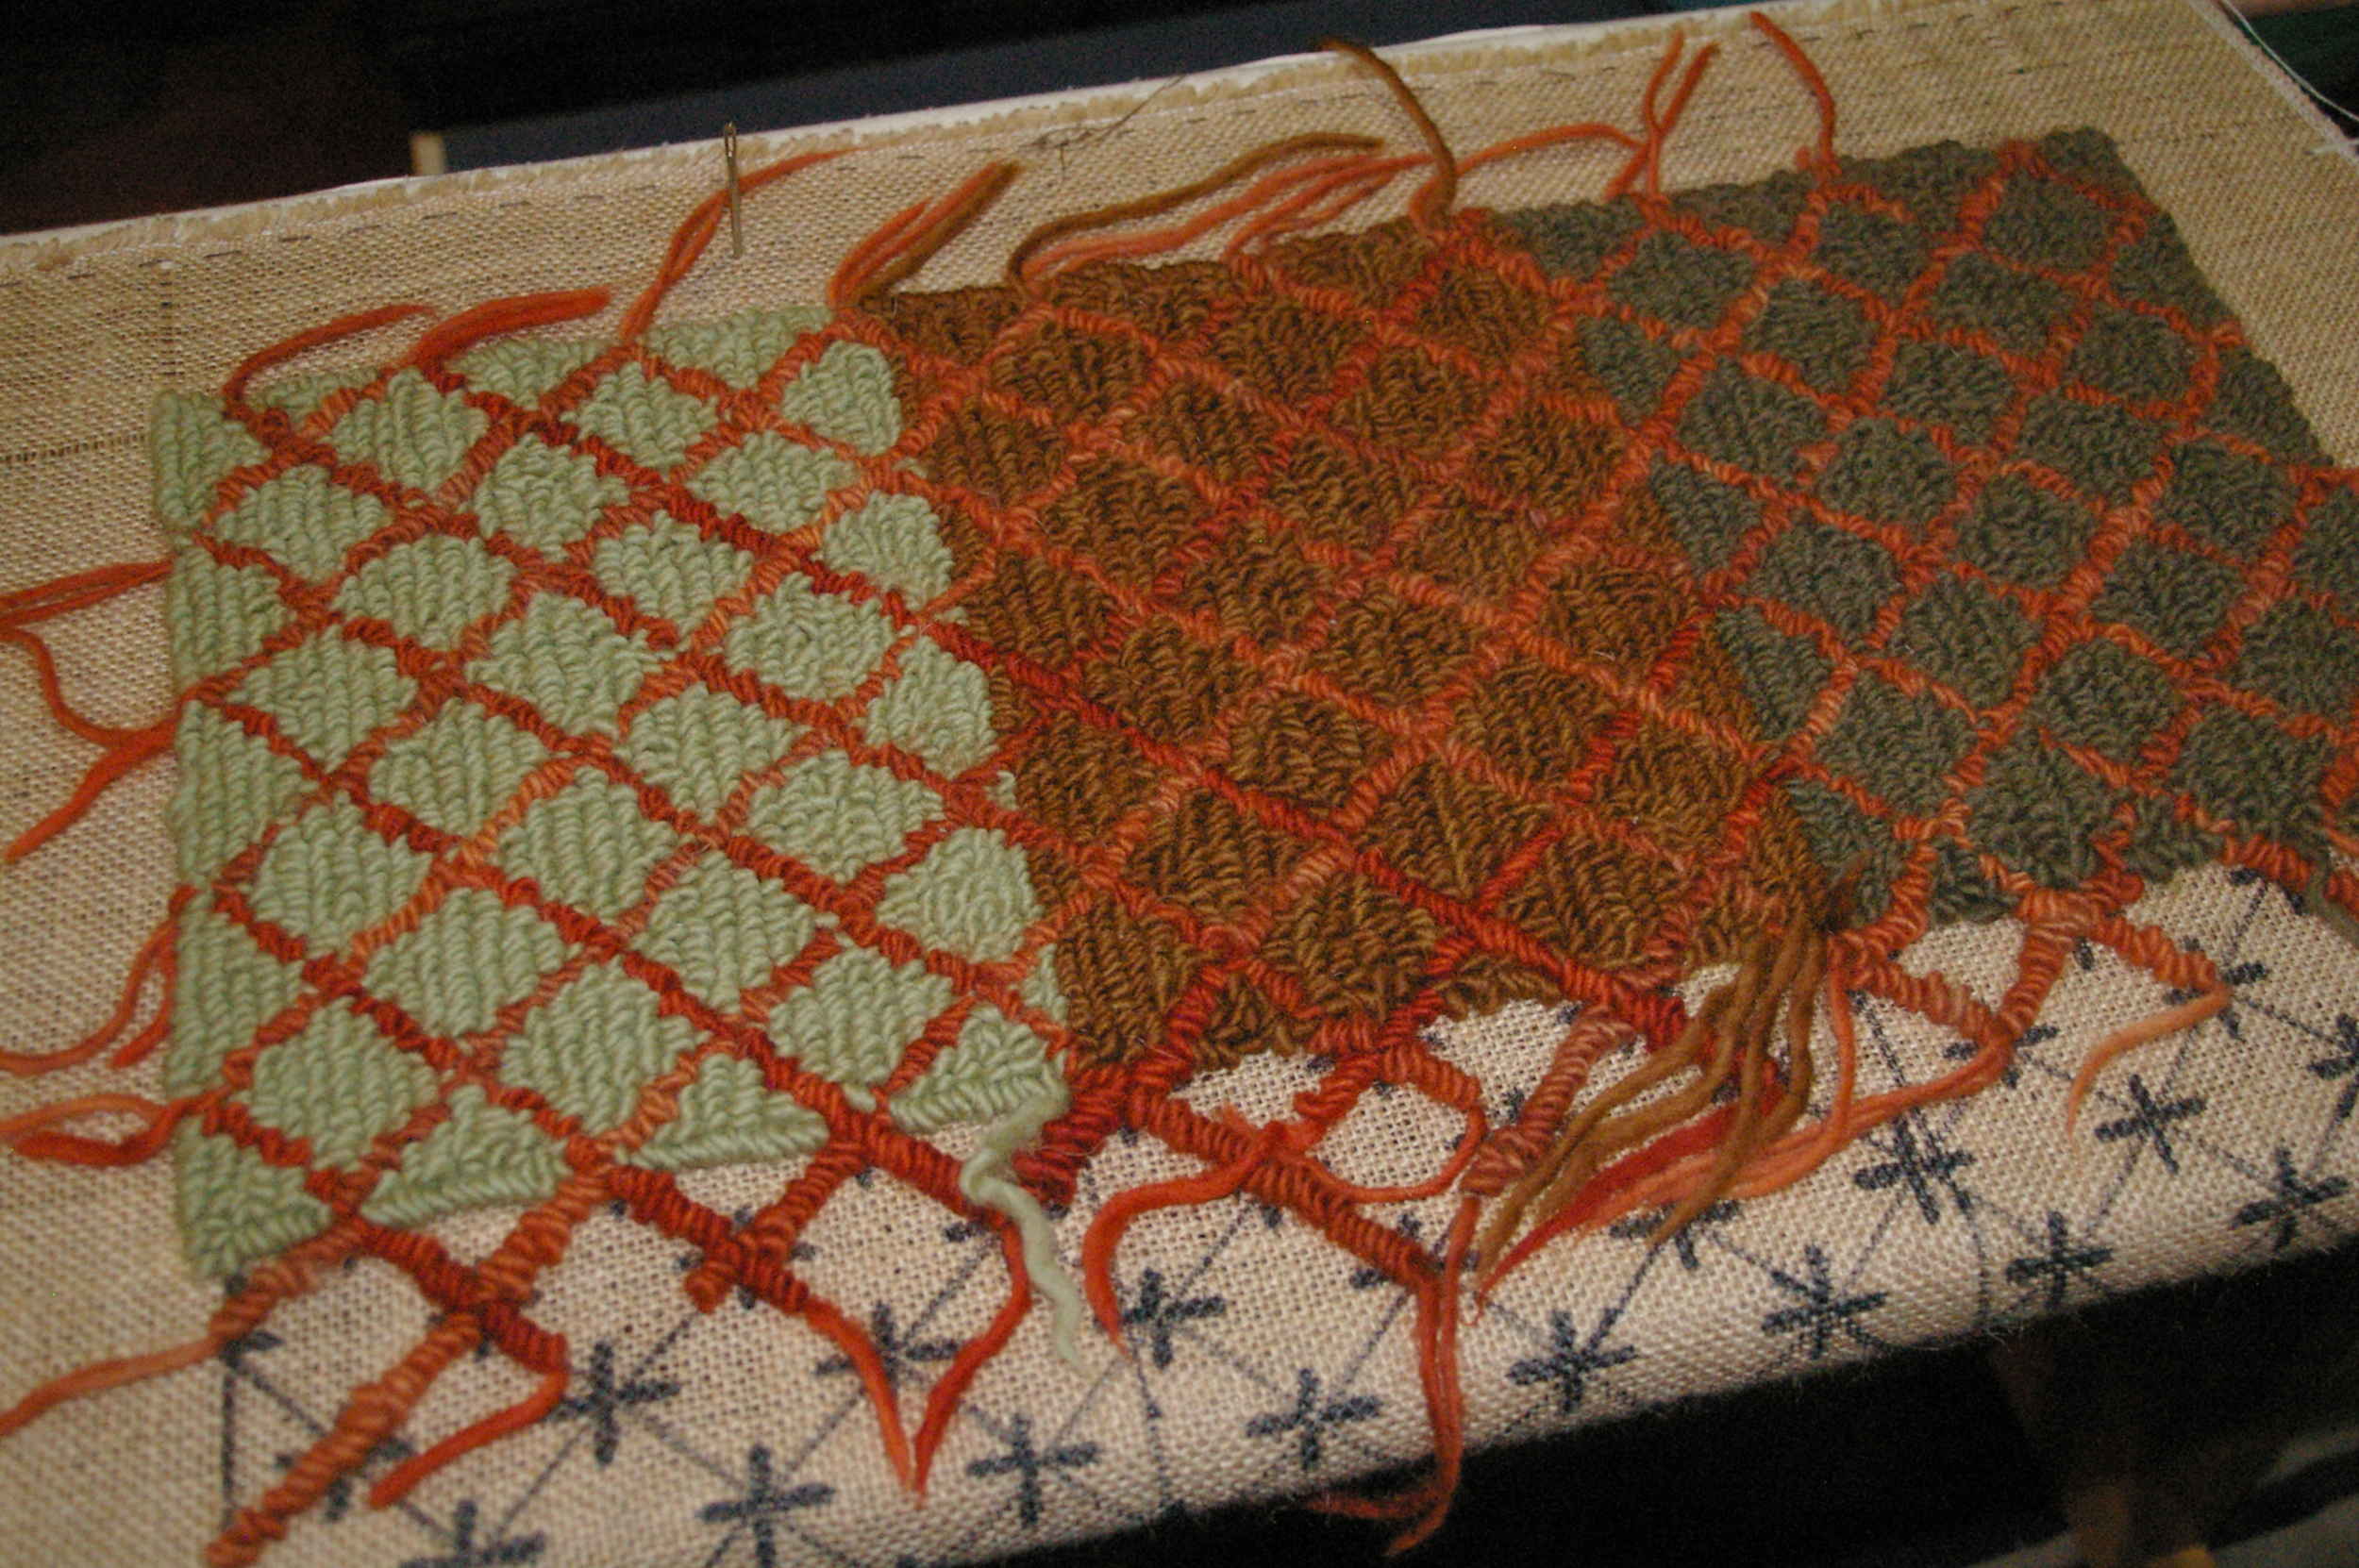
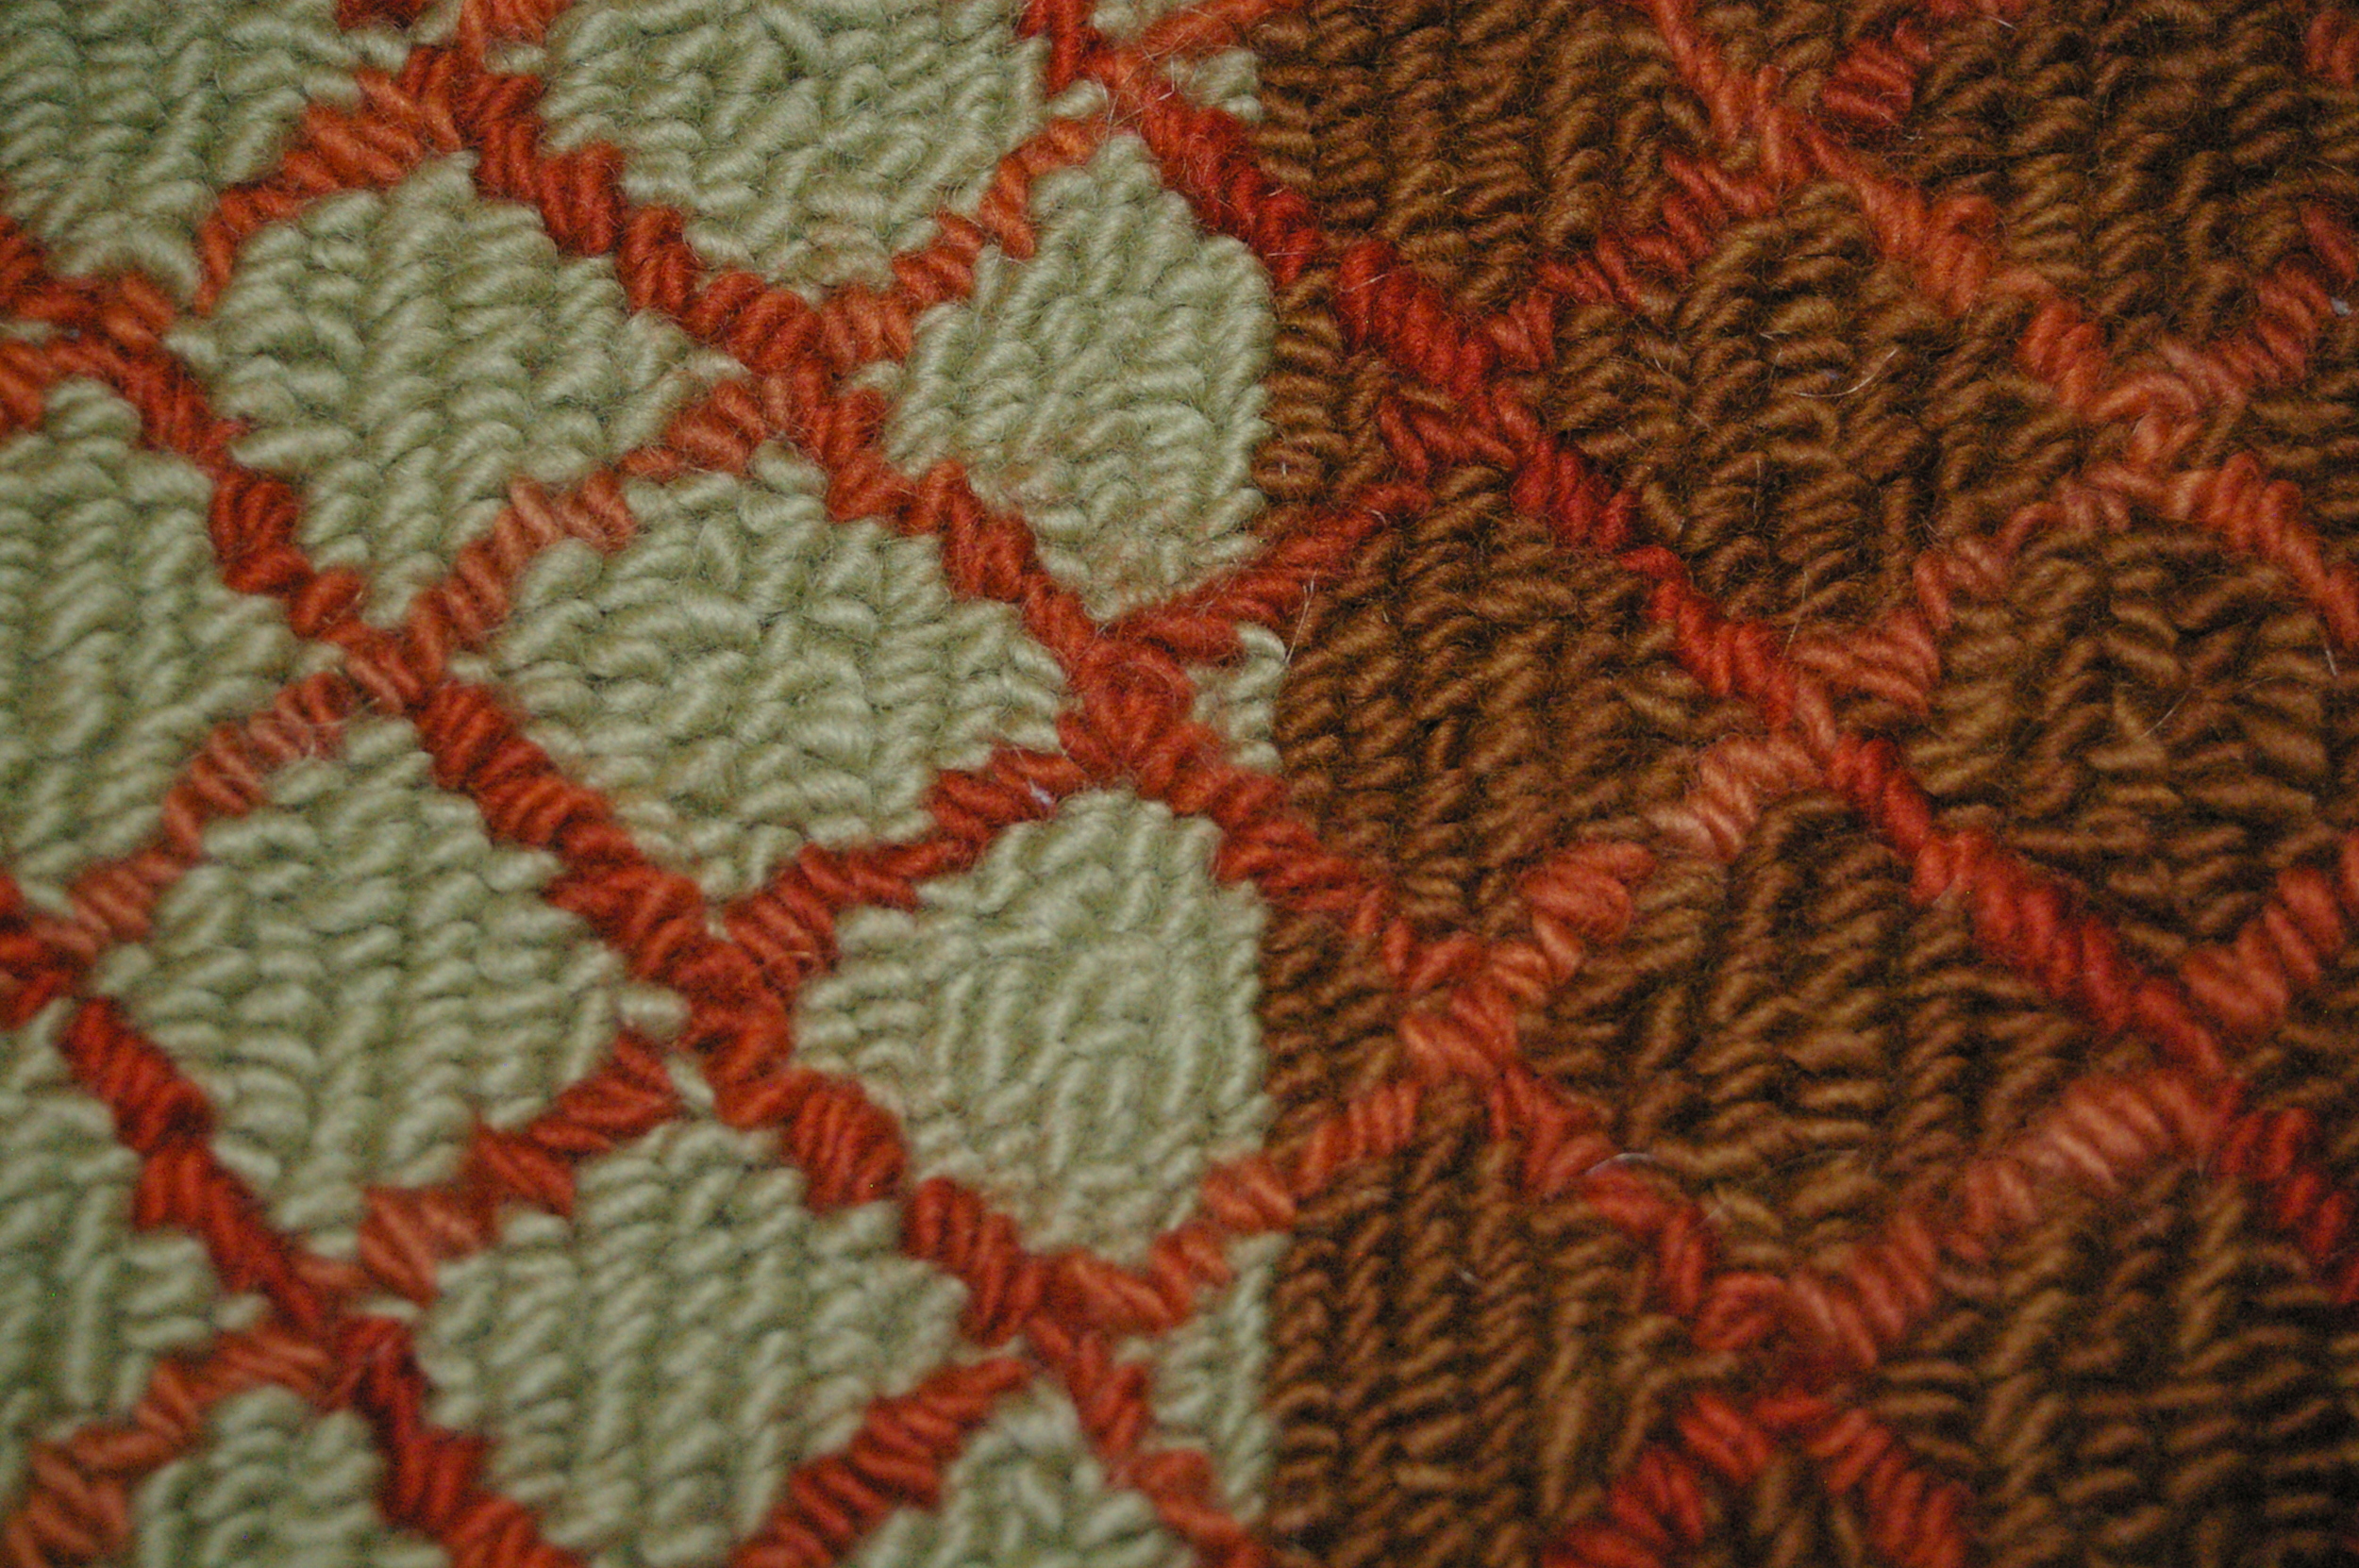
The finished skeins.
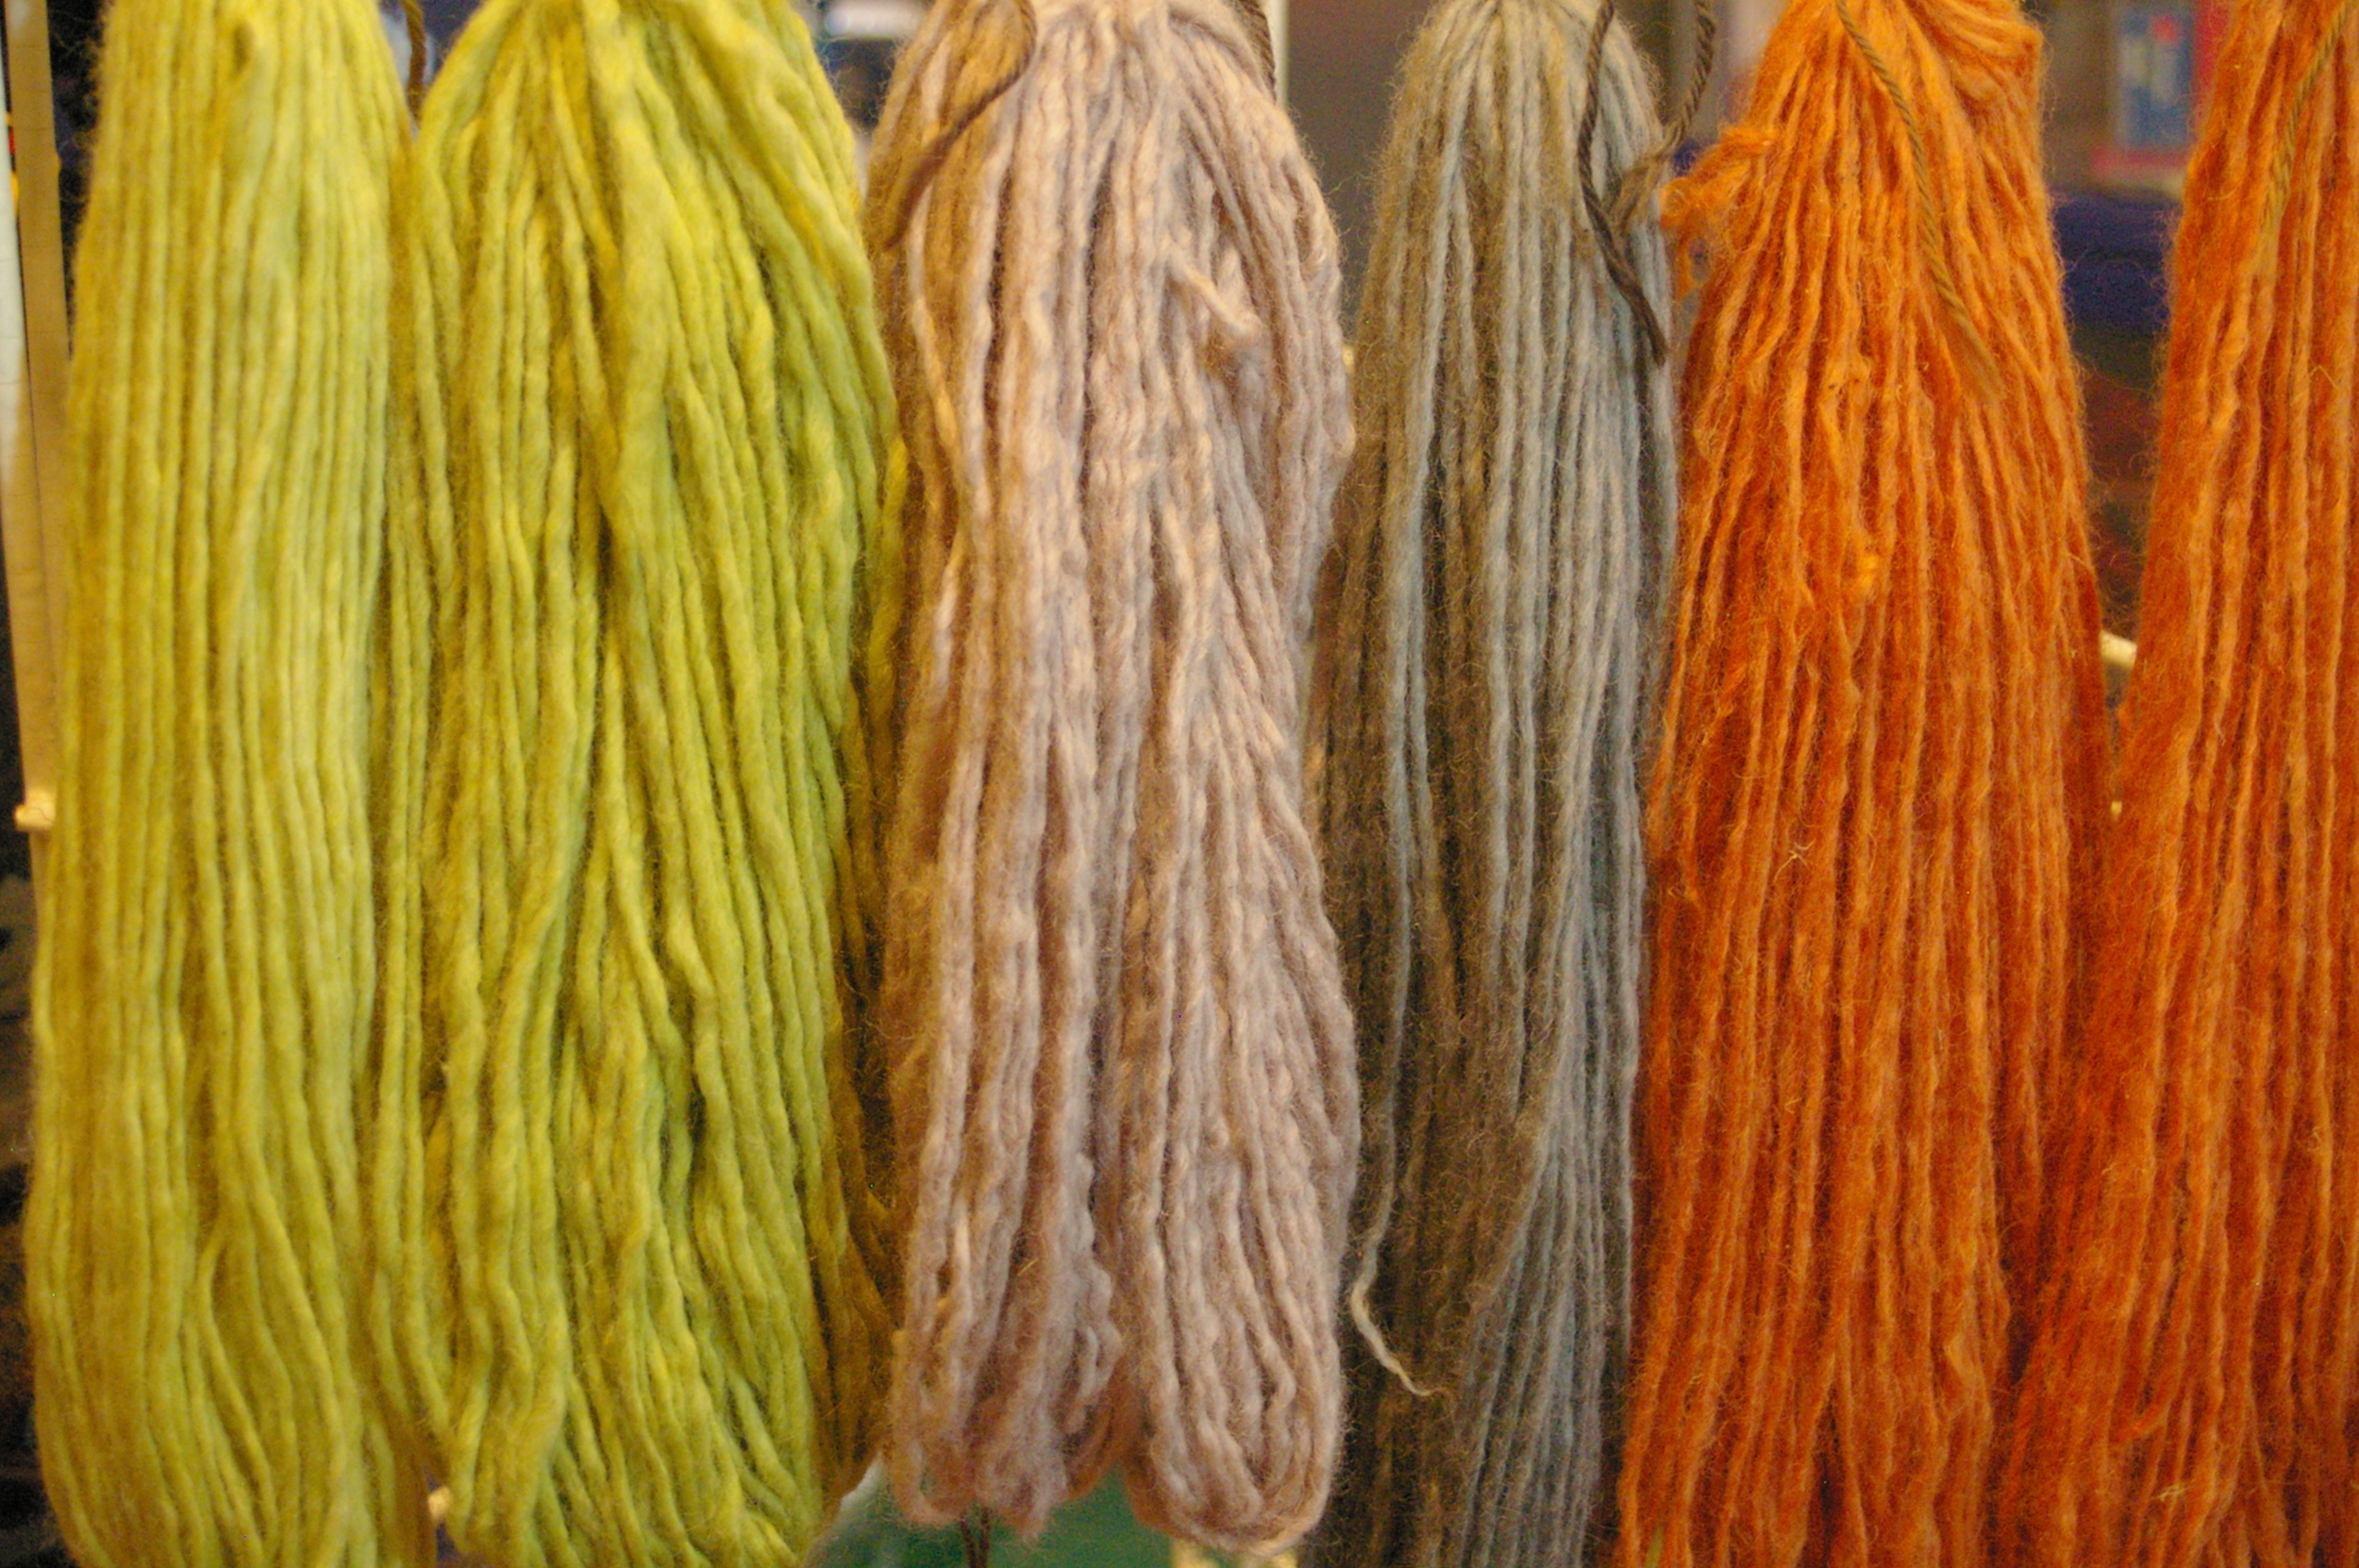
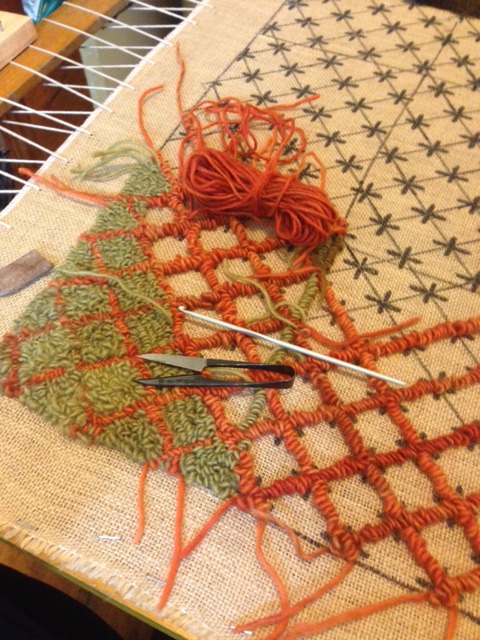
The Random Method

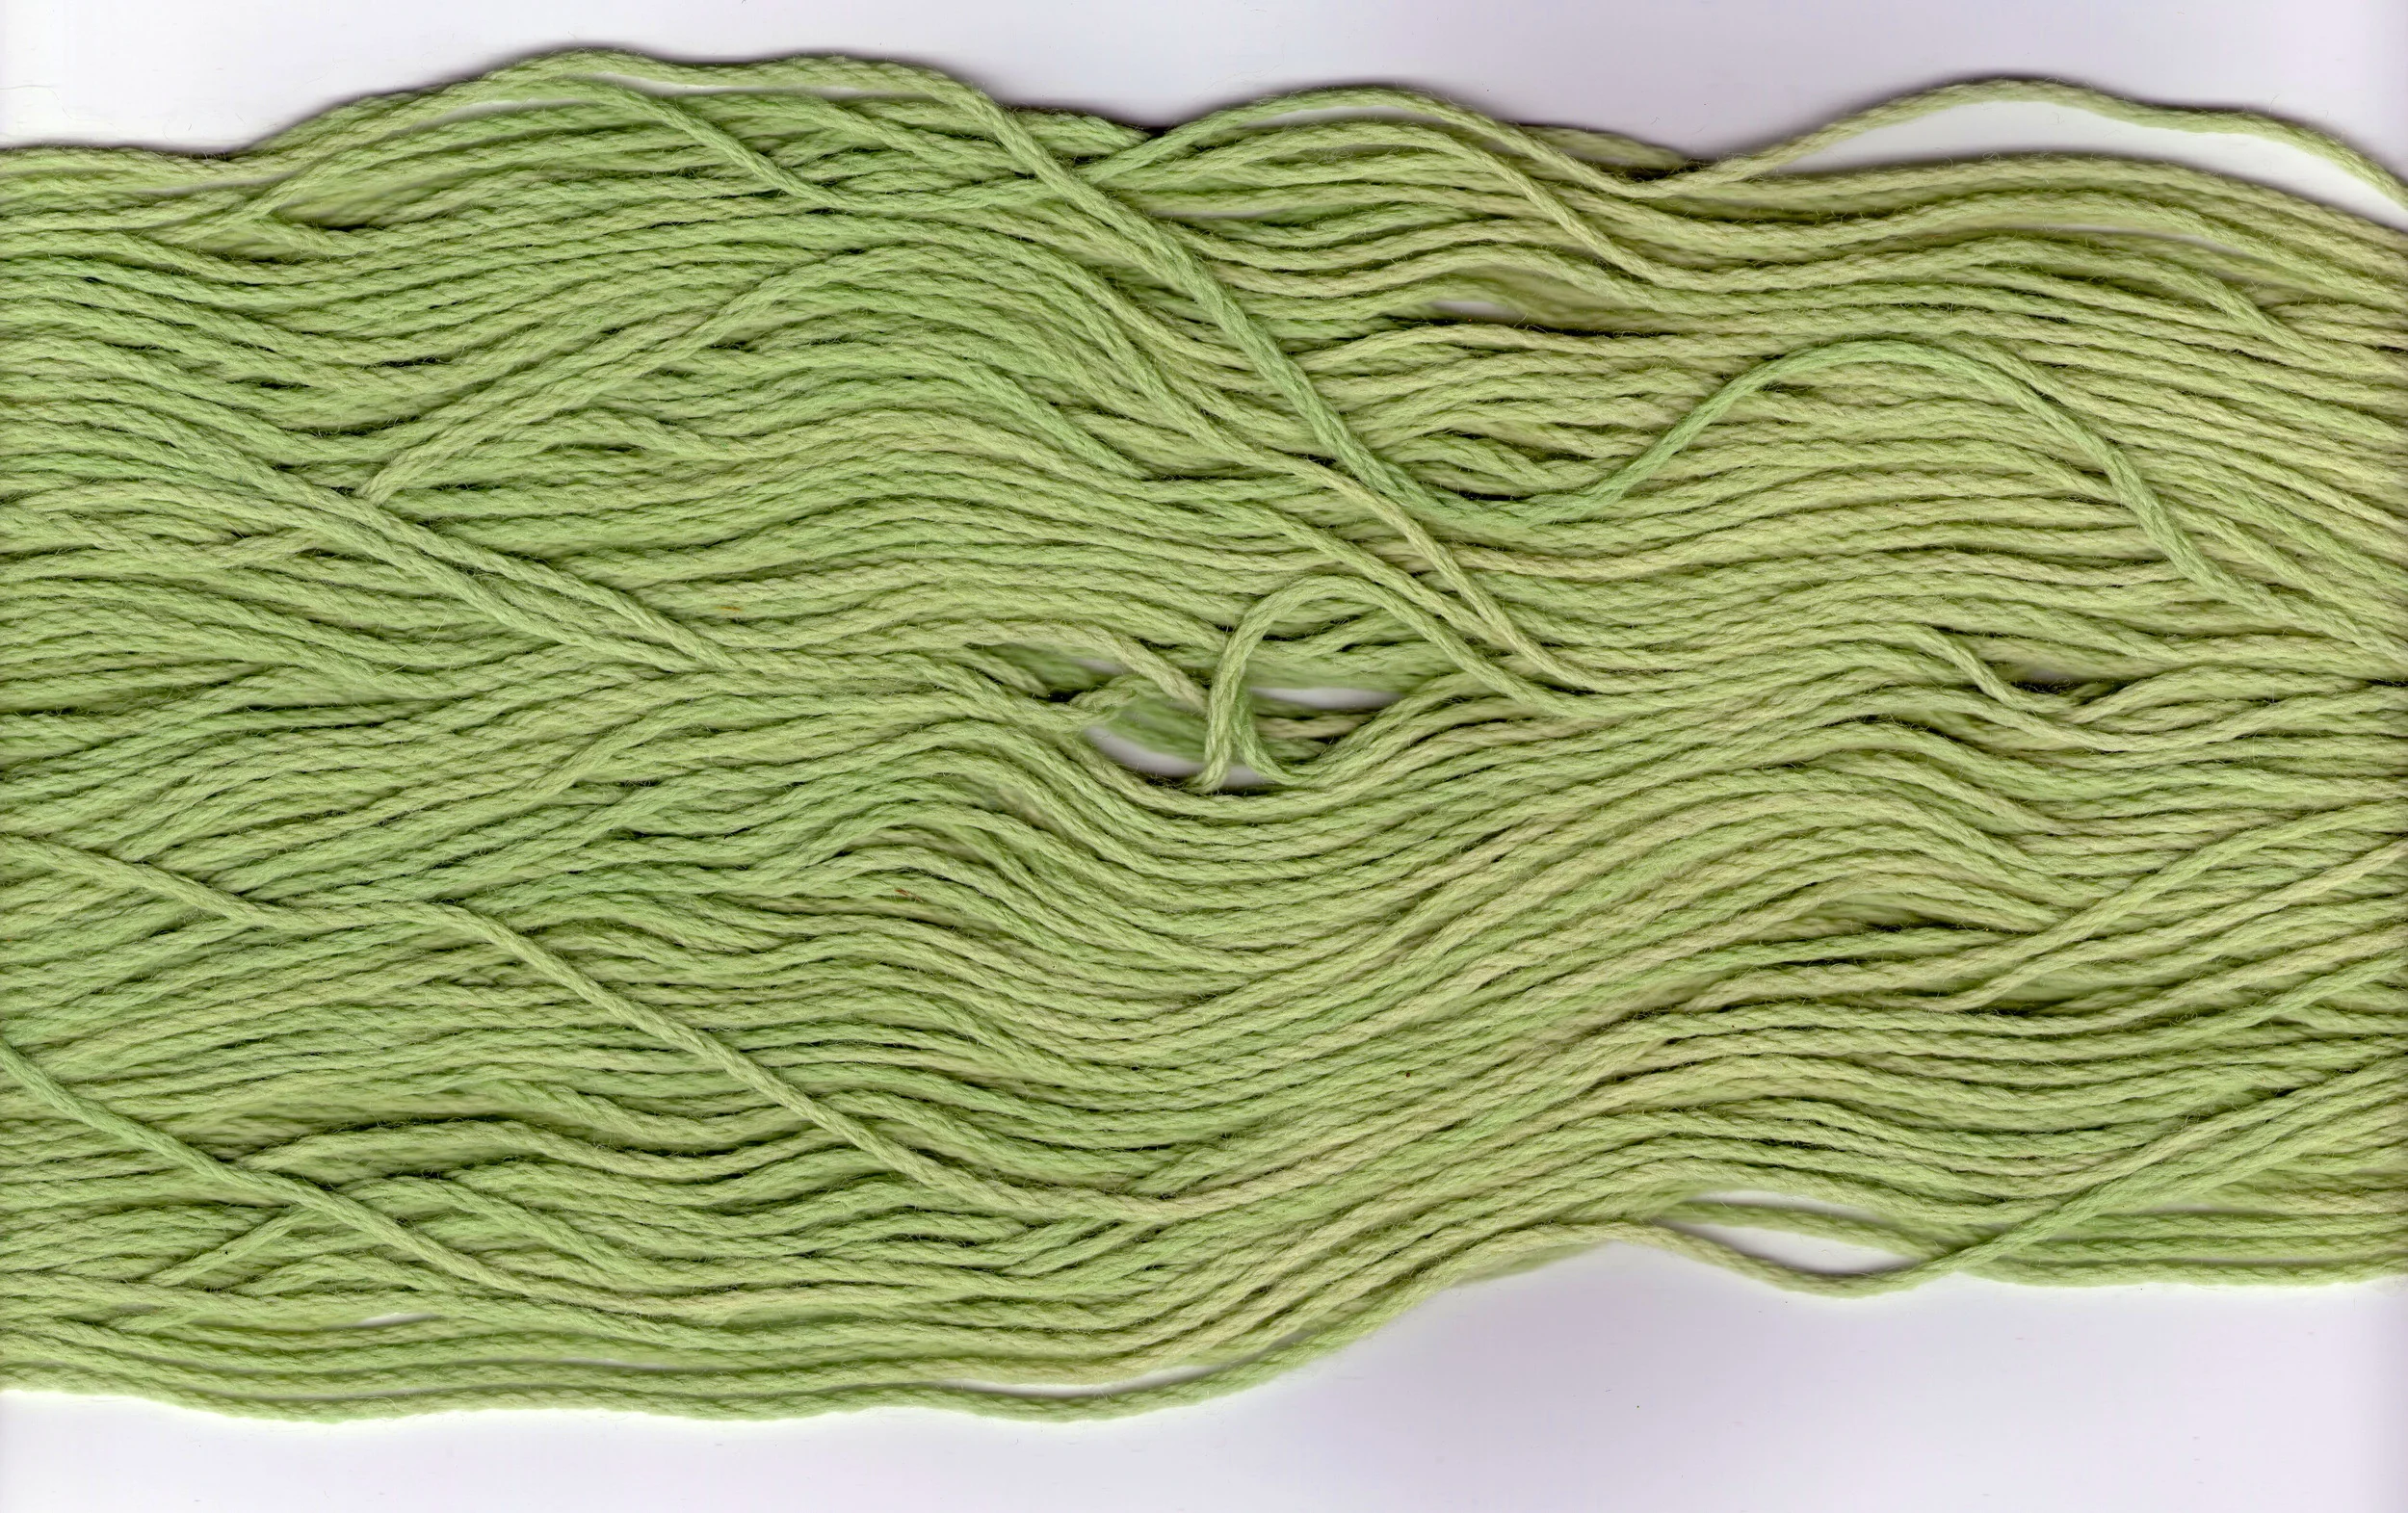
My random yarns were achieved by twisting up the skeins, dyeing them, then twisting them in the opposite direction and over-dyeing, then a final dye with then skein untwisted. This process gives a dappled effect, and you never quite know what your going to get.


Walwa Mini- Break mission.

The mountains across the valley still shrouded in misty fog at 4:34pm.

Recently we went on a mini-break weekend away to the bush retreat that is my folks house. I decided to pack my dye pots too!

I was also grateful that I'd remembered to pack my scarf and beanie and warm woollen things as it was a very cold weekend, most day we did not see the sun till well into the afternoon!

Braving the elements though I did manage to get some sampling done with foliage picked from the garden and something I'd read about in someone else's blog that I wanted to try, black turtle beans.


Black Turtle Beans

I had been doing some reading of other dyestuffs I might try especially in the pursuit of making blues and mauve's. I came across several bloggers who had tried black turtle beans.


http://knitwhatyouexpected.blogspot.com.au/2013/04/how-to-make-blue-using-black-turtle.html

https://waysofthewhorl.wordpress.com/2011/04/12/natural-dyeing-take-3-black-beans/

IMGP9983.JPG


I did three pots of black bean experiments, the beans were soaked overnight and the quite purplish/ blue liquid carefully drained off the top and separated into three pots.

  1. Bean liquor plus Alum- resulted in a pale mauve/ blue.
  2. Bean liquor plus Alum and vinegar- resulted in a pale mauve/ blue (with more red than the first sample)
  3. Bean liquor plus soda ash- no result.


Angophora

I wanted to try the leaves of the Angophora because although they may look like a Eucalyptus they are actually part of the Myrtle family, so I was keen to see what sort of colours they might supply.

  1. no mordant- result beige/ brown
  2. mordant copper- result olive green

Banksia Giant Candles

I think a darker yellow/orange could have been achieved had I simmered the candles for longer. I would also recommend draining the liquid off before adding the yarn due to the large amount of vegetable matter that came off the candles.

  1. mordant Alum- result pale lemon yellow


Lemon scented Gum

Similar results to the Angophora samples, smells delicious whilst simmering!

  1. no mordant- result beige/ brown
  2. mordant copper- result dark olive green

Salt bush

Salt Bush foliage.

Salt Bush foliage.

I did not use any mordants for this sample, the colour is an amazing bright mint green (brighter then the above picture) I will revisit this dyestuff at a later date to see how other mordants change the colour.


Retreat to textiles.

I enjoy painting but every so often I do feel the lure and pull of textiles and I simply have to do something with them! This may include a bit of sewing or knitting and crochet or something more adventurous like my recent exploration of Natural dyes. I have been experimenting and trying to cover a fuller pallete of colours, I also have come up with an idea to use some of the beautifully coloured yarns that have resulted, and try a new technique.

Natural dyeing

Further experiments with some different dye- stuffs and mordants.

Marigold flower heads and wool.

  • Tumeric powder- Bright yellow.
  • Ivy leaves- pale greens, dark greens with copper or iron added.
  • Marigold flowers- Yellows, orange, pale green.
  • Ballart native cherry- Amazing bright greens. (my photos don't quiet capture the colour)
  • Thai black rice- mauve, grey with iron added
  • Eucalyptus-  Orange, russet,  brighter orange with Alum added, browns with iron added.
  • Wattles- Knife leafed wattle,Cootamundra wattle and Silver wattle- a range of pale yellowish greens to pale greens, Khaki greens with iron or copper added.


I feel like I have covered a range of greens, yellow, oranges and browns but have yet to achieve a good range of red, purples, mauves through to blue. I have been doing some reading about how some of the commonly used plant materials for dyes produce fugitive colours, that means they fade readily. Only time and experience will tell.  More experimenting and some research neccessary!

Stay tuned as I still have to have a play with Henna, Cochineal, Beetroot and Indigo, hopefully then I'll have a rainbow of yarns.

Rug Making

My Mum recently took part in a workshop on rug making and she showed me some of the basics so I thought I'd have a go and use my natural dyed yarns for the project. This style of rug making is called 'Hooky' but I believe it is known by many names. It is a very traditional rug making technique and can be made with yarns or with strips of rag. It is made by drawing up loops through a base cloth, in this case hessian and it creates a loop pile surface to the rug. There are dedicated tools for this, the hooks have a short shank and are quite thick. I did not have one of those so a crochet hook has served the purpose reasonably well.

I decided to start small, around doormat sized and go with a really basic design, in fact once I started I simplified it even more.( eliminating the crosses you can see marked on the hessian)

I will post some more progress photos as it grows.